Customizing and Testing
Overview
In this article we will go over the customization options available to you for your Post-Purchase Email tools. Additionally we will walk you through triggering test emails to your inbox to preview the expected emails prior to sending these out to your customer.
Customize and Preview your Email Logo and Colors
Previewing allows you to see what your email would look like to customers before you officially publish the changes. To get started:
- Log into the Merchant Portal.
- On the left navigation bar, click on Leads.
- Next Choose the Leads Email Management tab.
- Then scroll down to the Customize Lead Emails section that will look like this:
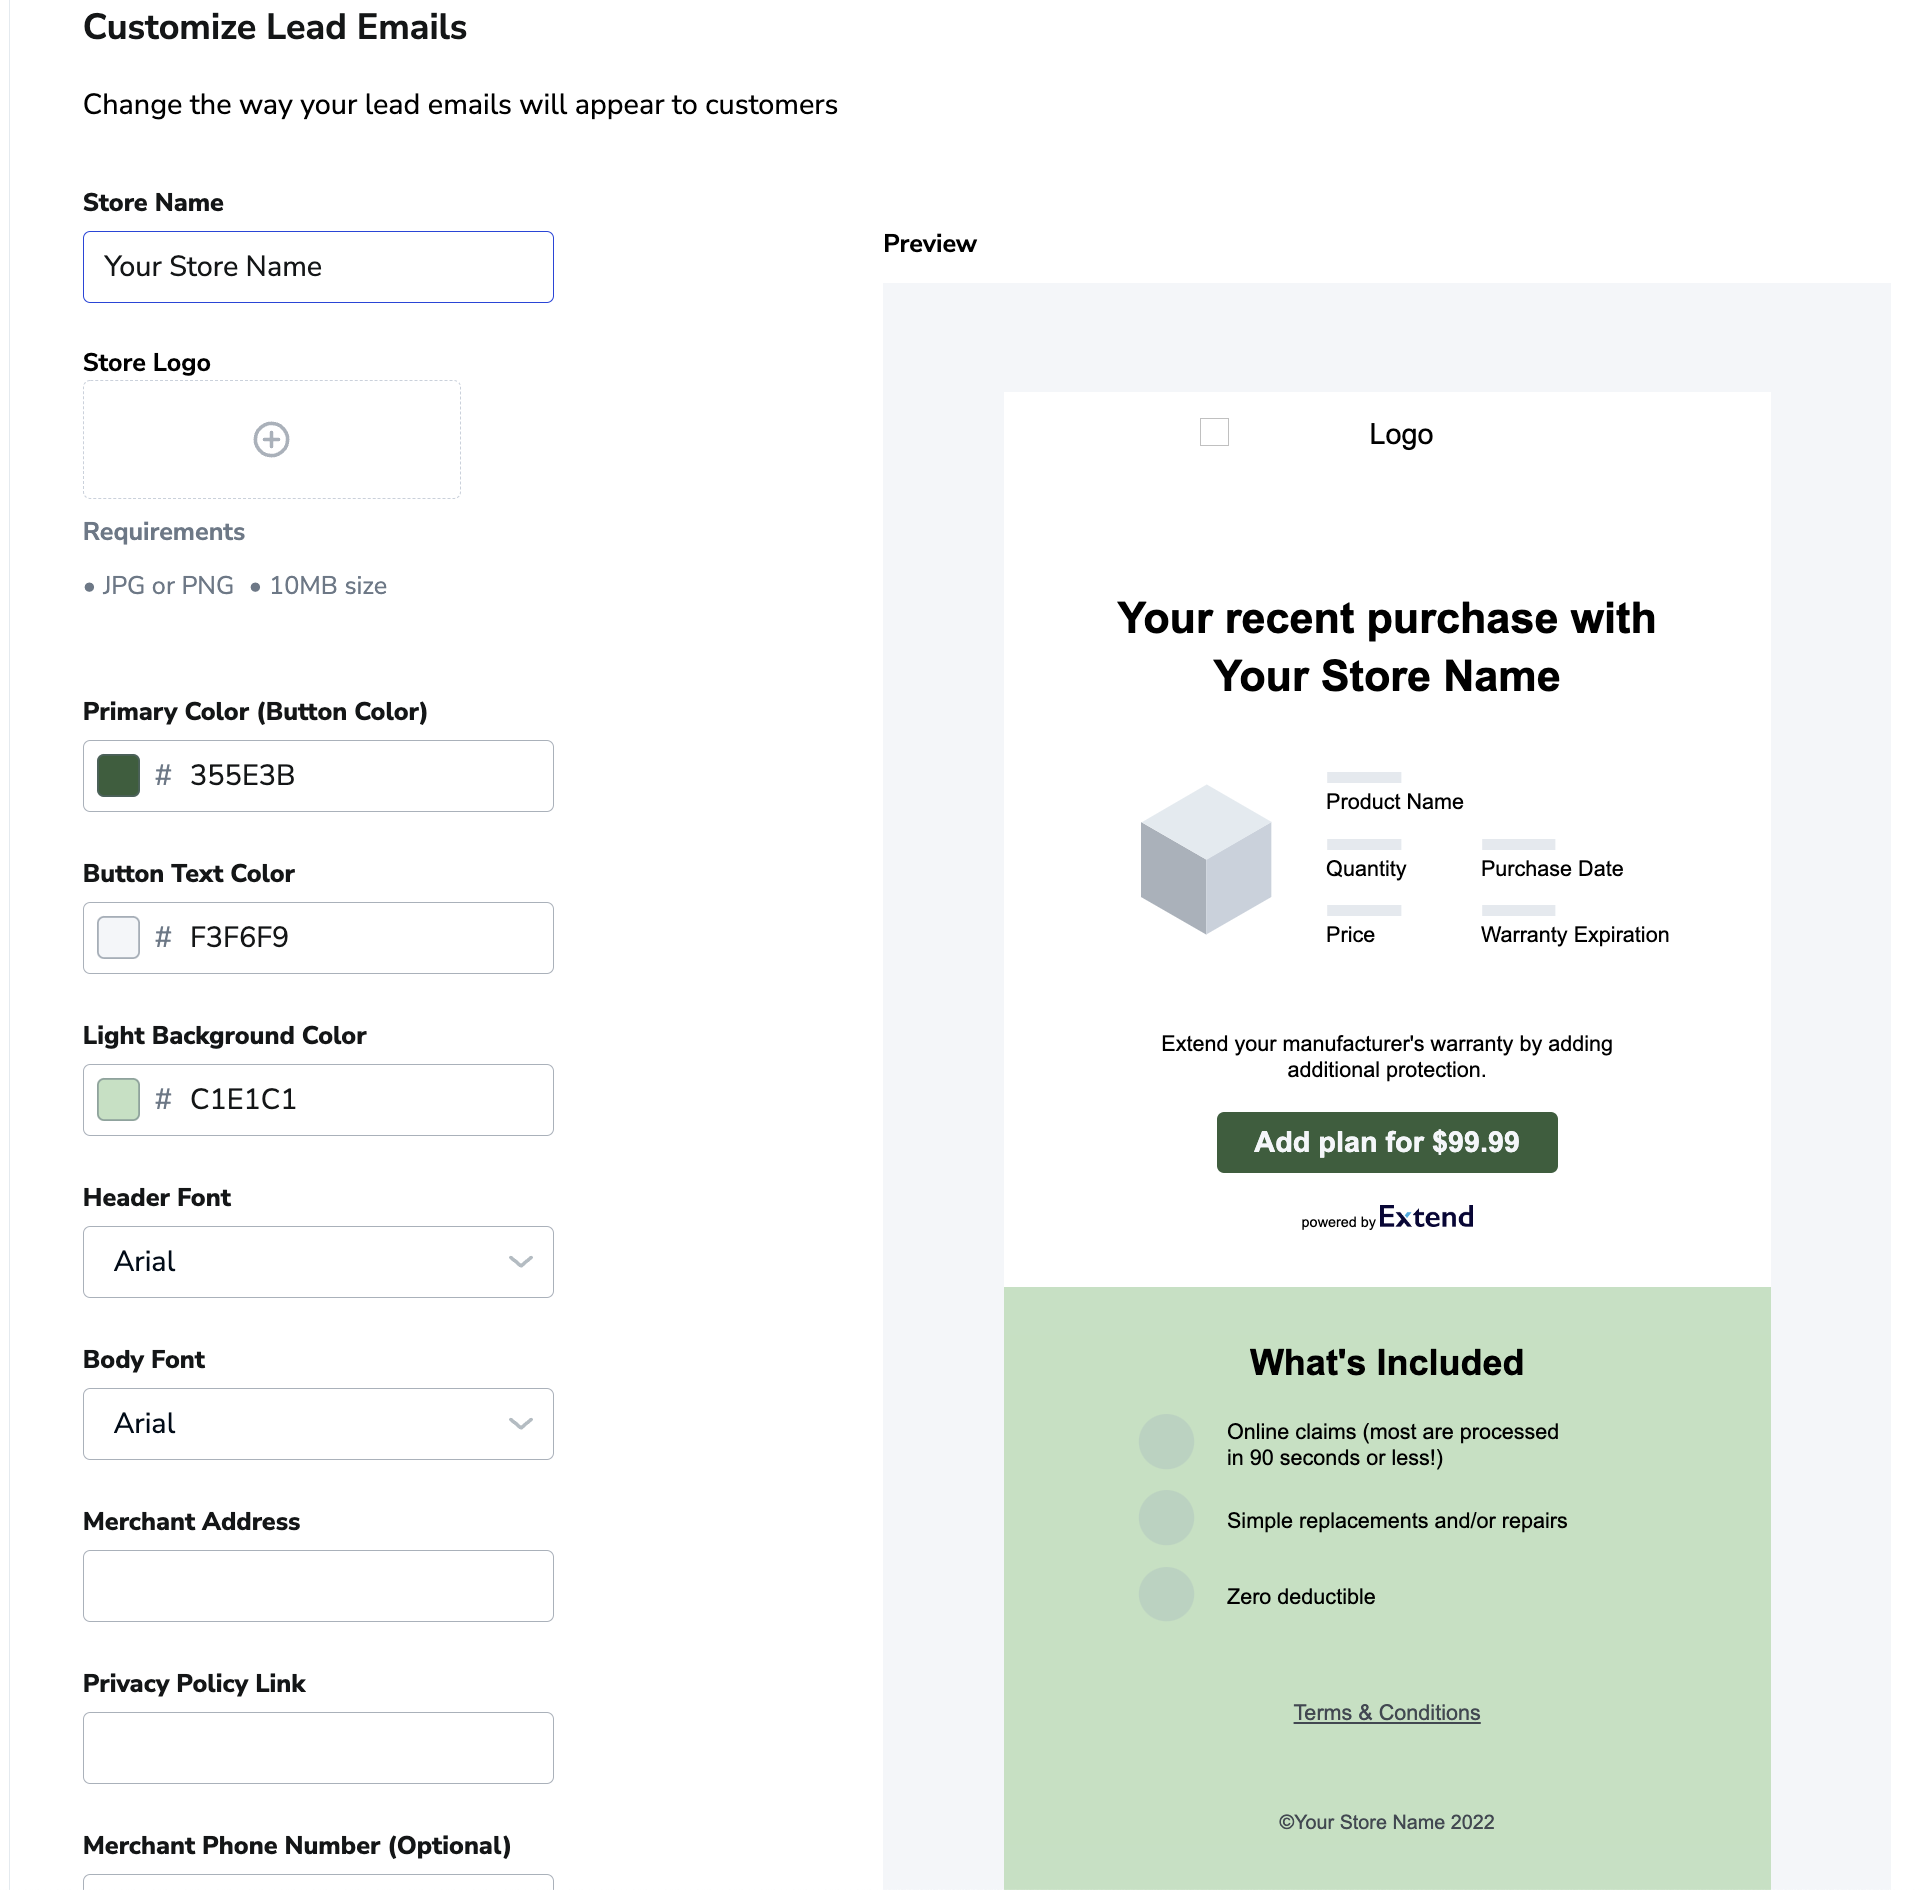
The following fields on your Post-Purchase Upsell Email can be customized and previewed live:
- Store Name - Generally just the name of your company's store
- Store Logo (JPG or PNG only, 10MB max file size) - This is your store's custom logo, which also acts as a Call-to-Action button leading back to the Url you added previously
- Primary Color (Button Color) - This is in relation to the center button which leads the customer back to your site trigging the Post-Purchase Modal popup.
- Button Text Color - This modifies the color of the text featured on the button above.
- Light Background Color - This adjusts the bottom half of the email, if you customize we suggest making it a color that aligns with your product/brand.
- Header Font - This setting adjusts the font used in the Headings. Best utilized if your brand has a specific style you want the text to reflect.
- Body Font - And this adjust the font used in the body text. Best utilized if your brand has a specific style you want the text to reflect.
- Merchant Address - Here you can list out your physical store location, when applicable.
- Privacy Policy Link - If necessary you can link a Privacy Policy here.
- Merchant Phone Number - Completely optional, but this provides field for you to list a contact phone number if deemed appropriate for your clients.
Trigger Test Emails
Alright now that you have your Post Purchase Emails enabled and the look and feel of the emails laid out you can use the Merchant Portal to trigger test emails to preview this campaign by sending one to your email address of choice. Triggering test emails will send you the series of emails that your customer will receive.
To trigger test Post-Purchase Emails:
- Log into the Merchant Portal.
- On the left navigation bar, click on Leads.
- Next Choose the Leads Email Management tab.
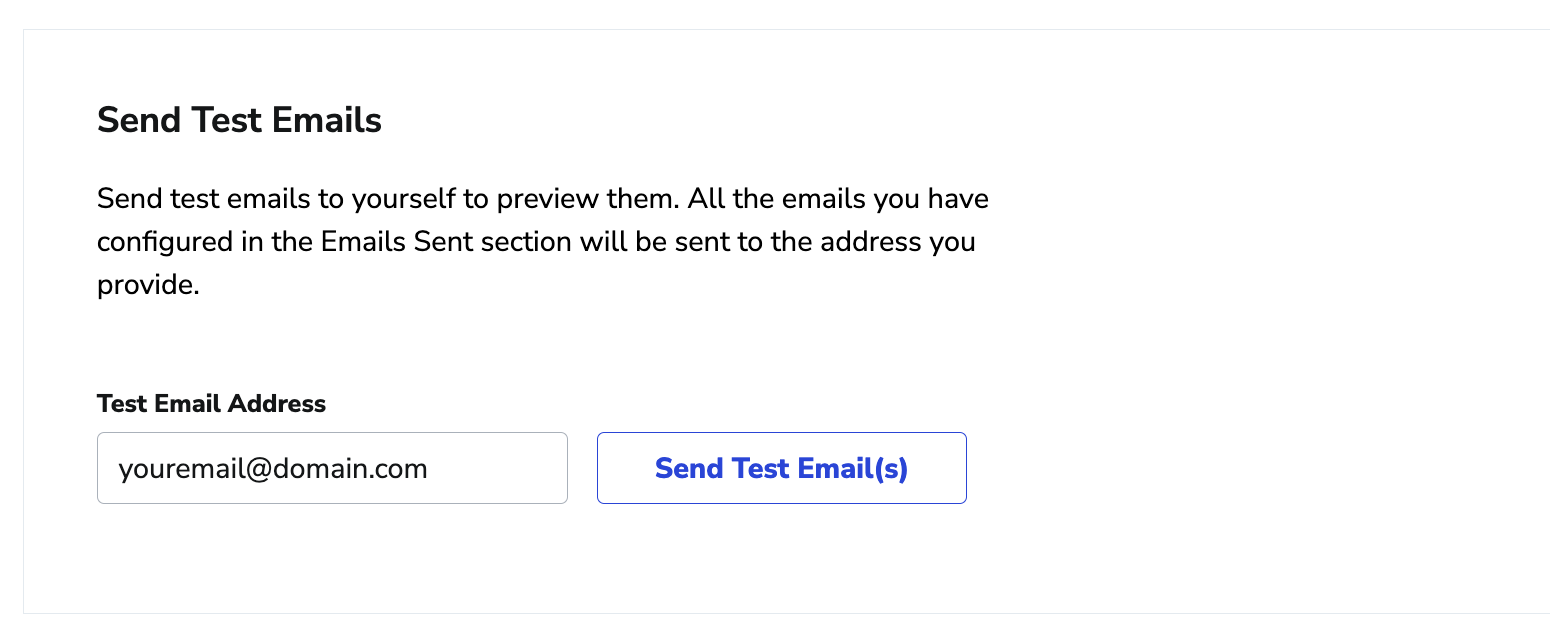
- Scroll down to the Send Test Emails section
- Input the email address you want the test emails to be sent to
- Click the Send Test Email(s) button
Congratulations! You have completed the setup, customization and testing for your Post-Purchase email campaign. Your customers will now receive these offers.
Continue on to our next set of guides that will go into more advanced topics revolving around working with your Leads through searches, filtering, sorting as well as importing and exporting lead lists.
As always, if you run into any issues during this process or have questions please reach out to our team through your Merchant Portal.
Updated 4 months ago