User Management
Add new users, manage existing users, and deactivate existing users from your Merchant Portal account.
Manage new and existing users in the Merchant Portal and assign them to user roles with specific permission sets.
NoteUsers are added at the account level. If your account contains multiple stores, each user added will have access to all stores associated to the account.
Roles
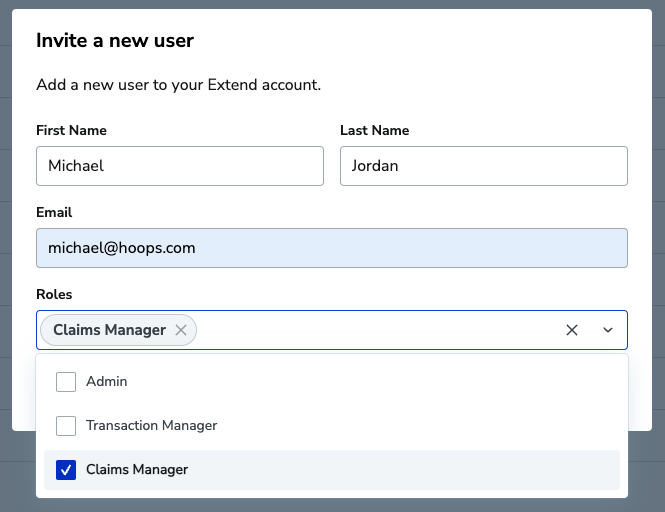
Extend provides a pre-defined set of Roles to grant to Merchant Portal users. Roles have a pre-defined set of permissions that control access to features and data. The below table illustrates the level of access for each Role, listed from top to bottom from most privileged Role to least privileged.
| Role Name | Users | Customize | Settings | Analytics | Contracts | Claims | Products | Leads |
|---|---|---|---|---|---|---|---|---|
| Admin | full | full | full | view | edit | full | full | full |
| Transaction Manager | none | view | view | view | edit | full | full | full |
| Claims Manager | none | none | none | none | view | full | none | none |
As shown above, Extend Permissions are aligned with our platform's major transaction and configuration records. Permissions are aligned to three levels: view, edit, and full which are mapped to the following basic CRUD operations (CREATE, READ, UPDATE, DELETE).
view= READedit= READ | UPDATEfull= CREATE | READ | UPDATE | DELETE (INACTIVATE)
Add a User
You can add other members of your company to your Merchant Portal account by doing the following:
- Log into the Merchant Portal
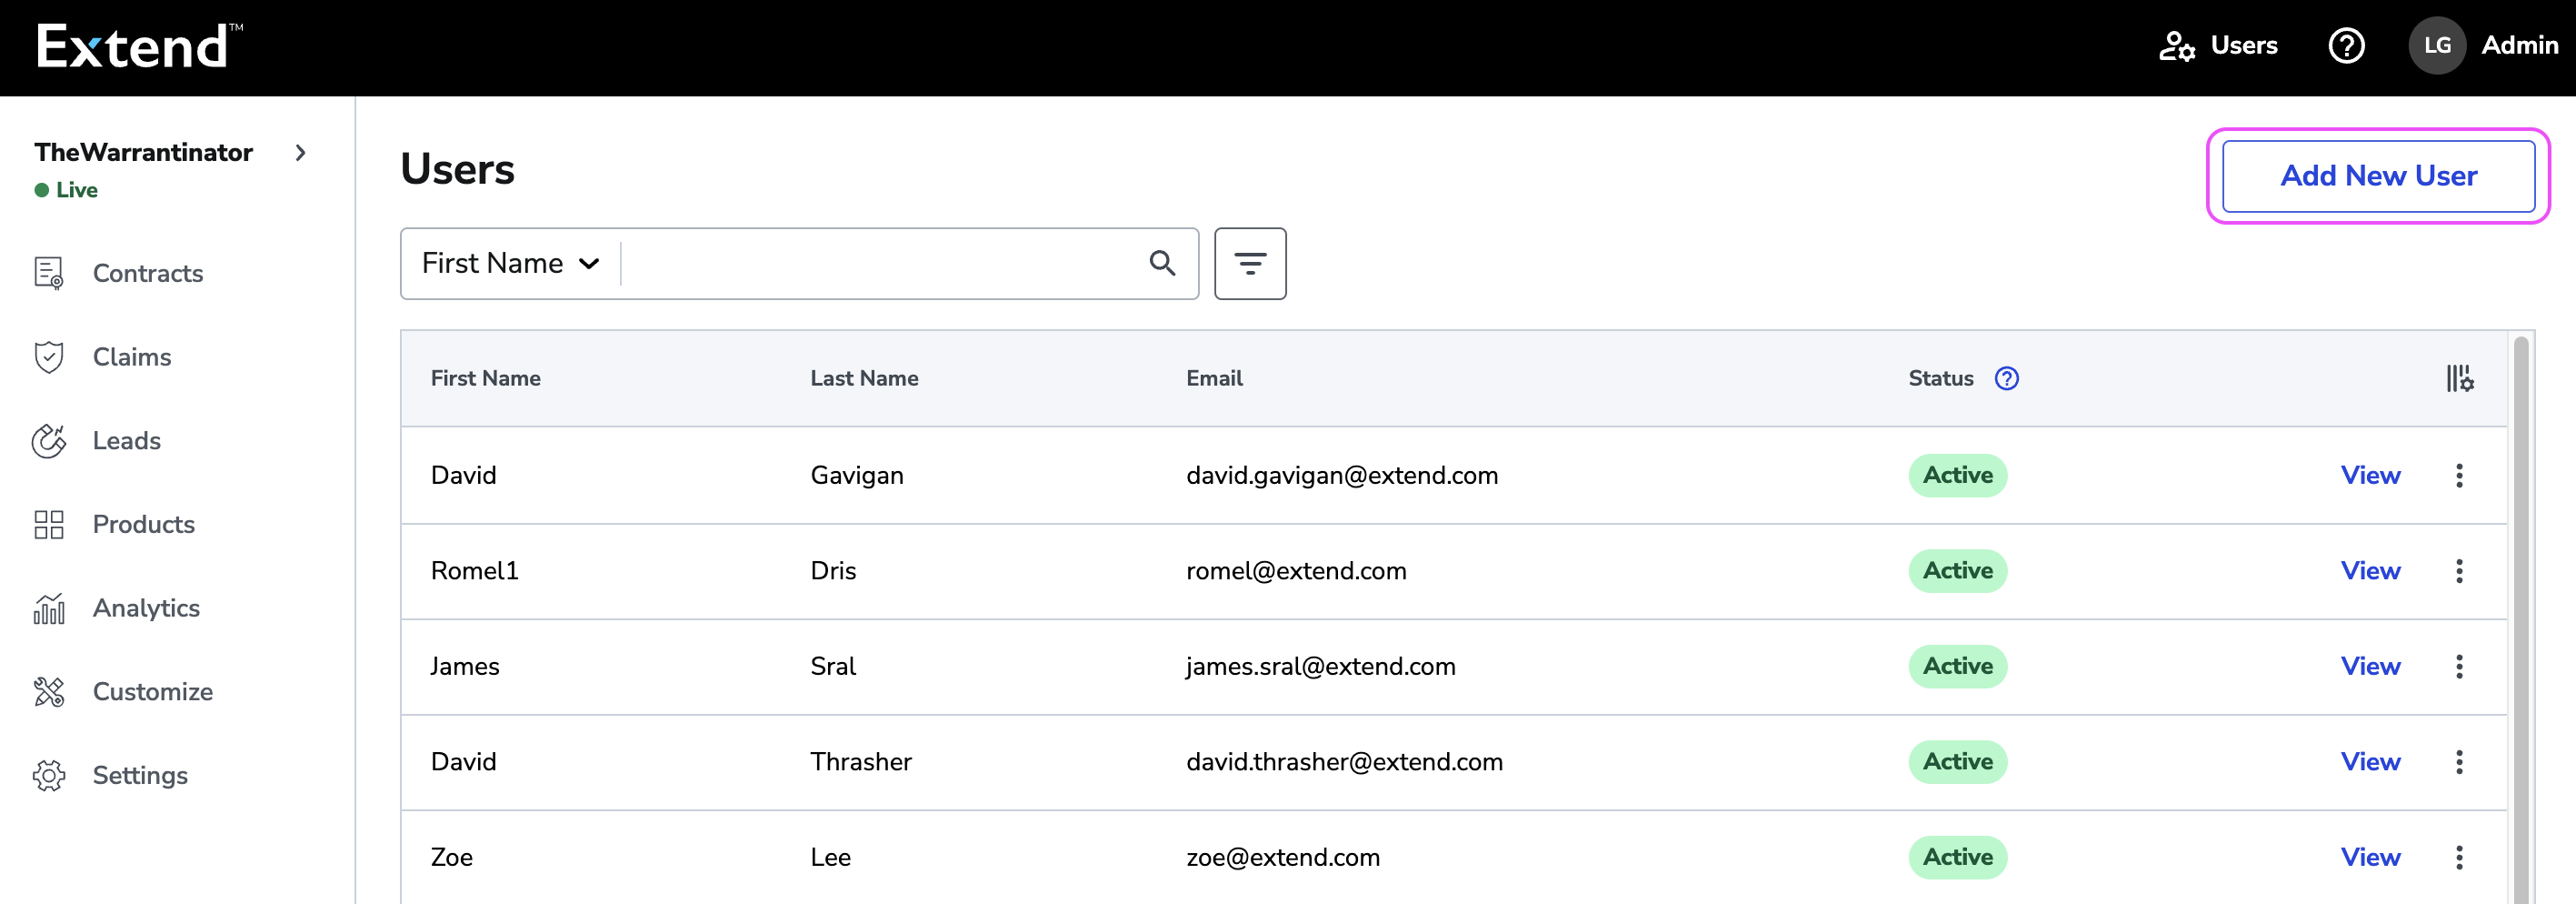
- On the top navigation bar, click on the Users icon

- Click the Add New User button
- Enter First Name, Last Name, and Email. Select one or multiple Roles to assign to the user. Then click the Add User button.
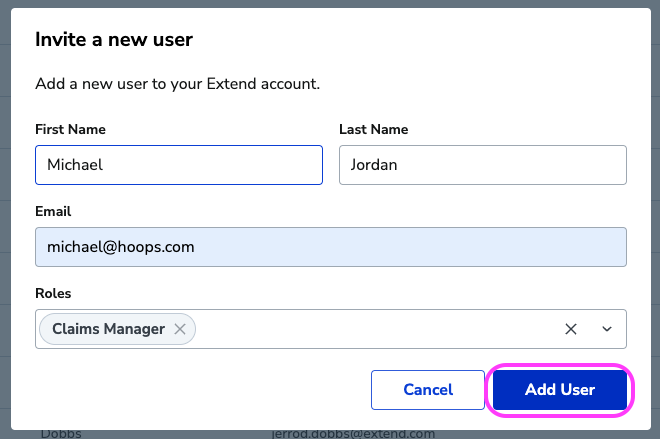
New User Added!The user will receive an email verification from Extend prompting them to set their password in order to access the Merchant Portal account.
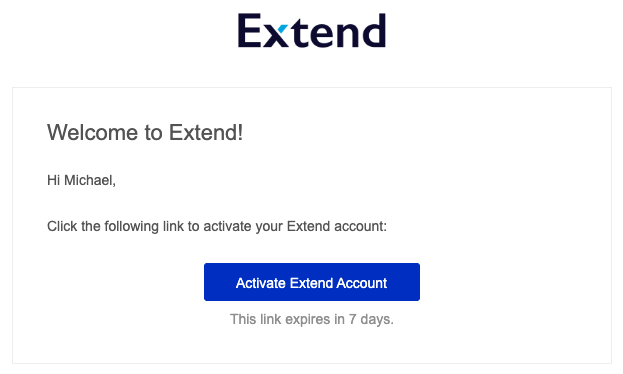
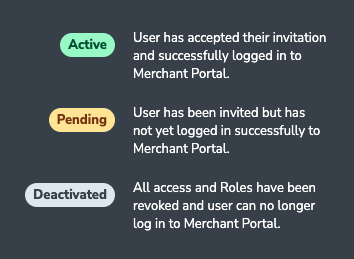
The user will appear in Pending status until they create a password and successfully log in. User status definitions are listed below:
Manage User Role Assignments
Once a user is created, you can update their Role assignment at any time.
-
Log into the Merchant Portal
-
On the top navigation bar, click on the Users icon

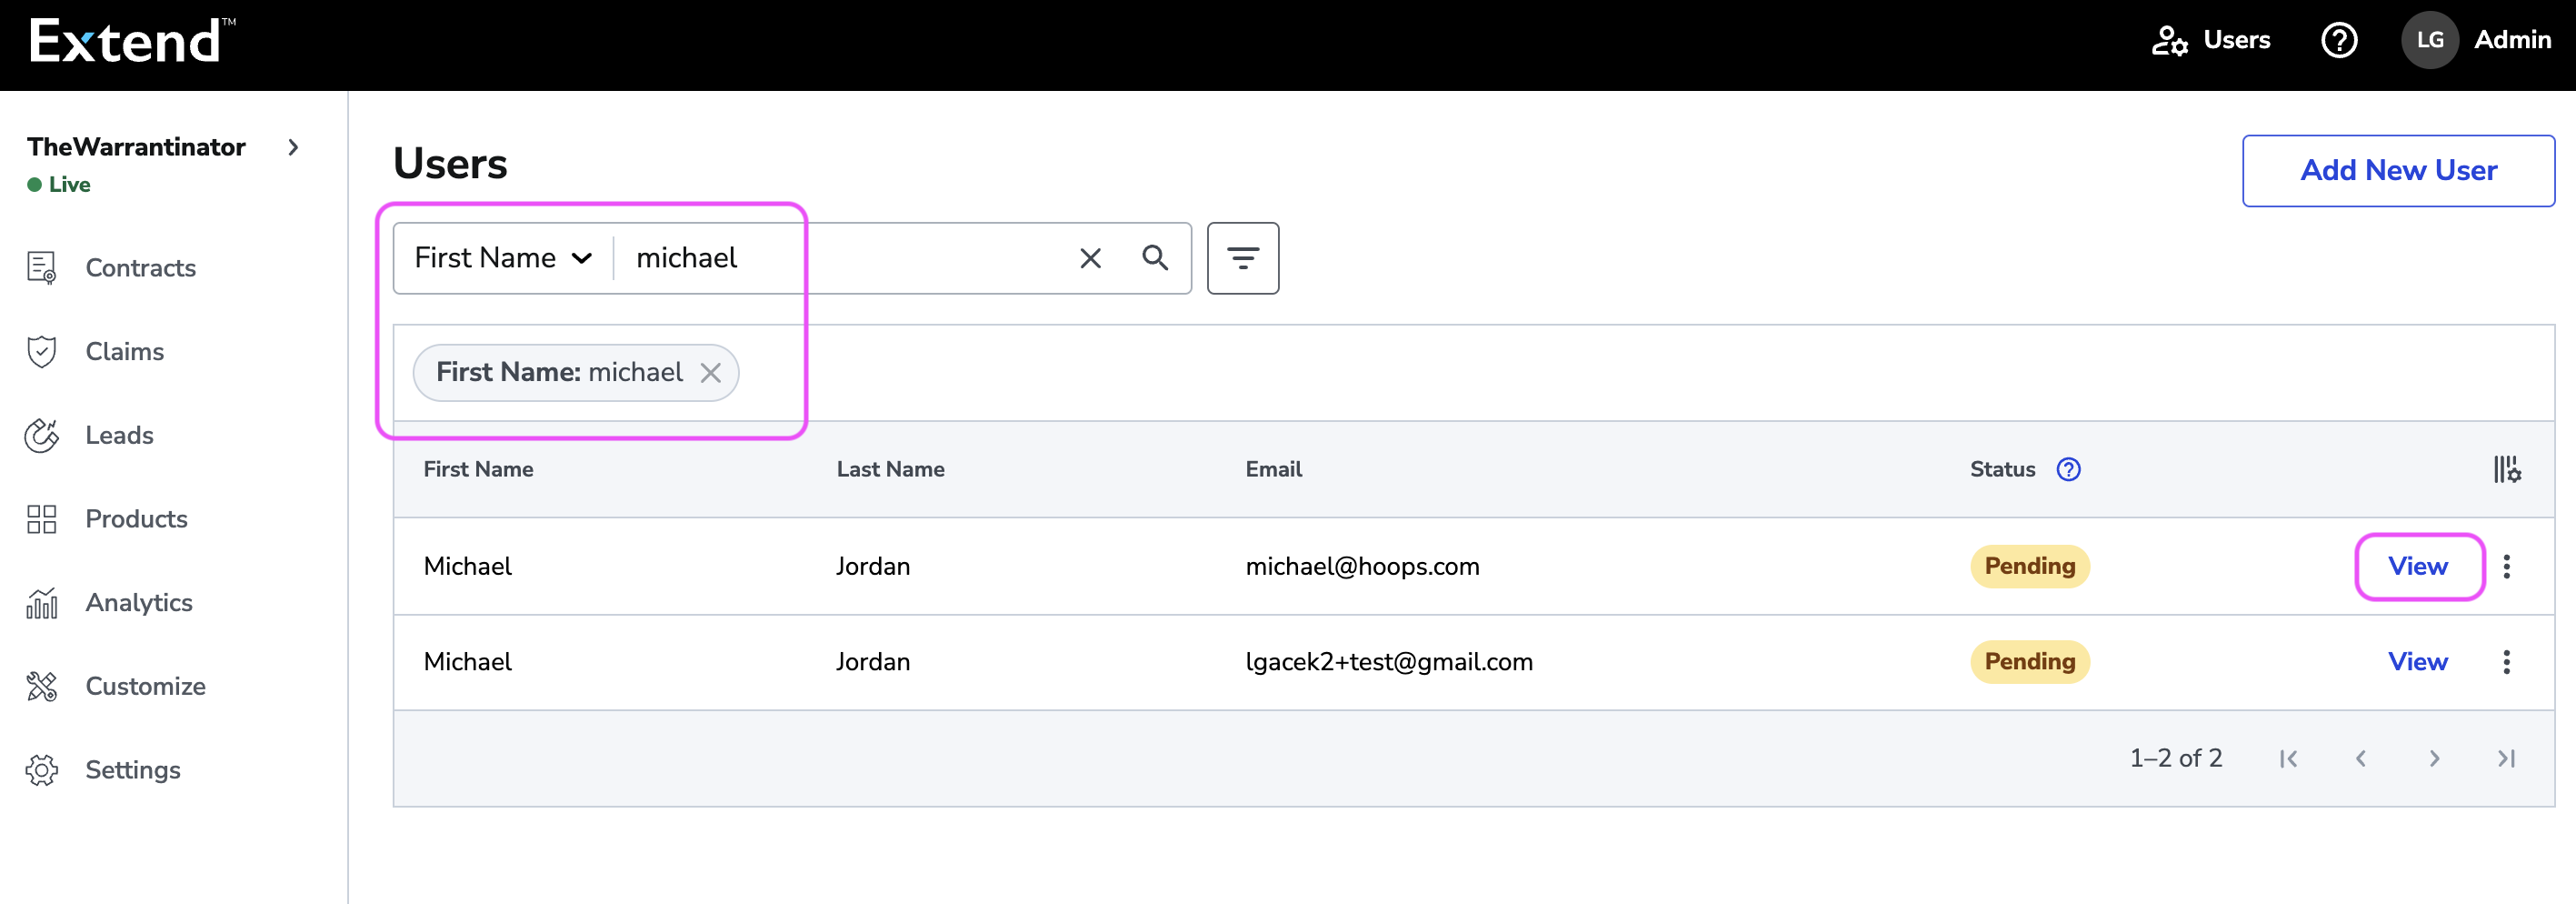
- Locate a user in the list and click the View button on the user record
- You can search for users by First Name, Last Name or Email
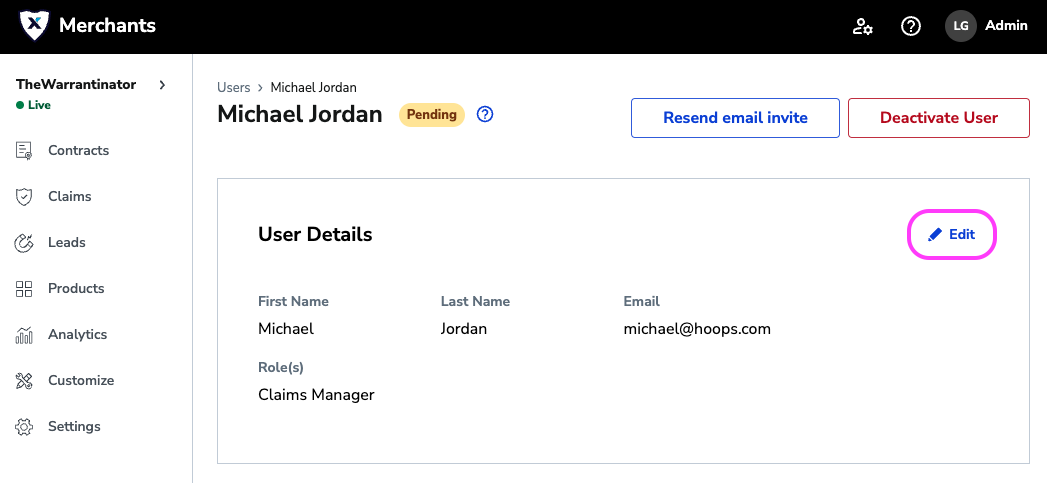
- Click the Edit button on the user details page.
- Make the desired adjustment to Role assignments and click Save
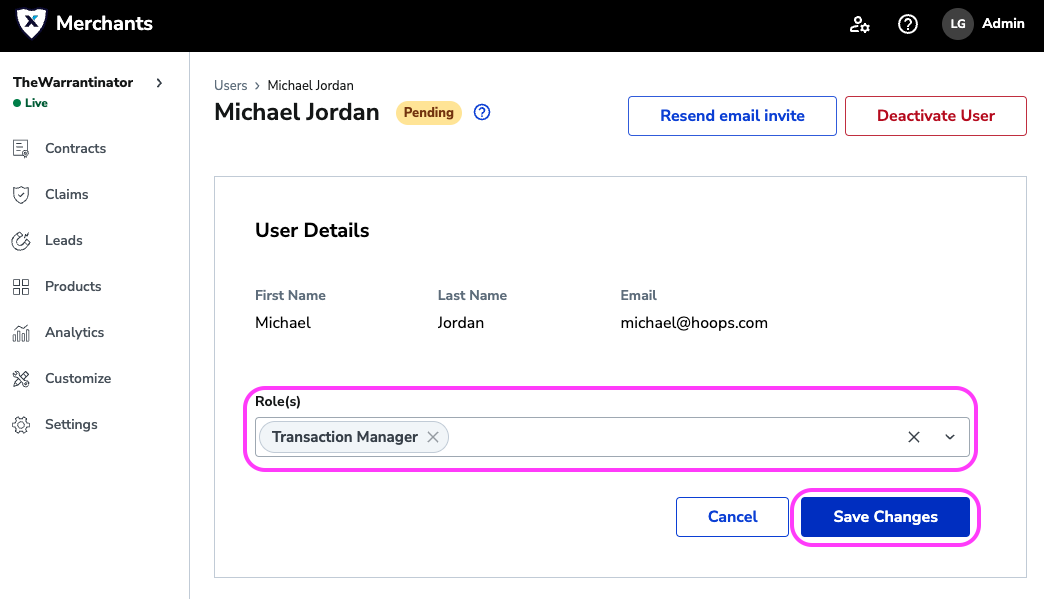
A "Successfully updated user roles" message will display to confirm the changes.
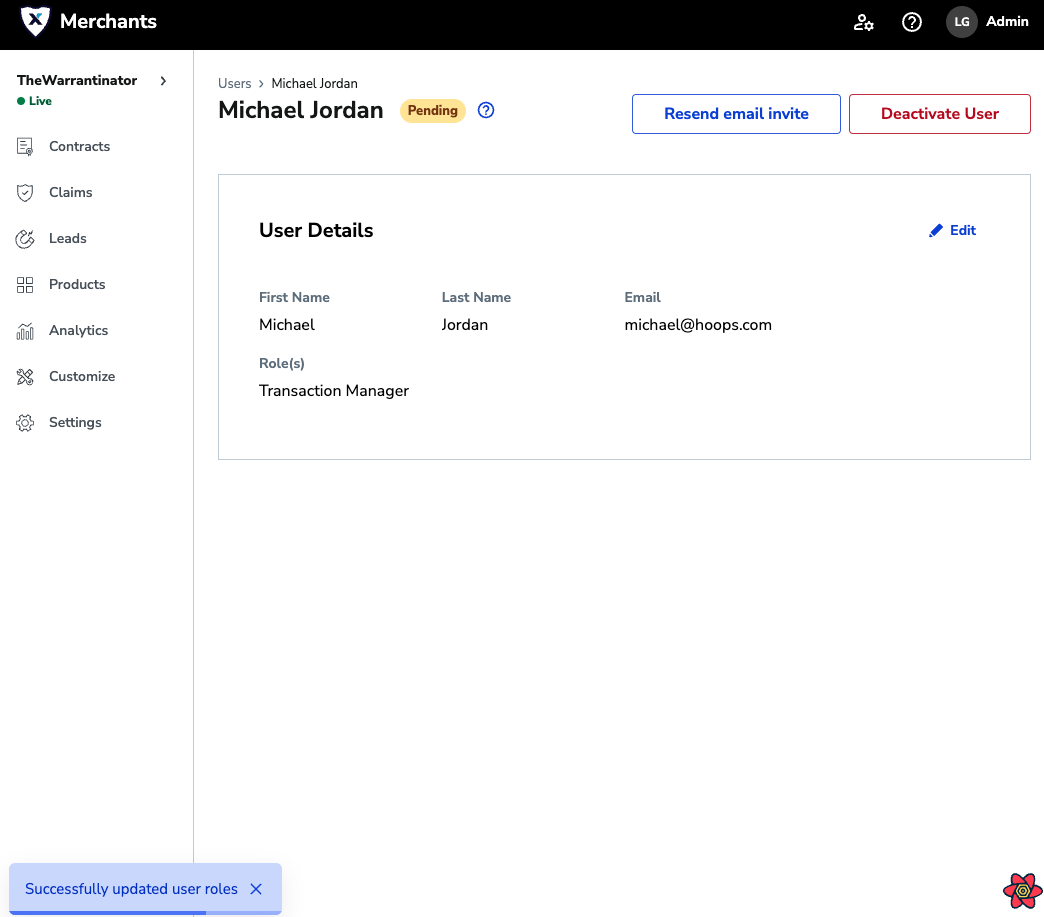
NoteOnce a user is created, Email can not be changed. If an incorrect email address was entered, Deactivate the user and create a new one with the correct Email. Also, after user creation, only the user themselves can update the First Name and Last Name via their User Profile.
Resend Email Invite
When a new user is created, a confirmation email is sent to the user's email address prompting them to set a password to access the Extend Merchant Portal Account. If this confirmation email gets lost or if the invitation expires, a new invite email can be generated:
- On the User Details page, click the Resend email invite button
- A user must be in "Pending" status to see the Resend email invite button
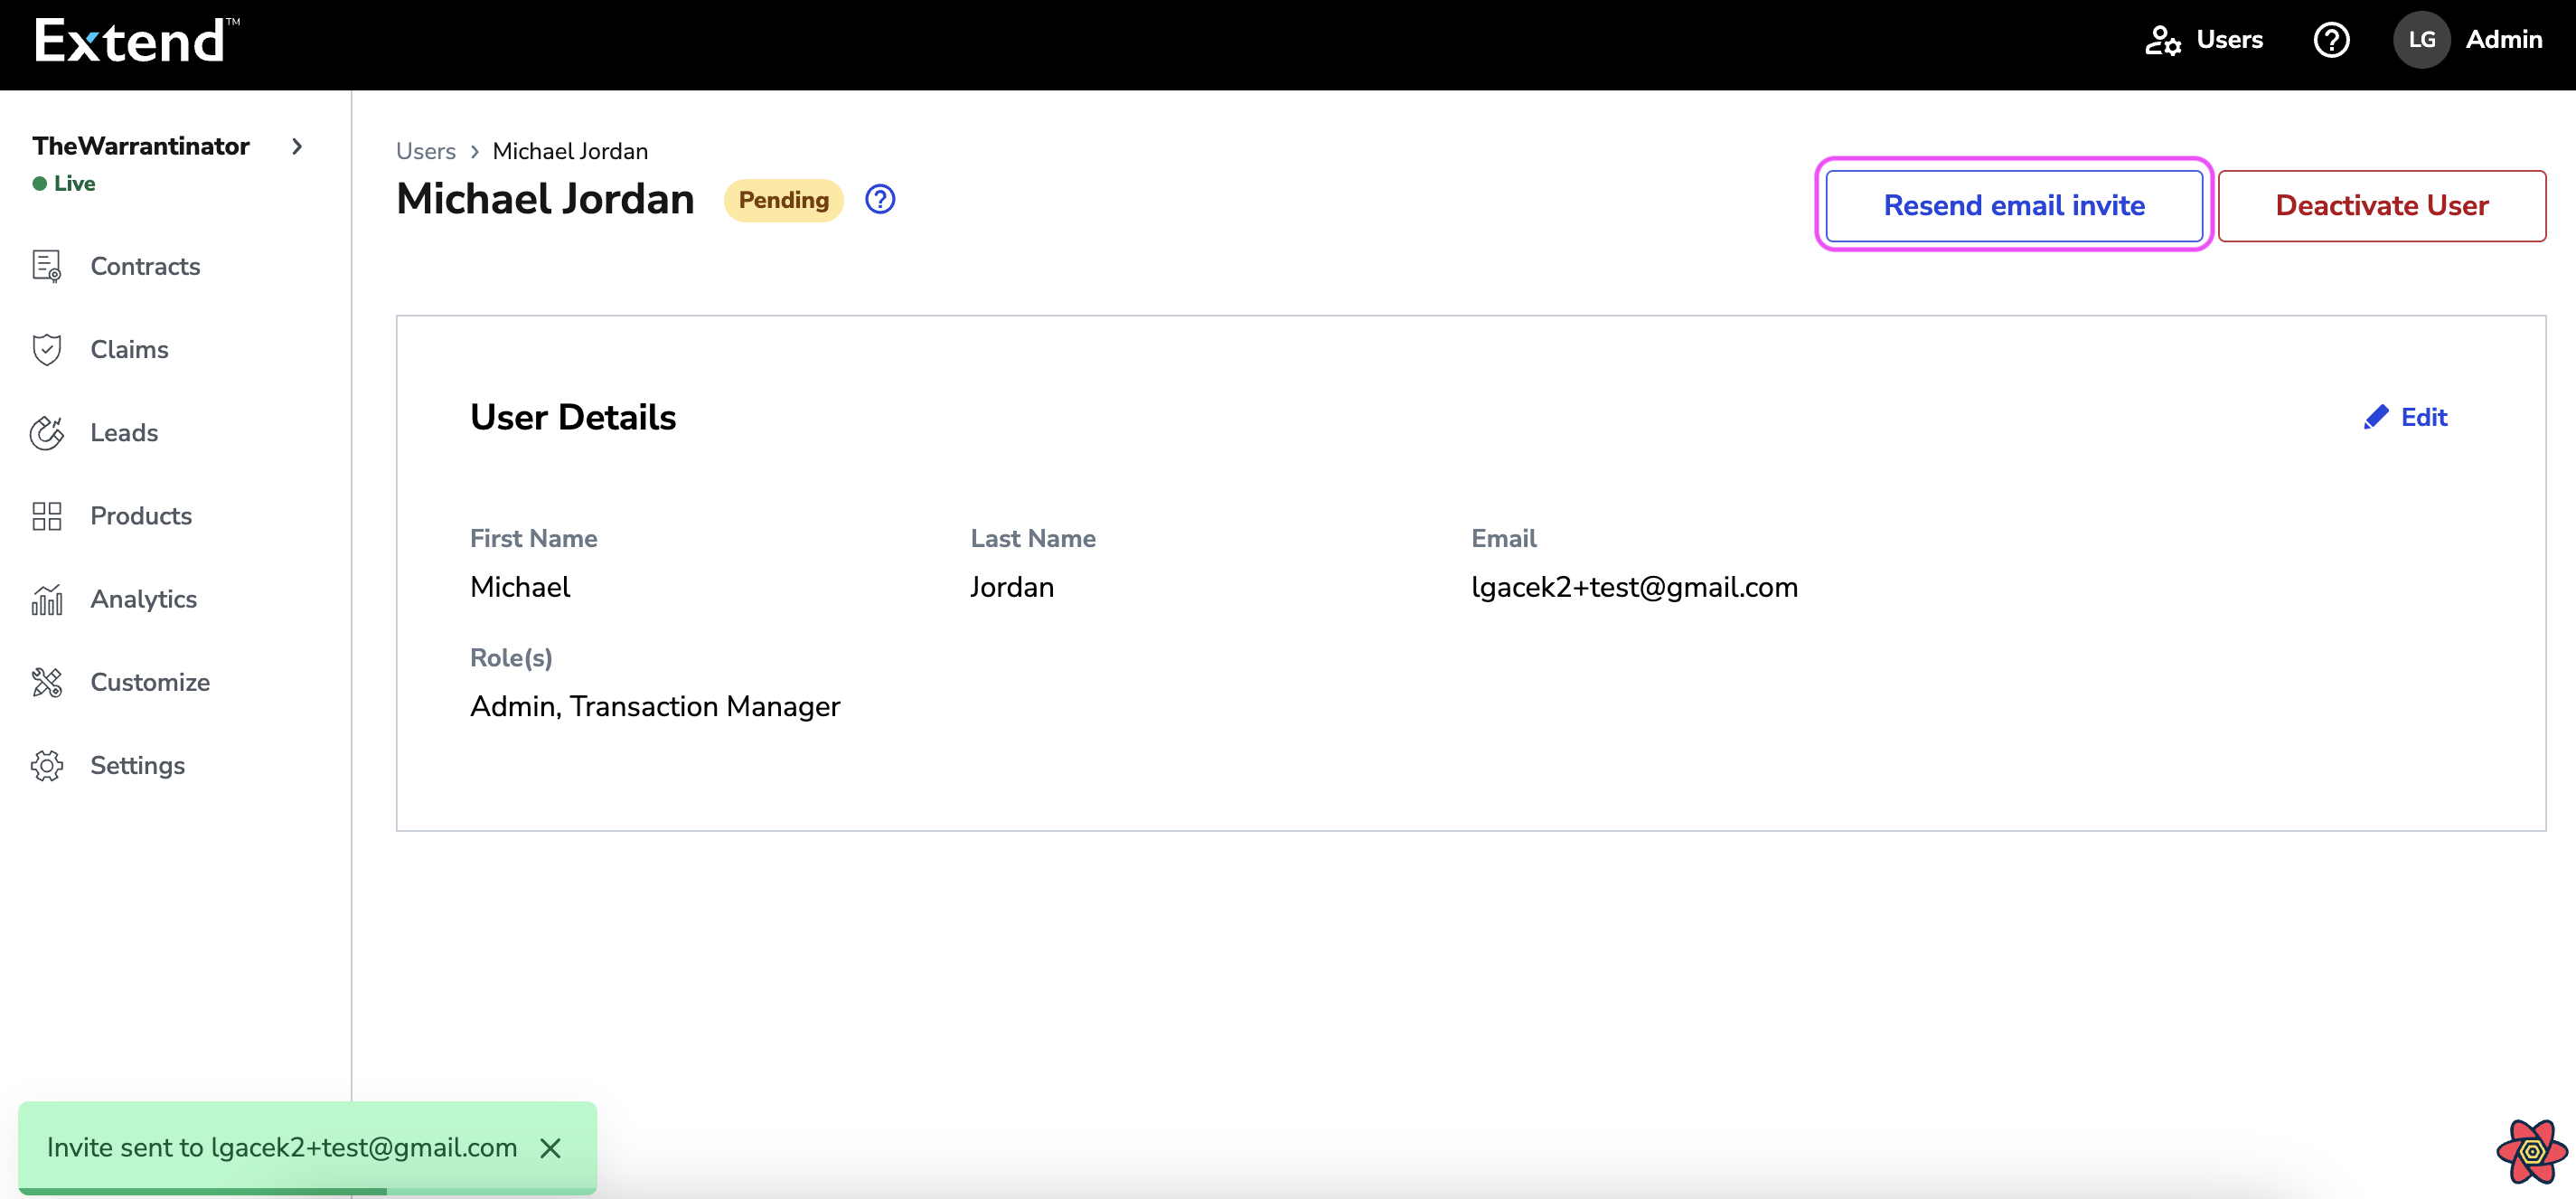
Invite Sent!The user will receive a new email verification from Extend prompting them to set their password in order to access the Merchant Portal account.
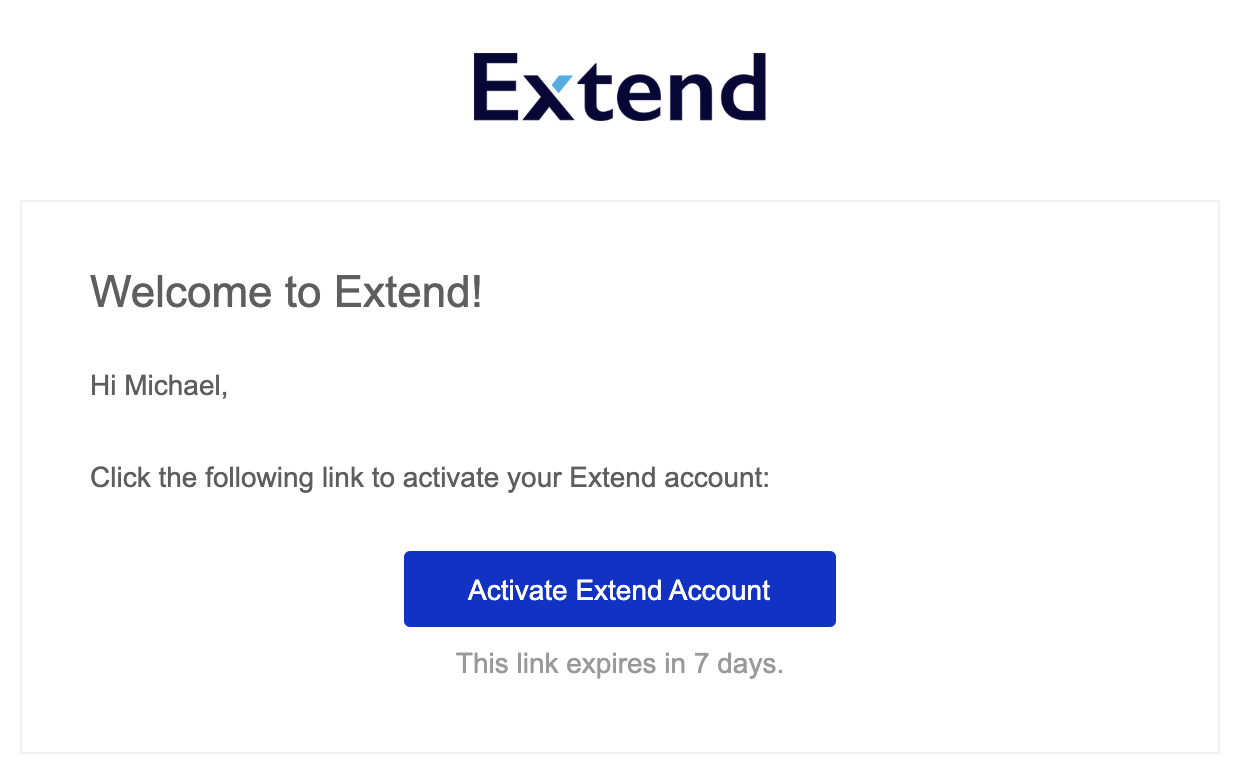
2-Factor Authentication
When signing into the Extend Merchant Portal for the first time, a user will need to set up their new password and 2-factor authentication.
-
First, the new user will be prompted to set up a password for the account.
-
Once a password is complete, the new user will need to set up a 2-factor authentication method for the account. This can be set up via Google Authenticator.
- Click 'Set up' below the Google Authenticator option shown below:
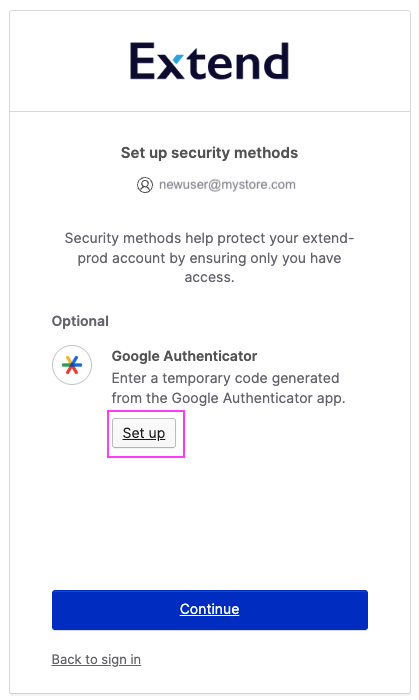
- Next, open the Google Authenticator app on your device, and tap the "+" icon, then select "Scan a QR code". Once this is set up, this code can now be used to login to this account anytime.
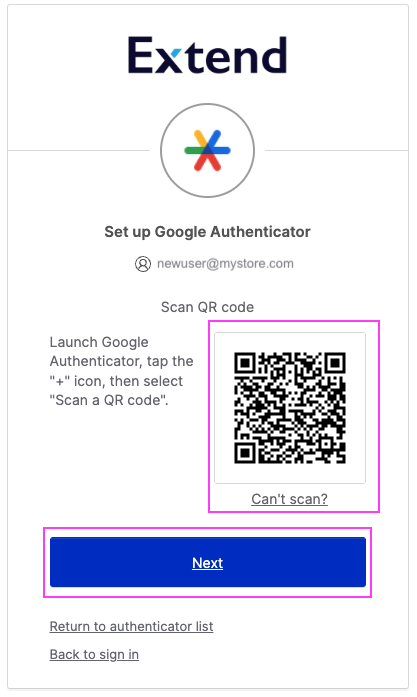
You are all set. This authentication method can be used to login to this account at any time.
Deactivate a User
You can deactivate a user in Active status or Pending status. Deactivation removes a user's access to your Merchant Portal Account by removing all their Roles. The user record is preserved and marked as "Deactivated".
- From the User Details page, click the Deactivate button. The Deactivate Button is available for any user in Pending or Active status.
- Note the Role assignments
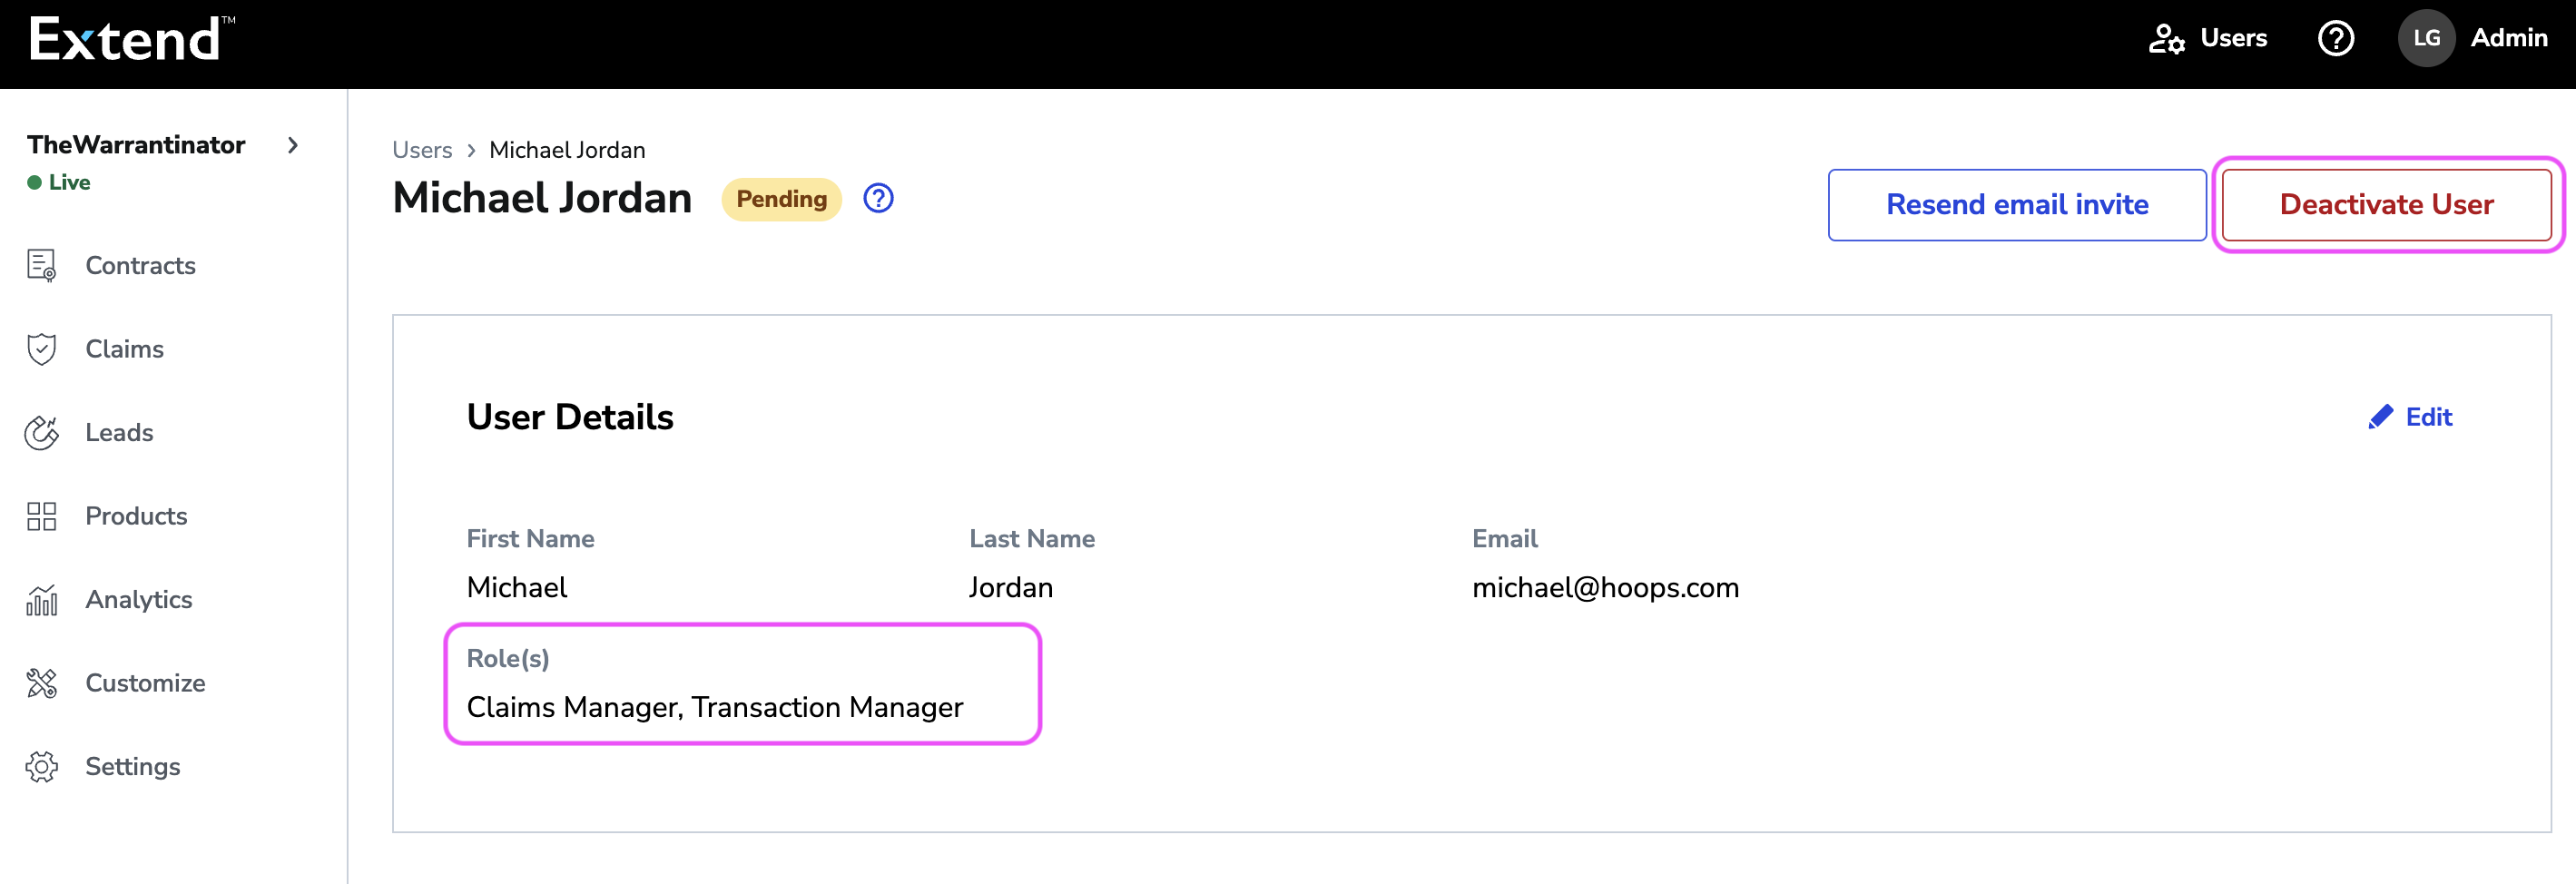
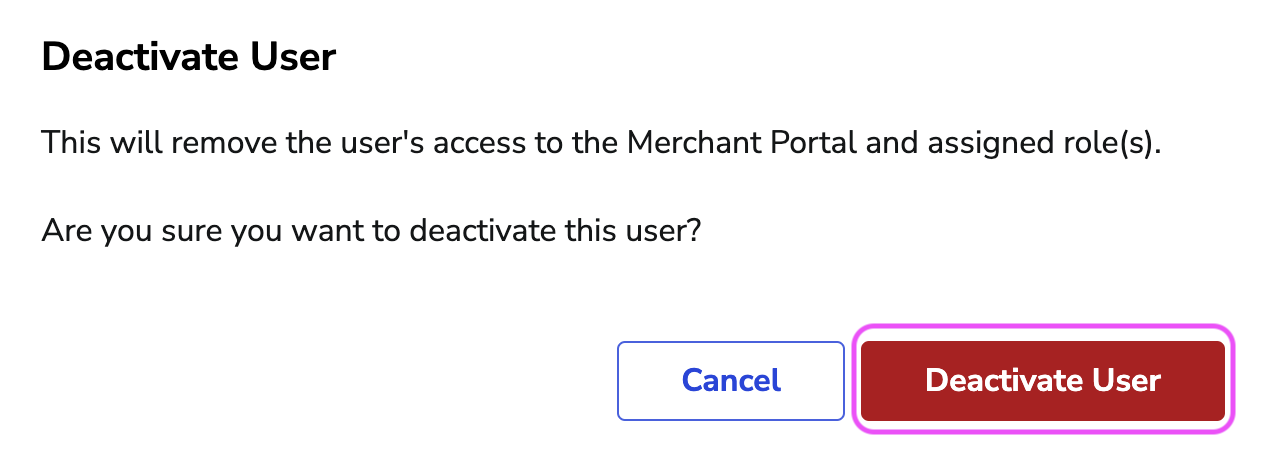
- The Deactivate User modal will display. Click the Deactivate User button to confirm.
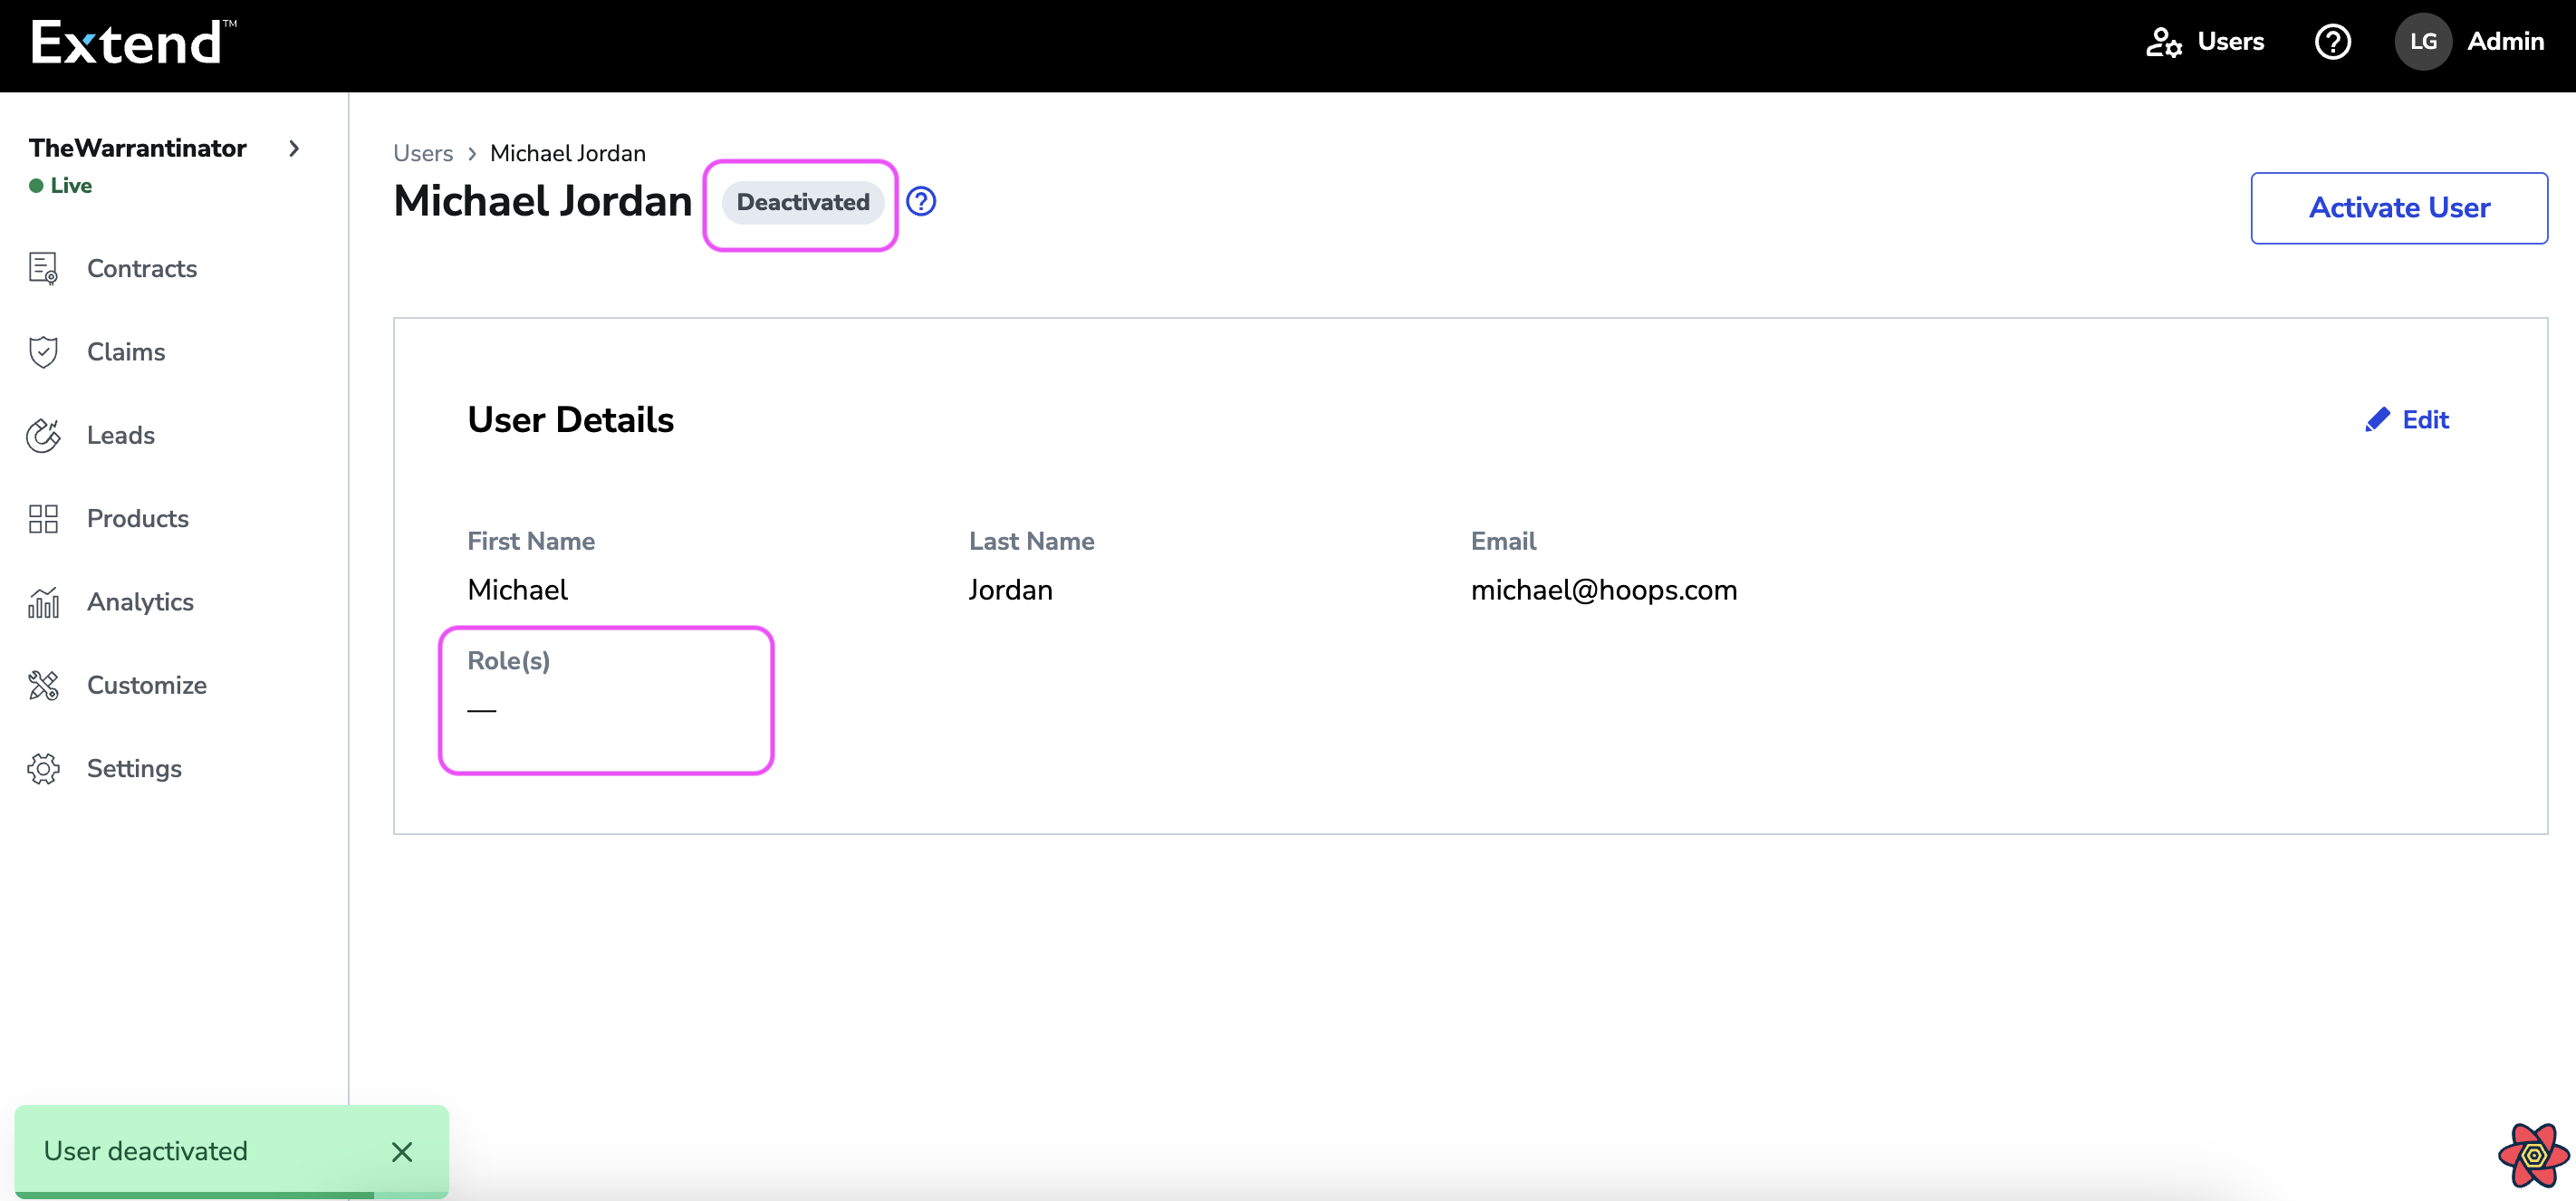
"User deactivated" message is show. User status is changed to "Deactivated" and all roles have been removed.
Updated 3 months ago