Updating your Shopify FAQ page for Post-Purchase
This guide is specifically for merchants who have an existing FAQ page related to our Product Protection offers and would like to add a "Get Protection" button to the page that will trigger Post-Purchase offers.
Overview
In this guide we will be updating your existing Product-Protection FAQ landing page on Shopify with some code and a script that will add a Post-Purchase Protection offer to the page acting as a default landing for all your Post-Purchase Email offers. This post-purchase offer button will only be visible to customers with the lead token.
Example:
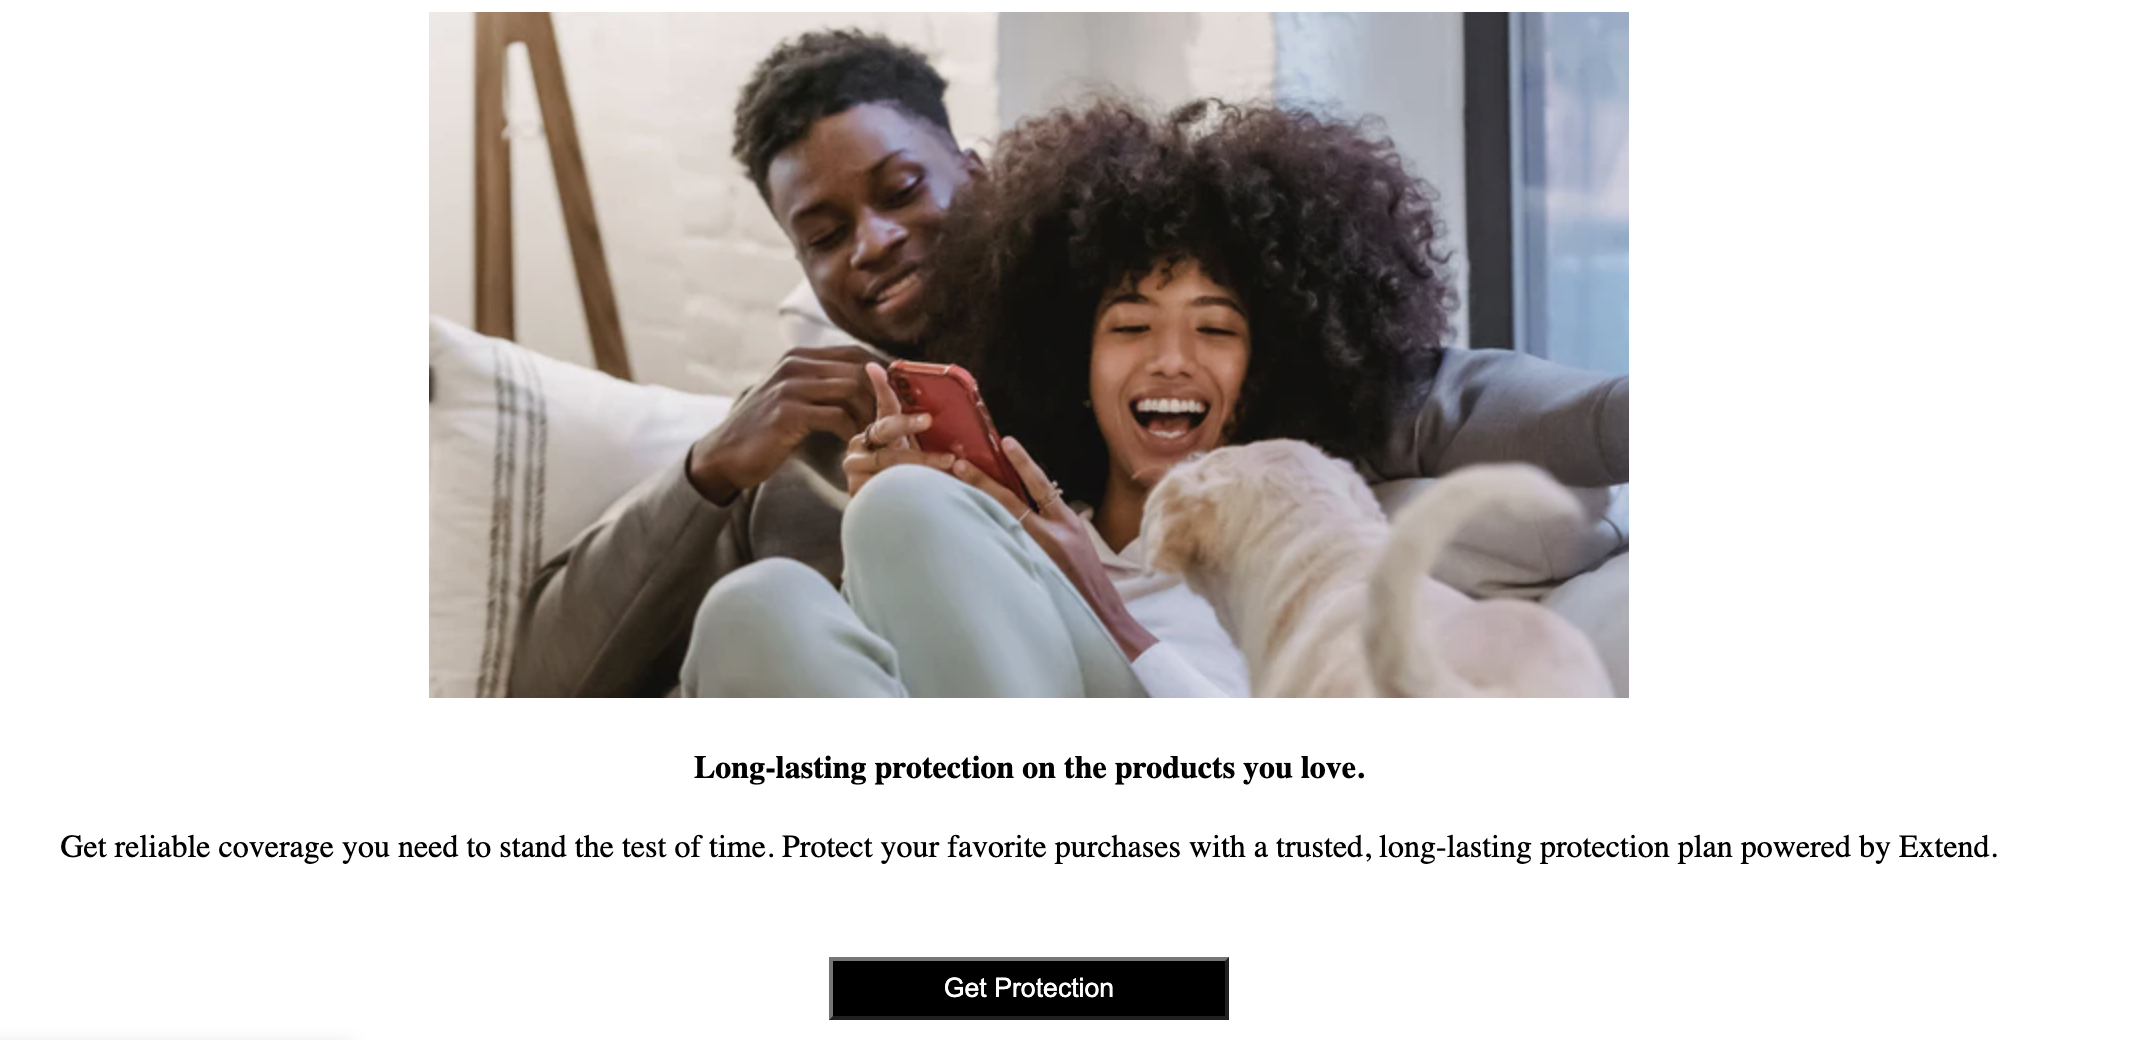
Post Purchase offer button
Above is a look at the Post Purchase offer button that a customer can click into to generate their Post-Purchase Protection offer. When a customer clicks the initial link from the post-purchase email, they will be directed to this page. The aftermarket modal will auto generate, but if they accidentally close that out they can use this button to regenerate the Post-Purchase offer.
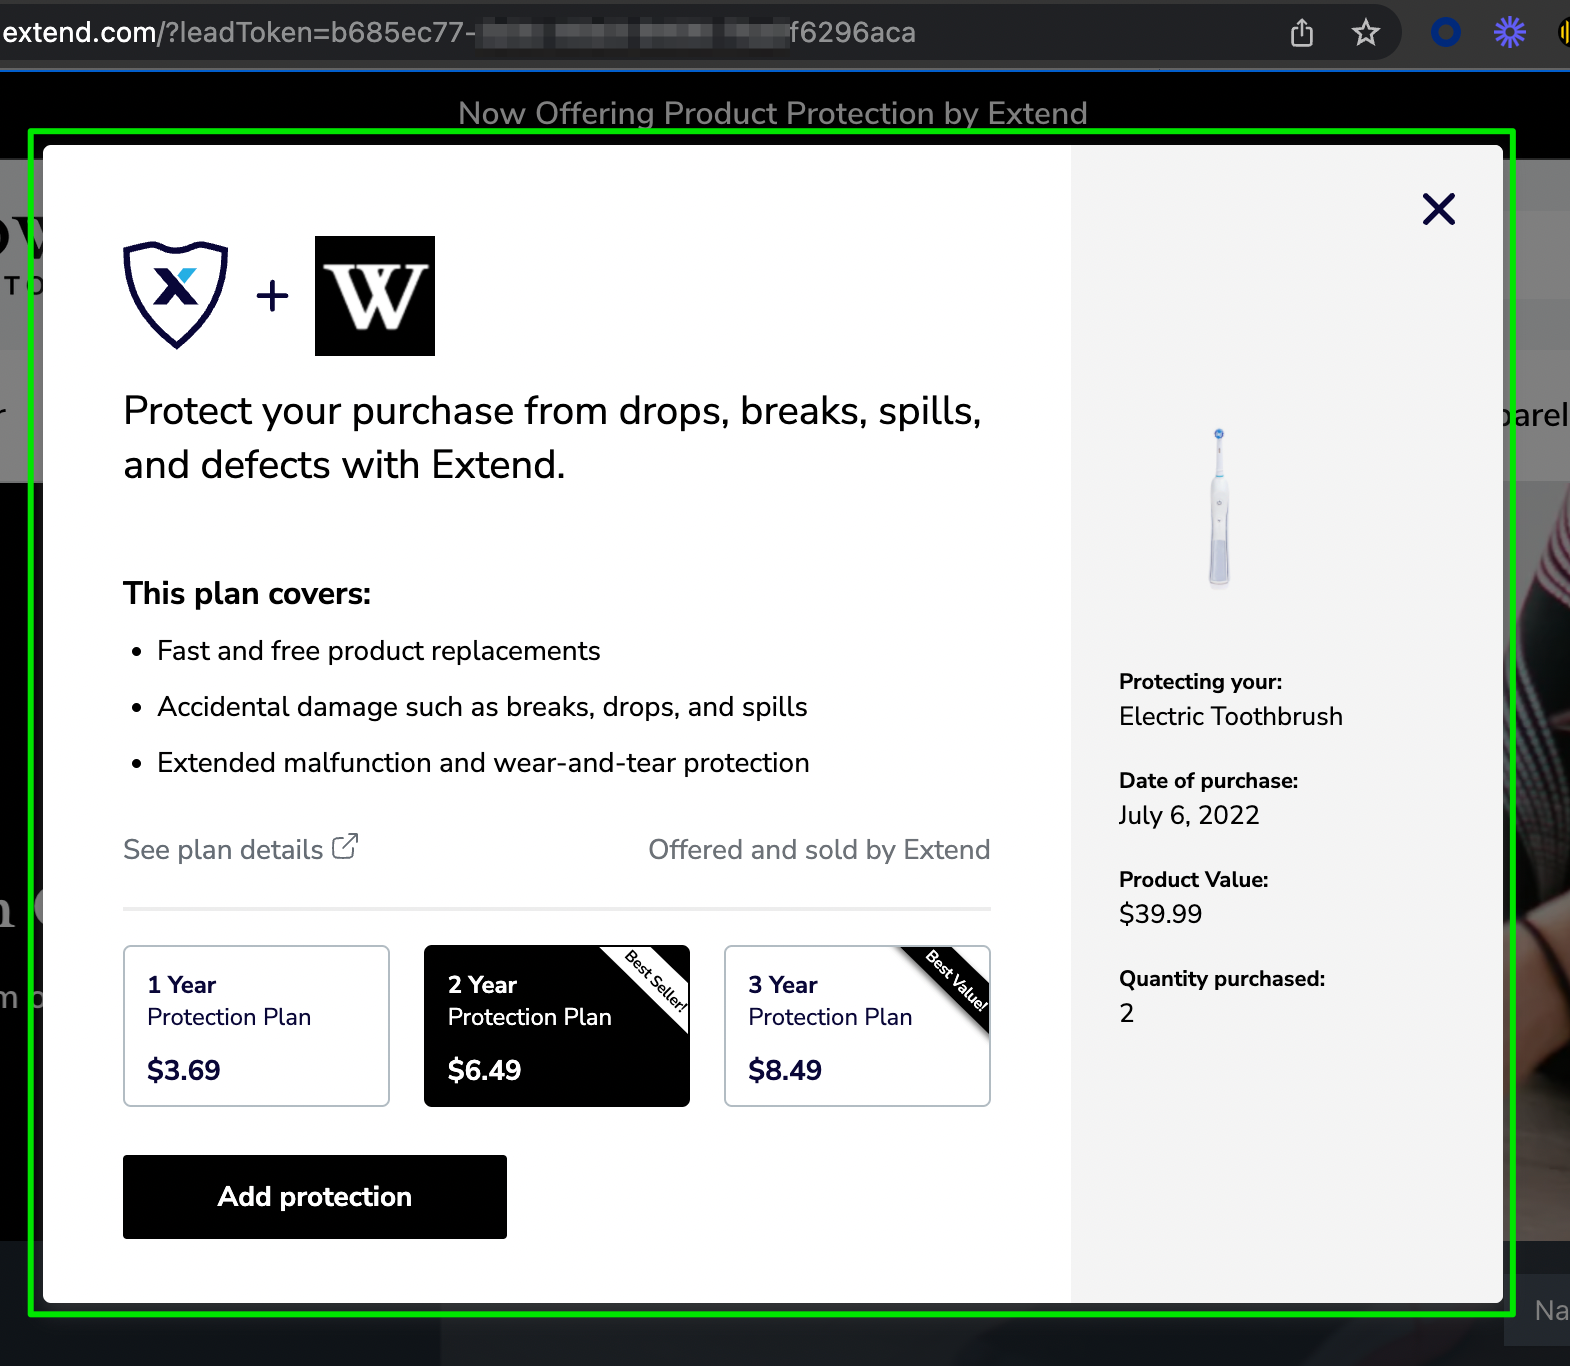
Aftermarket Modal Example
Getting Started
In this section we will tackle a couple tasks on the Shopify backend. This includes:
- Locate your current FAQ template in the Shopify backend
- Add the new script to the existing template
- Testing out the page
Prerequisites
- Existing Shopify 2.0 store with Extend Product Protection
- Running the latest version of the Extend Listed App
- Leads enabled on your account
- An existing FAQ page related to the Extend offers
- Developer experience or at least knowledge of the existing FAQ page's layout or creation
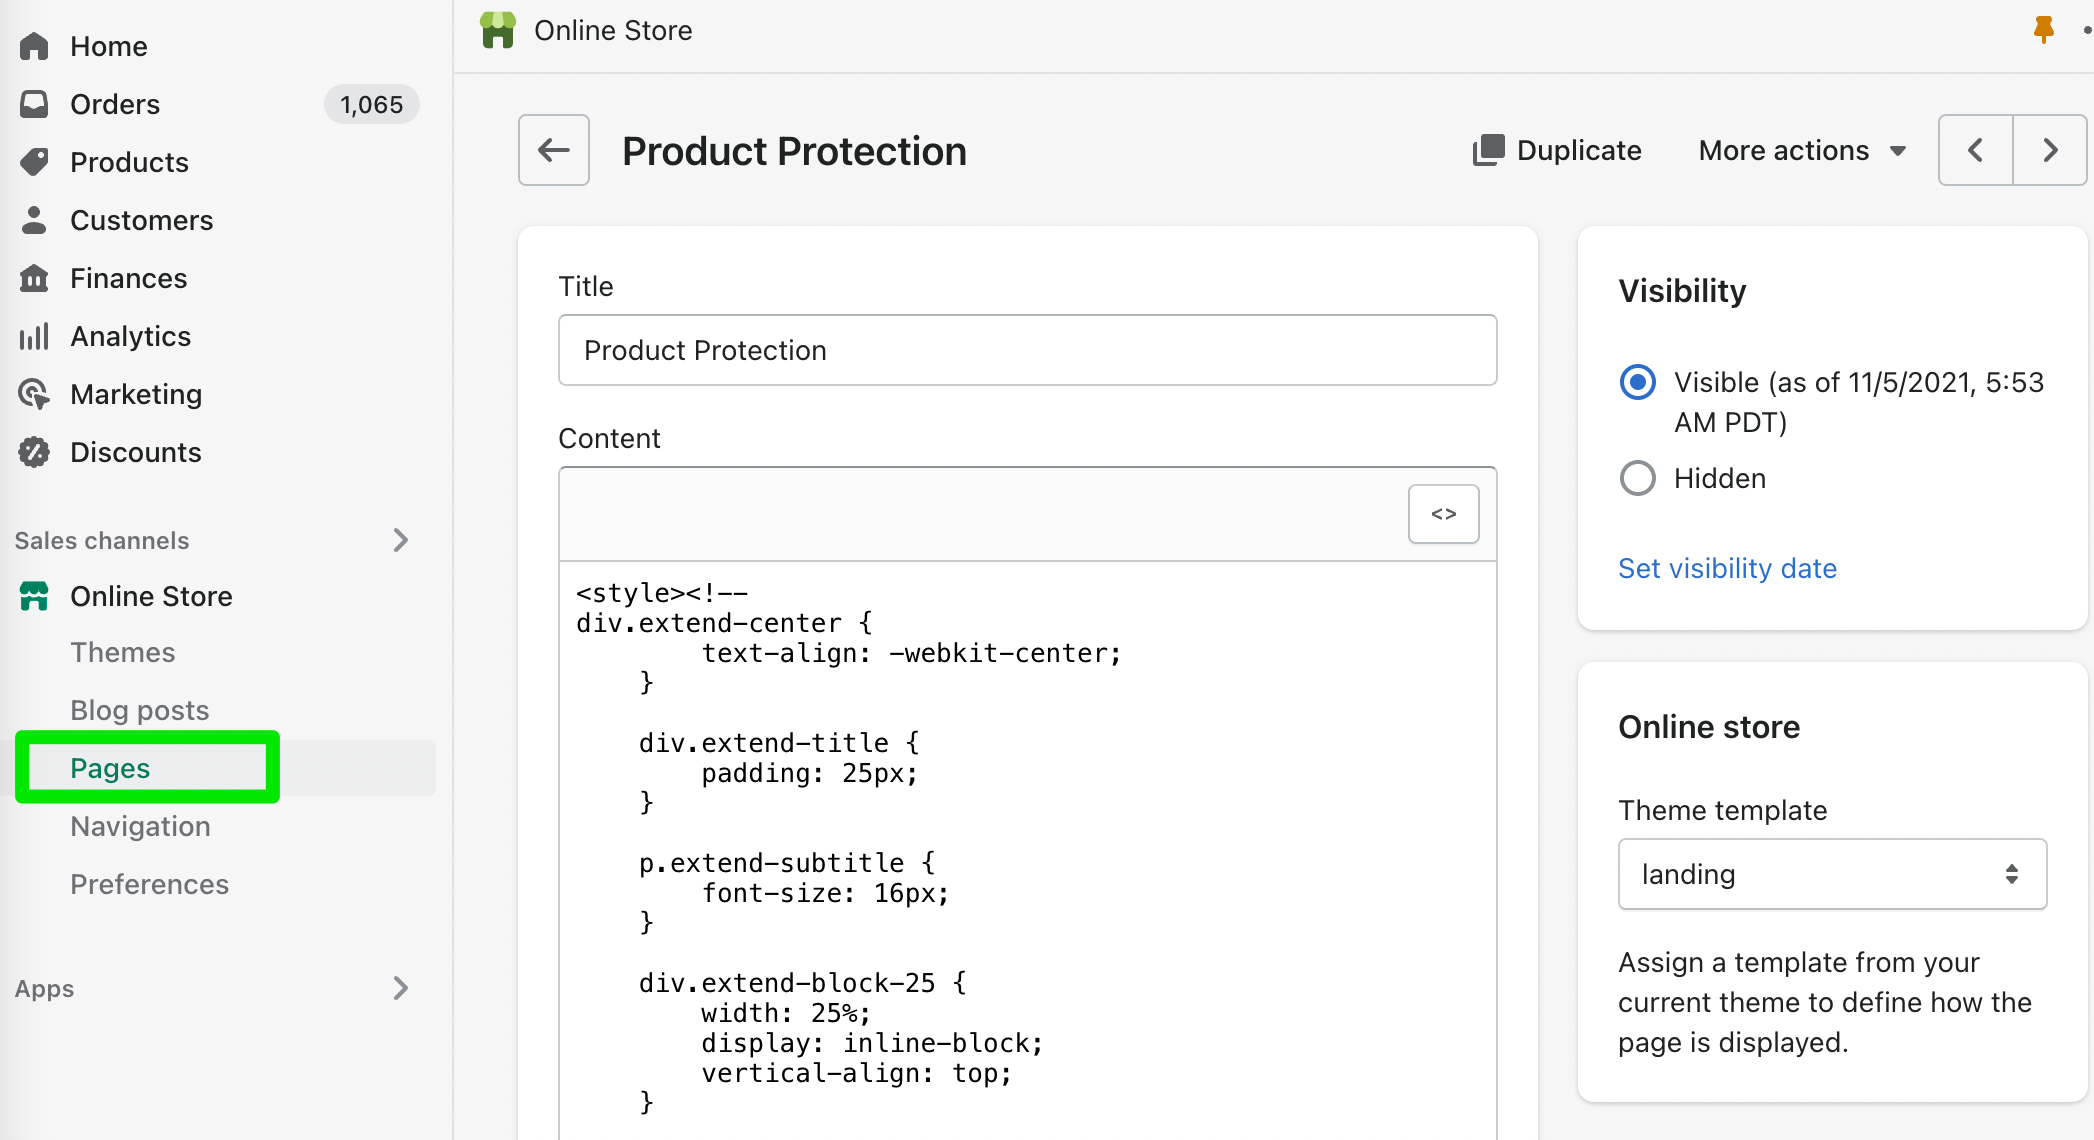
Locating the FAQ Template
Start off by heading over to the backend of your Shopify Online Store, specifically the Theme Section. Once there:
- Click the Action button for your current theme and then Edit Code.
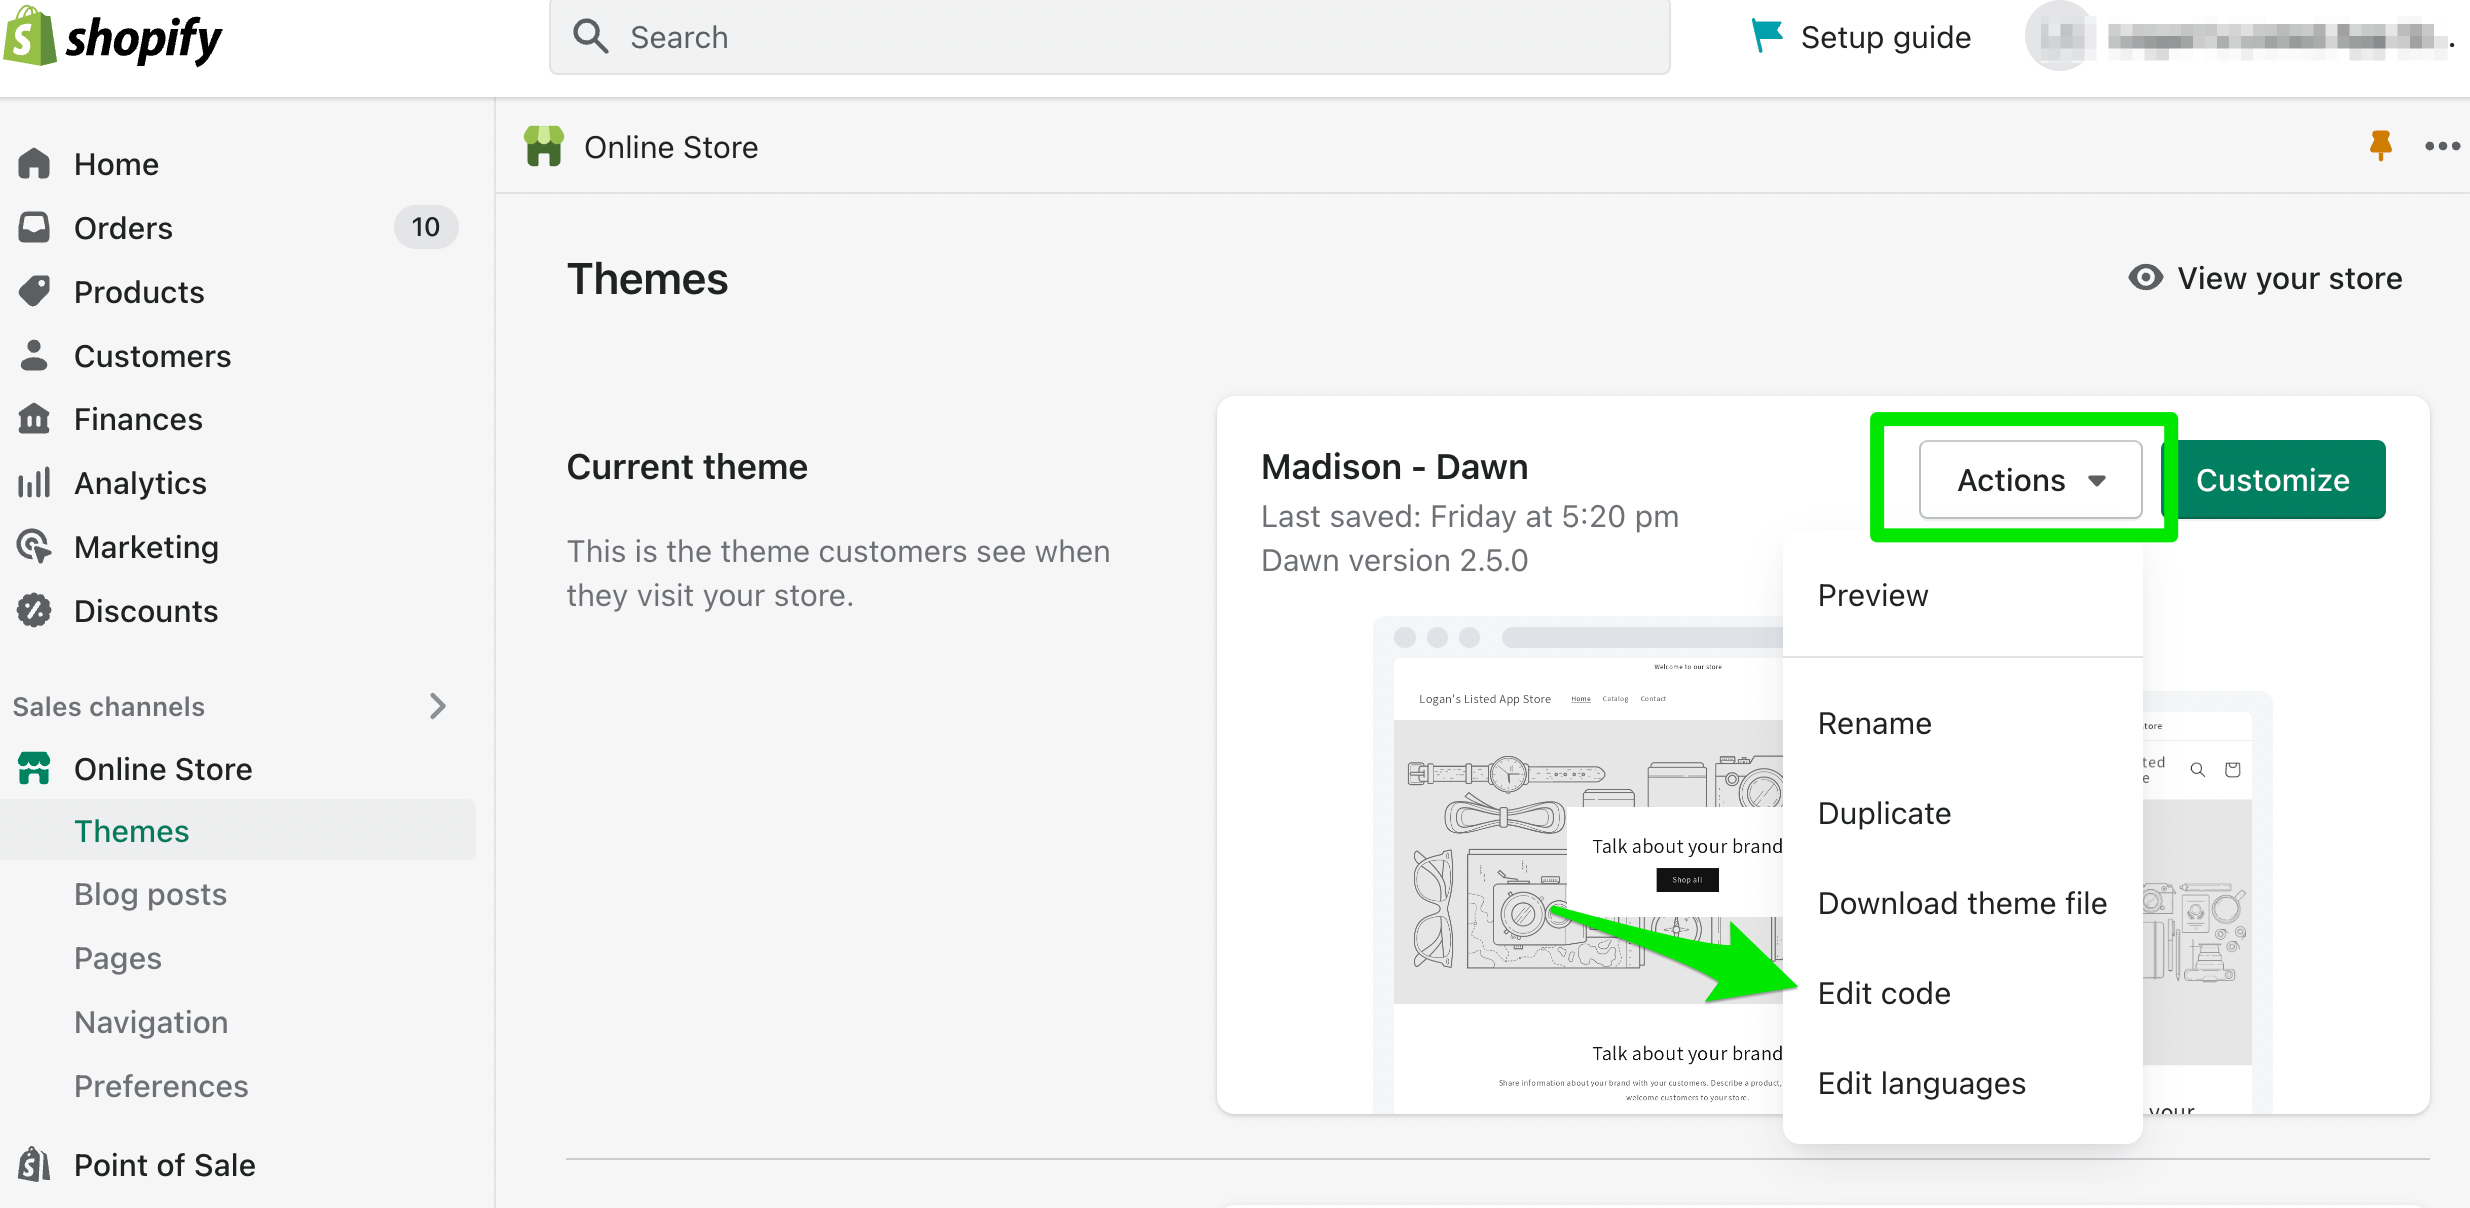
- Then on the left hand sidebar click the
Templatesfolder to open your template files. Find the file associated with your existing FAQ page.
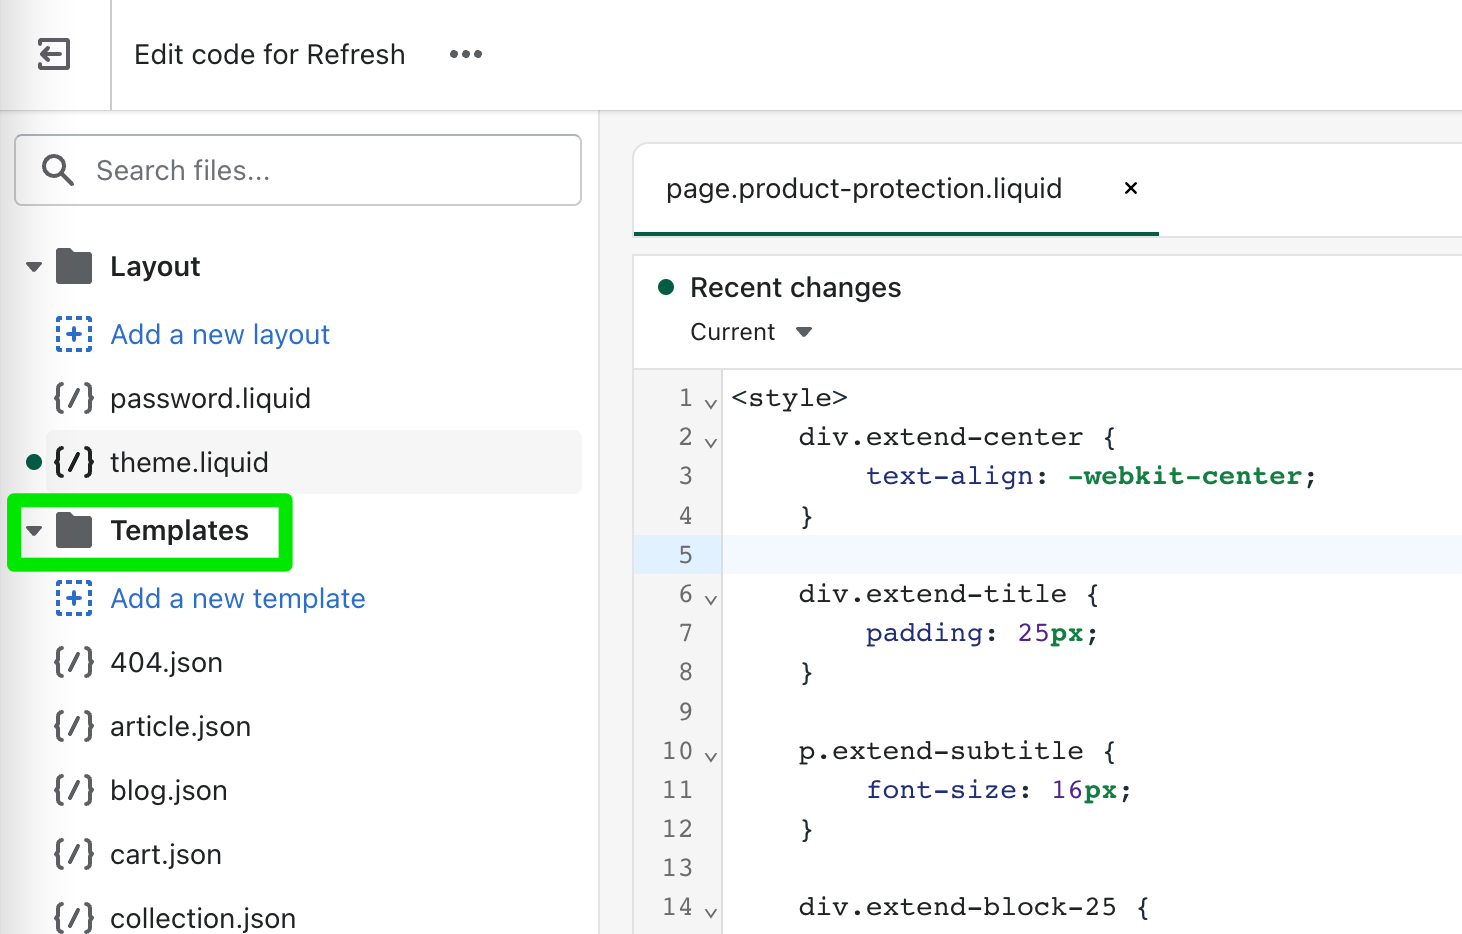
Alternatively, if your page code is build directly into the Page editor in Shopify vs the Templates you can also add the code in directly there:
Adding the Button
The code below is for the Button, along with some sample text and an image as seen in the Example above. We recommend adding the button code to your template in the first half of the page, that way any user's directed to a Post-Purchase offer land appropriately on this section of the page. You are welcome to change the image, style or verbiage to fit your store best:
<div class="extend-center">

    <img src="https://cdn.shopify.com/s/files/1/0572/3910/9814/files/Woodrow_Extend_Hero_600x600.png?v=1635467864" />

    <h4>Long-lasting protection on the products you love.</h4>

    <p>Get reliable coverage you need to stand the test of time. Protect your favorite purchases with a
        trusted,
        long-lasting protection plan powered by Extend.</p>

    <div style={{ textAlign: "-webkit-center" }}>
        <button id="pp_offer_modal" name="pp_offer_modal" style={{ width: "200px", marginTop: "30px", backgroundColor: "#000000", color: "#ffffff", padding: "6px" }}>Get
            Protection
        </button>
    </div>

</div>
Simple Button Styling
Here is some simple styling to keep the content centered in the page:
<style>
div.extend-center {
        text-align: -webkit-center;
    }
</style>
Button Script
And finally the script necessary to run the Post-Purchase offer modal. If you don't already have a <script> section within your page template feel free to copy this content below and then paste it at the bottom of the FAQ page template:
<script>
	window.addEventListener('DOMContentLoaded', function () {
		if (window.Extend && window.ExtendShopify) {

			// Shows Extend post-purchase modal, only if a lead token is present in the URL
			function fireModal() {
				const params = (new URL(document.location)).searchParams;
				let leadToken = params.get('leadToken') ? params.get('leadToken') : params.get('leadtoken');
				if (leadToken) {
					Extend.aftermarketModal.open({
						leadToken: leadToken,
						onClose: function (plan, product, quantity) {
							if (plan && product) {
								ExtendShopify.addPlanToCart({ plan: plan, product: product, leadToken: leadToken, quantity: quantity || 1 }, function () {
									window.location = '/cart'
								})
							}
						}
					})
				}
			}

			// If the offer modal launcher is clicked, runs the fireModal function
			if (document.getElementById("pp_offer_modal")) {
				var offerButton = document.getElementById("pp_offer_modal");
				offerButton.addEventListener('click', fireModal);
				if (window.location.search == "") {
					offerButton.style.display = "none";
				}
			}


		}
	})
</script>
Testing the page
At this point please reach out to our team via the Merchant Portal and let us know that you have completed this guide and would like to direct your Lead offers to this page, providing us with a link to the page in the ticket.
Once we have confirmed the changes completed on our end, you are good to open up the page and test it out. Assuming you have already completed the setup for the Lead Tokens you should be able to grab one of those Lead Token URLs, paste it into your browser and test out the popup offer on this page.
Once you have pulled up the page and see it functioning, try closing out the offer pop-up and then re-open it with the "Get Protection" button. Once this is working, you have completed the guide and your customers now have a default landing page to be used for both informational needs and Post-Purchase offers.
This wraps up this portion of our Post Purchase offer Guide, if you run into any issues during this setup process or have questions please reach out to our team through your Merchant Portal.
Updated 4 months ago