Store Management
The Extend Store is the primary platform entity around which Extend data and configurations are managed.
Find your Extend Store ID
Your Store ID is the unique value generated in Extend's system that identifies your store. You can find and copy your Store ID by doing the following:
- Log into the Merchant Portal
- On the left navigation bar, click on Settings
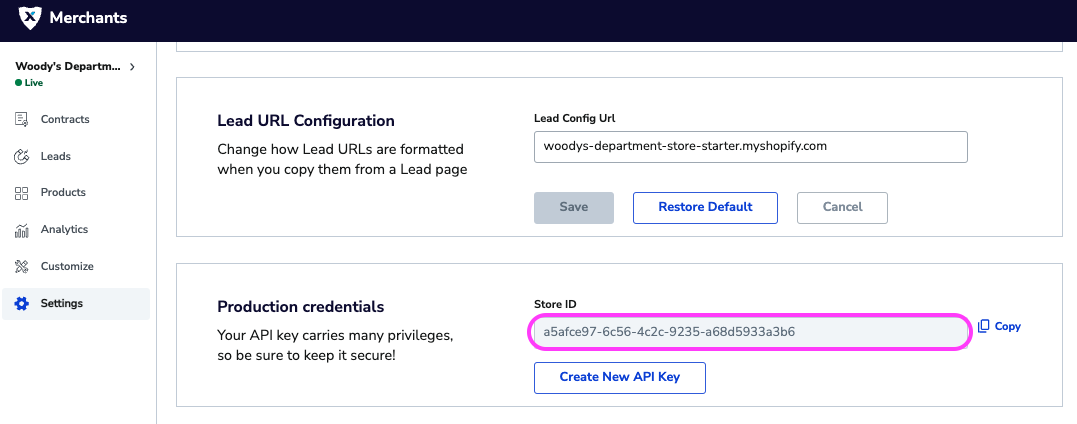
- Scroll down to the section called Production credentials (or Sandbox credentials for Demo environment)
- Your Store ID is the value below "Store ID". Copy your Store ID by clicking the Copy button
Update your Store Name
Your Store Name is the display name of your store. The Store Name is used:
- To differentiate between your stores in the Merchant Portal (if you have multiple stores)
- On Contract purchase emails that go out to your Customers
You can find and update your Store Name by doing the following:
- Log into the Merchant Portal
- On the left navigation bar, click on Settings
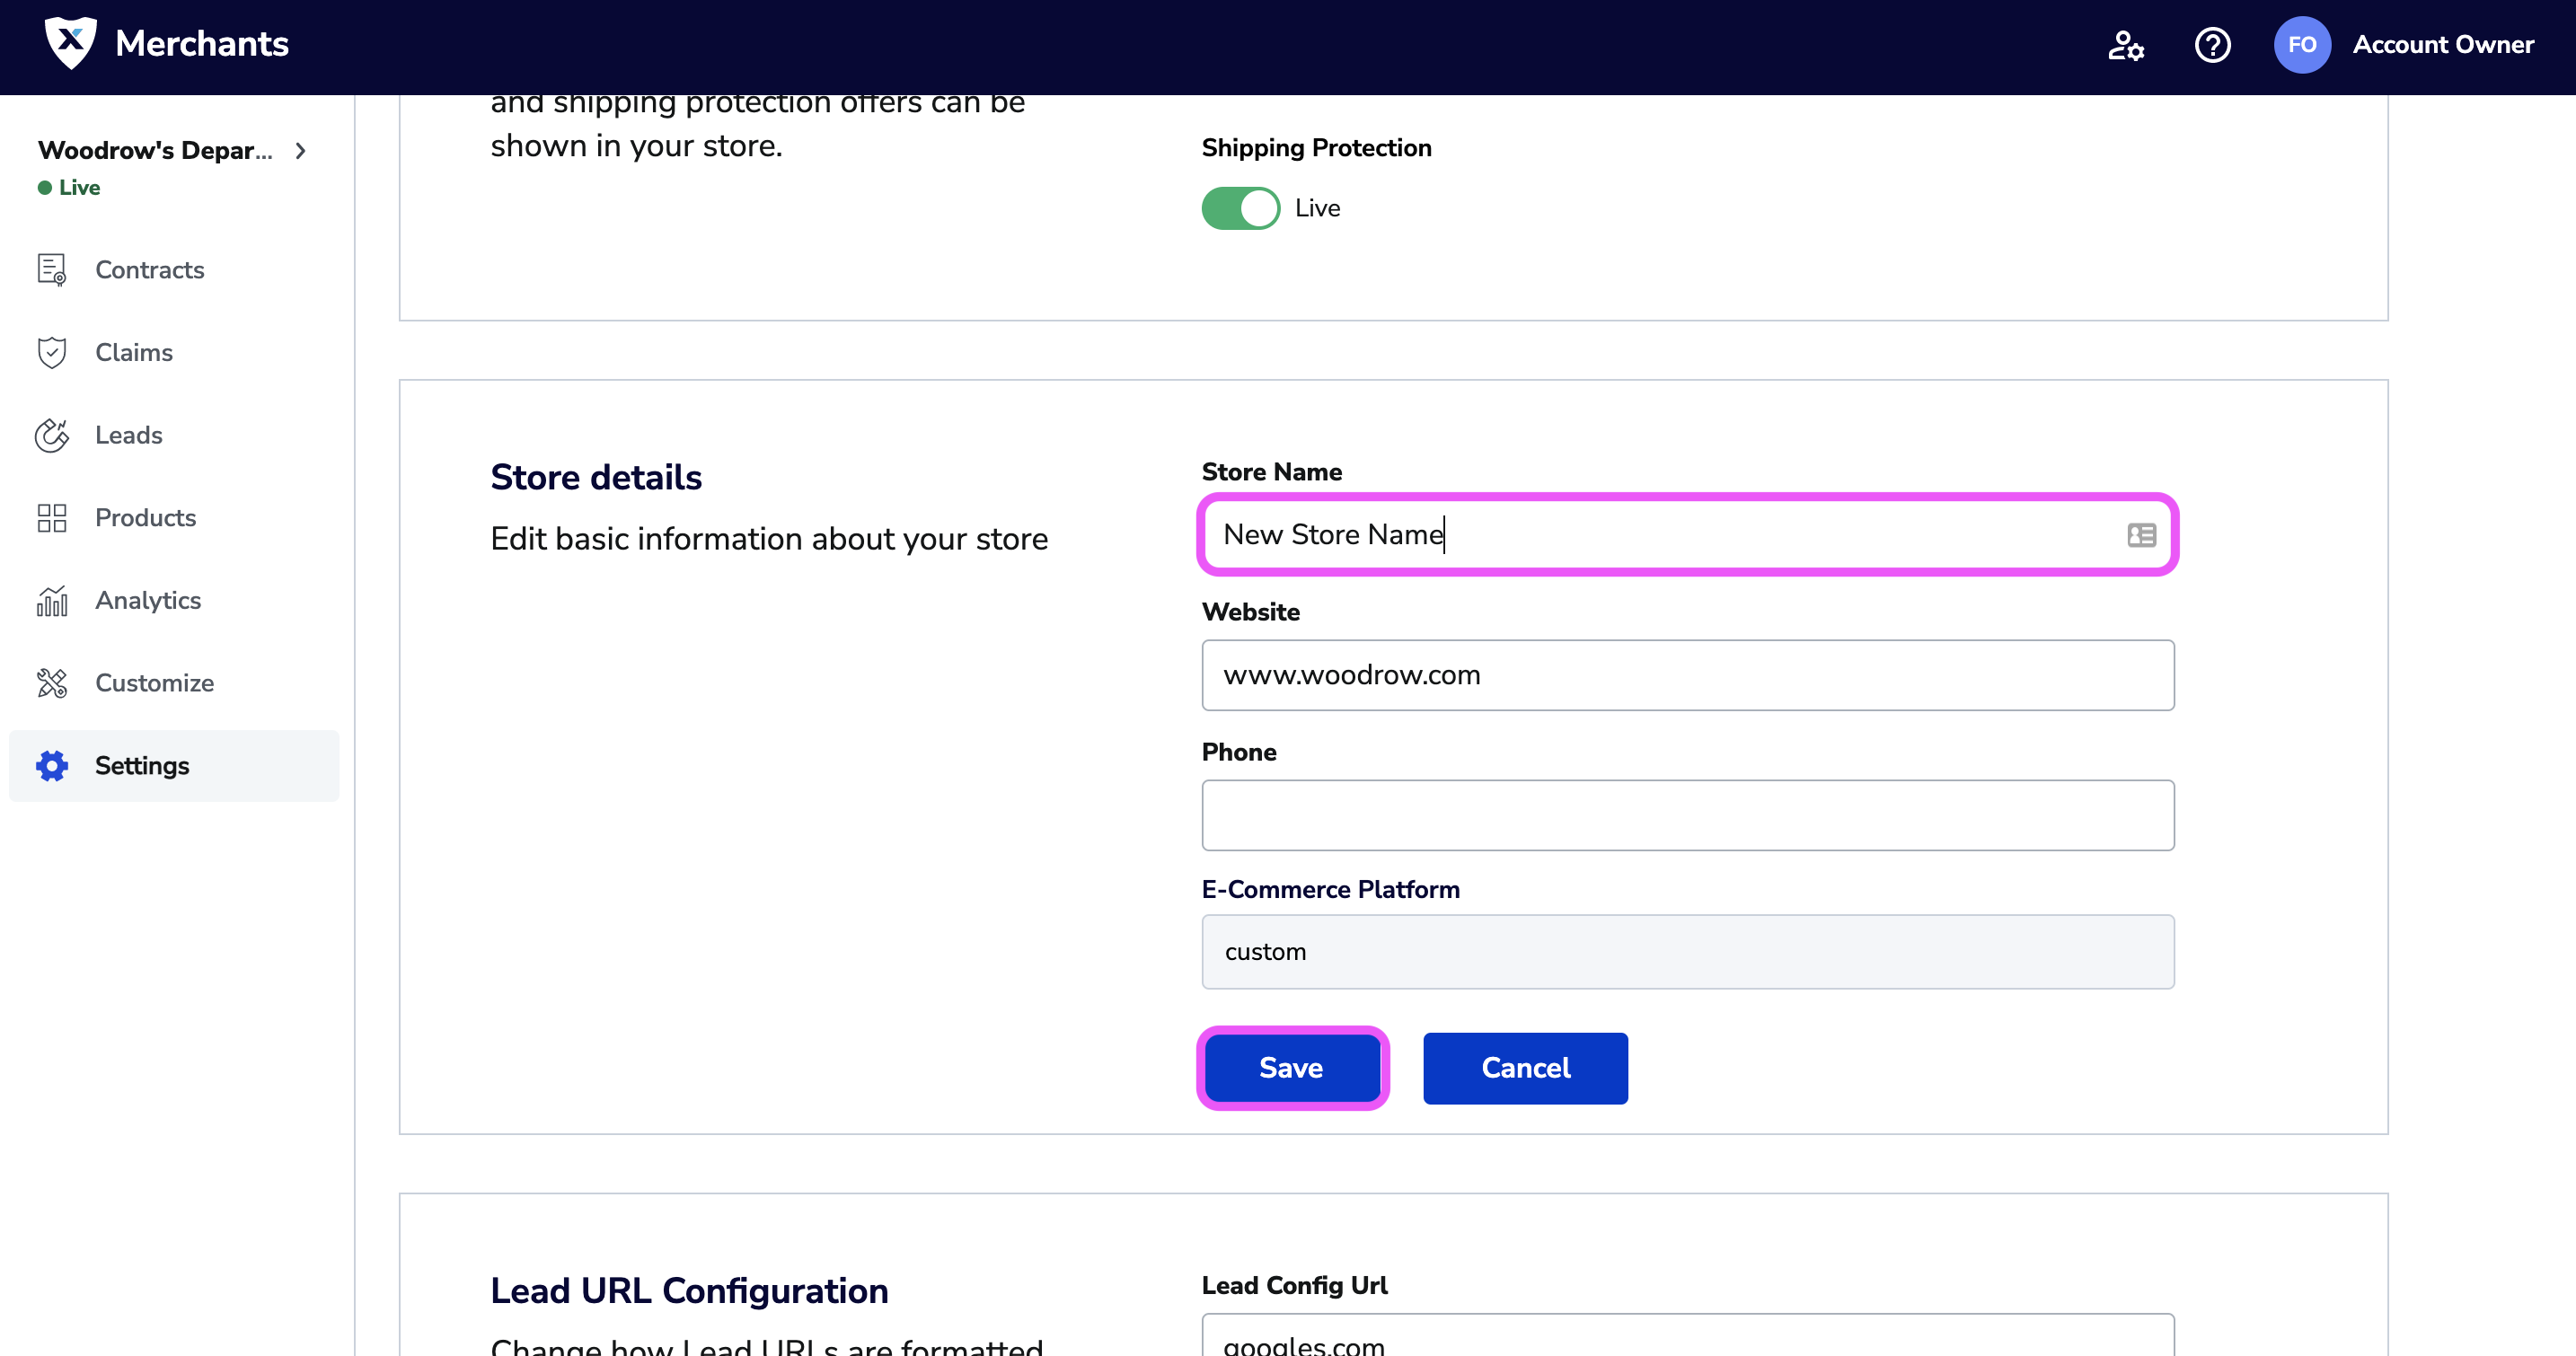
- Scroll down to the section called Store details
- Update the Store Name field and click the Save button
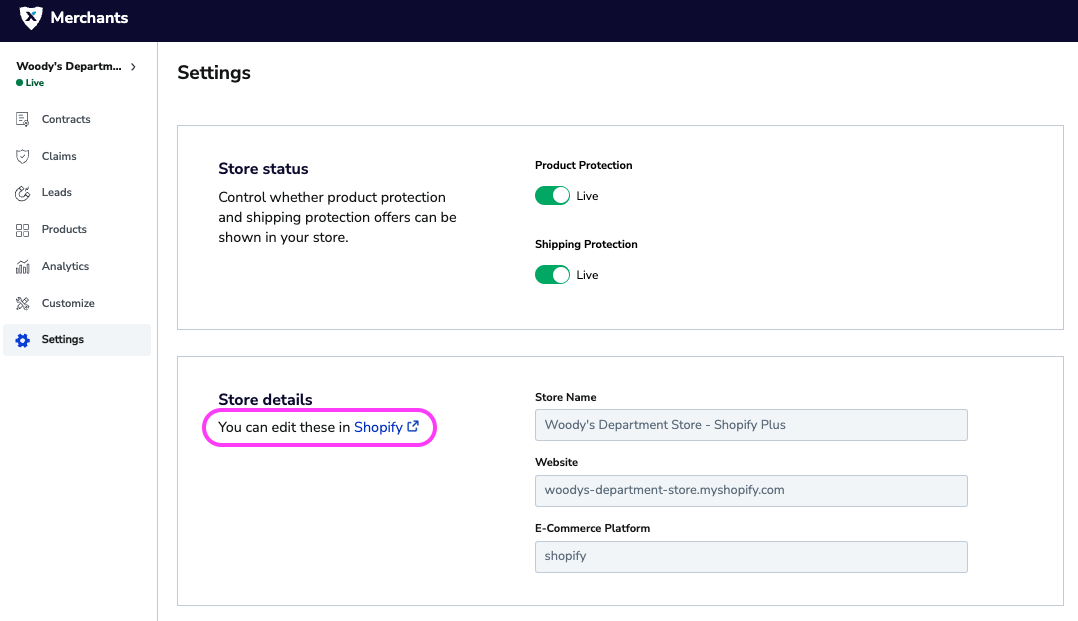
ShopifyIf your Extend Store is integrated with a Shopify store, Extend uses the Shopify Store Name as the source of truth for the Extend Store Name.
Enable/Disable Offers on your Store
NoteIf your store has not been approved by Extend, you will not be able to enable product or shipping protection offers on your store. Please contact your MSM to get your store approved for product and/or shipping protection.
There are currently two statuses a store can have:
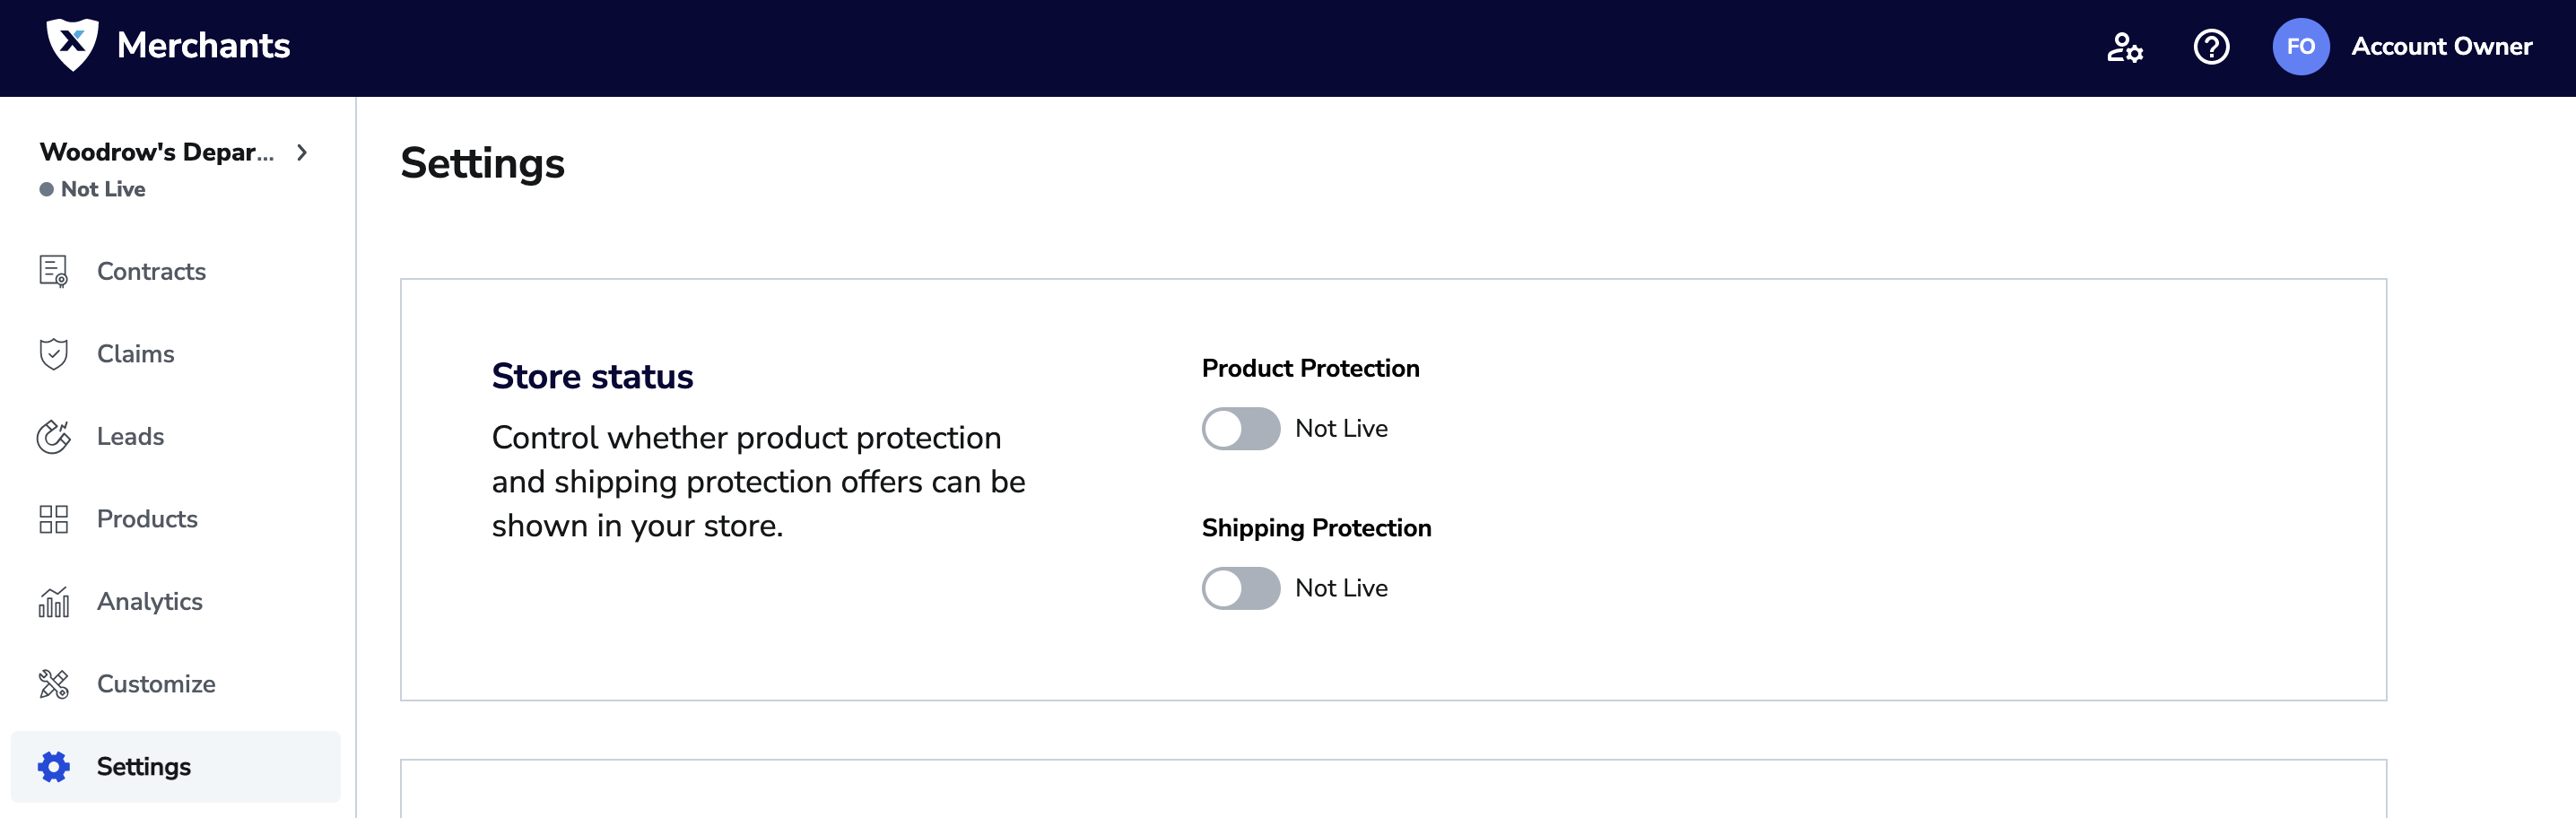
- Not Live - Your store is not enabled for product or shipping protection by Extend. No product or shipping protection offers are currently being displayed in your store.
- Live - Your store has been enabled for product and/or shipping protection by Extend. Product and/or shipping protection offers are currently being displayed in your store if the following conditions are met:
- You have integrated your store with the Extend SDKs (or Offers API directly)
- Offers are enabled for the specific Products or Categories within your Extend Catalog
Enable Product Protection Offers for your Store
NoteYour store will be disabled by default until you have completed the onboarding process with your Merchant Success Team. During this time, you will not be able to enable your store via the Merchant Portal and you will see a lock icon over the toggle until the store is approved inside the Extend platform.
You can enable product protection offers for your store by doing the following:
- Log into the Merchant Portal
- On the left navigation bar, click on Settings
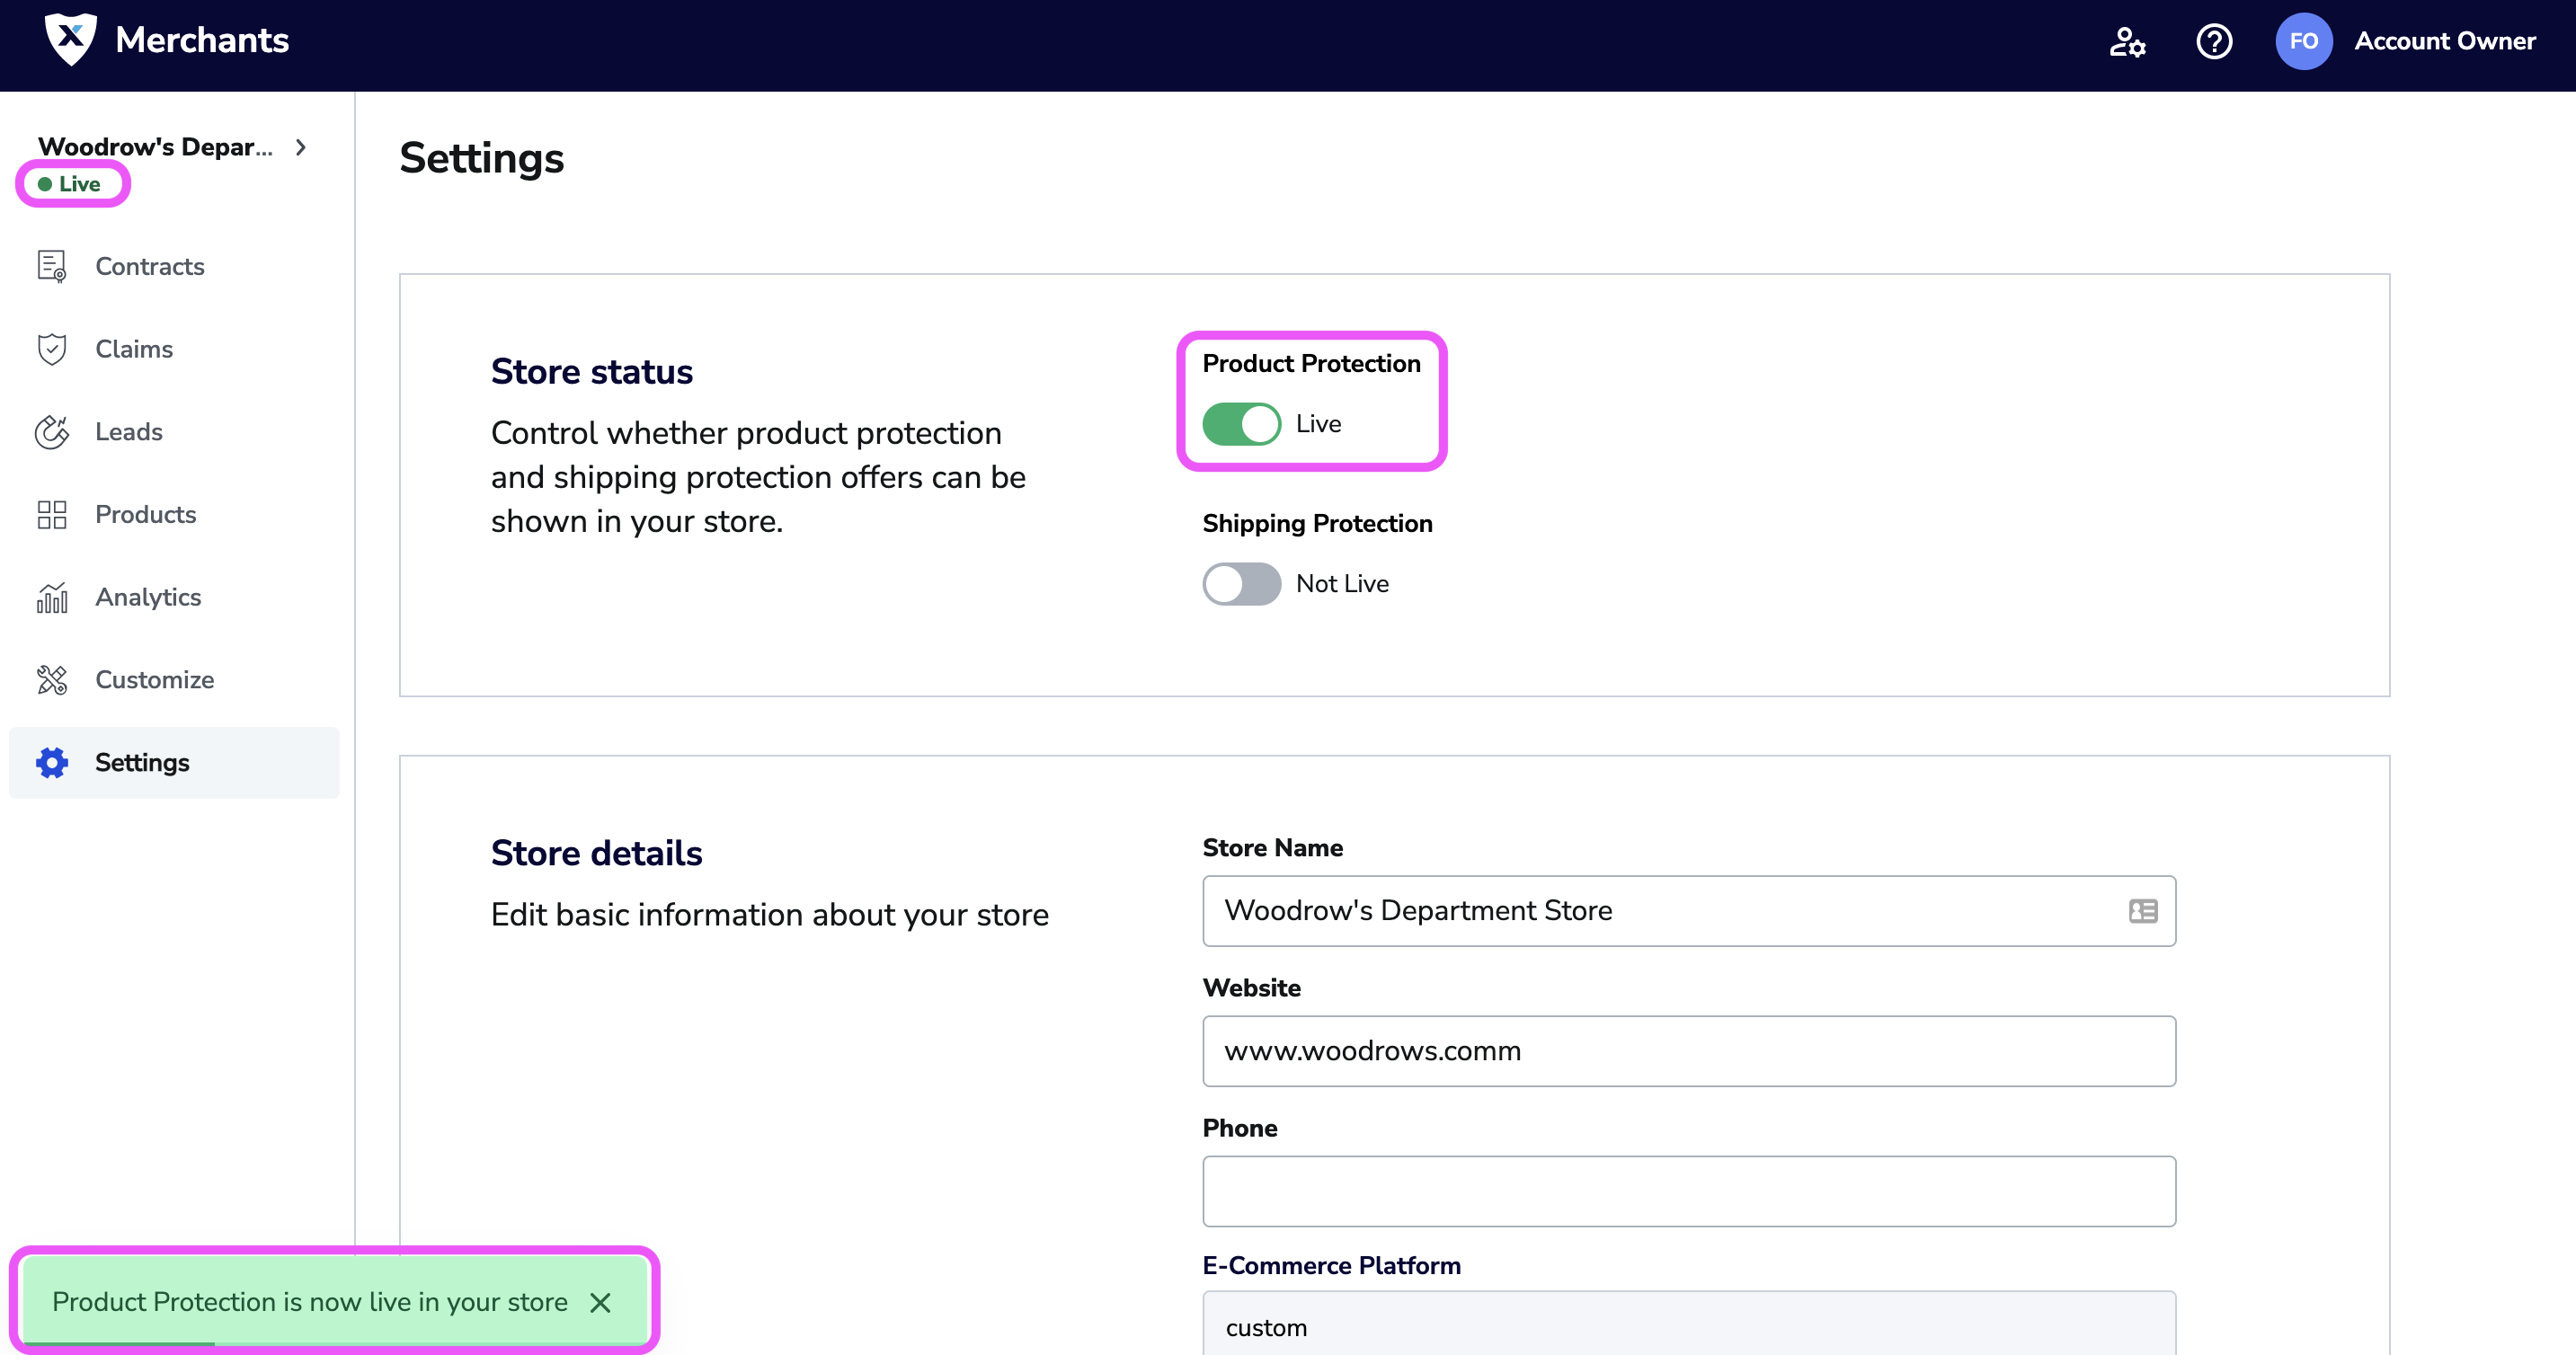
- Click the Product Protection toggle in the Store status block
You should see the the following:
- Product Protection toggle in the Store status block is updated to Live
- A green success message "Product Protection is now live in your store"
- The status in the store picker at the top left has been updated to Live
Enable Shipping Protection Offers for your Store
NoteYour store will be disabled by default until you have completed the onboarding process with your Merchant Success Team. During this time, you will not be able to enable your store via the Merchant Portal and you will see a lock icon over the toggle until the store is approved inside the Extend platform.
You can enable shipping protection offers for your store by doing the following:
- Log into the Merchant Portal
- On the left navigation bar, click on Settings
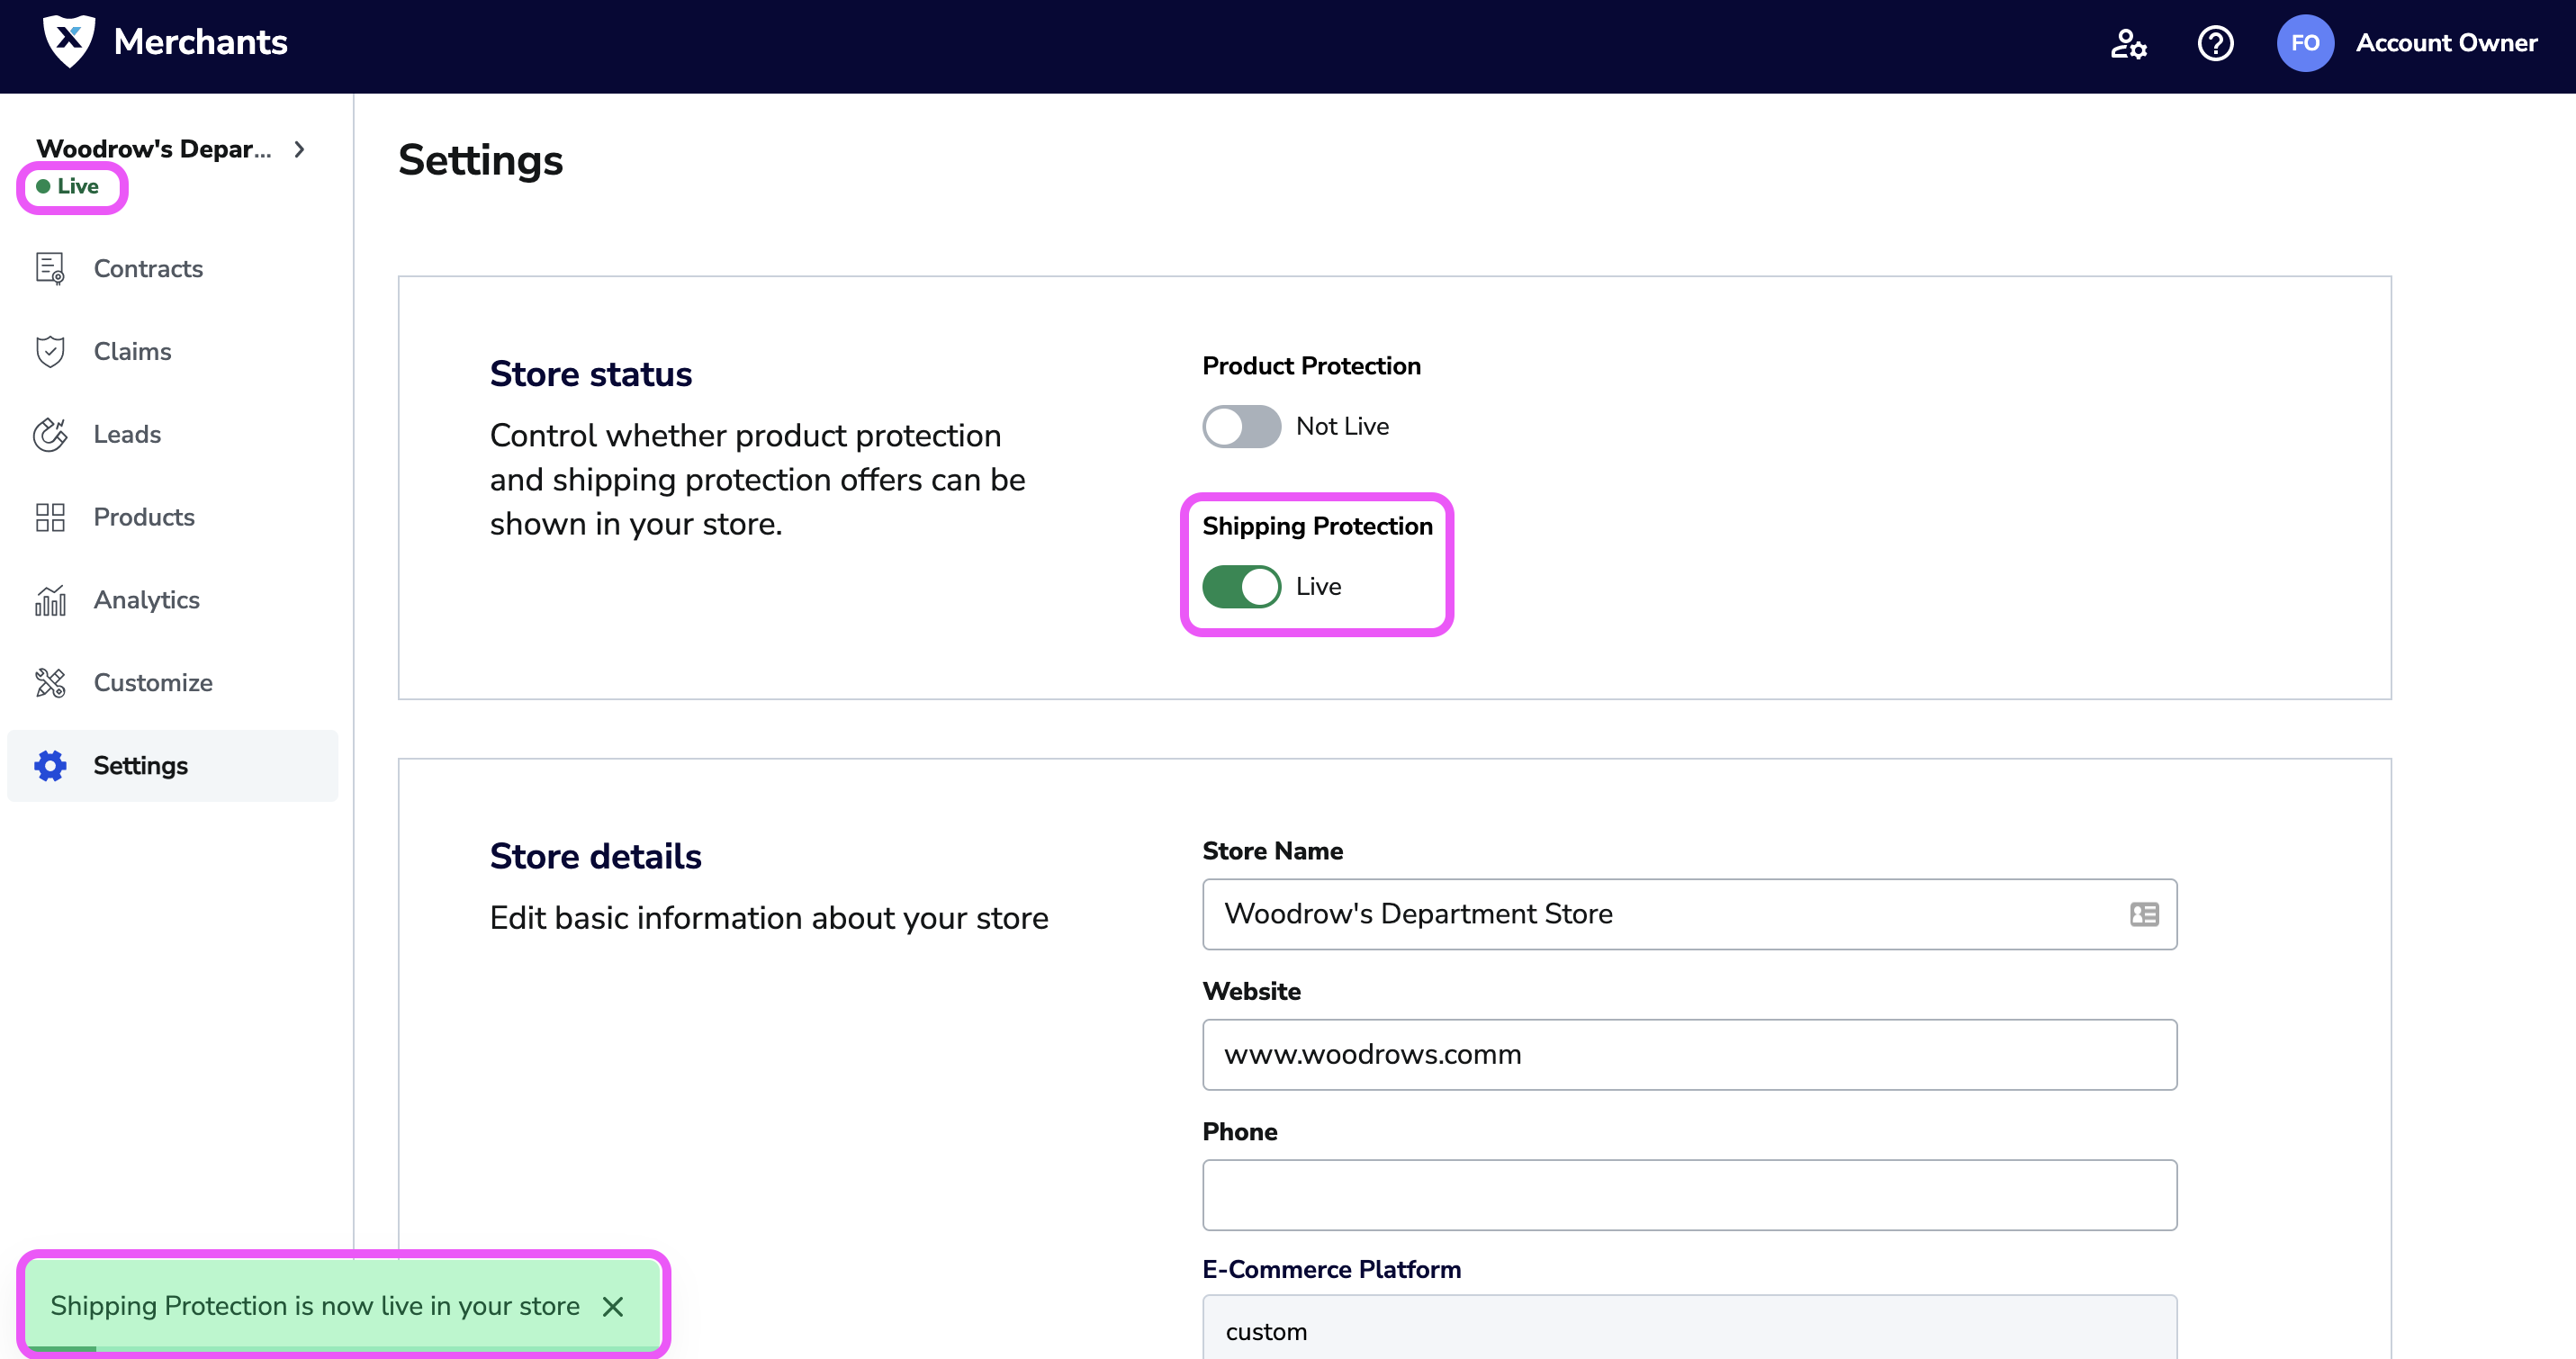
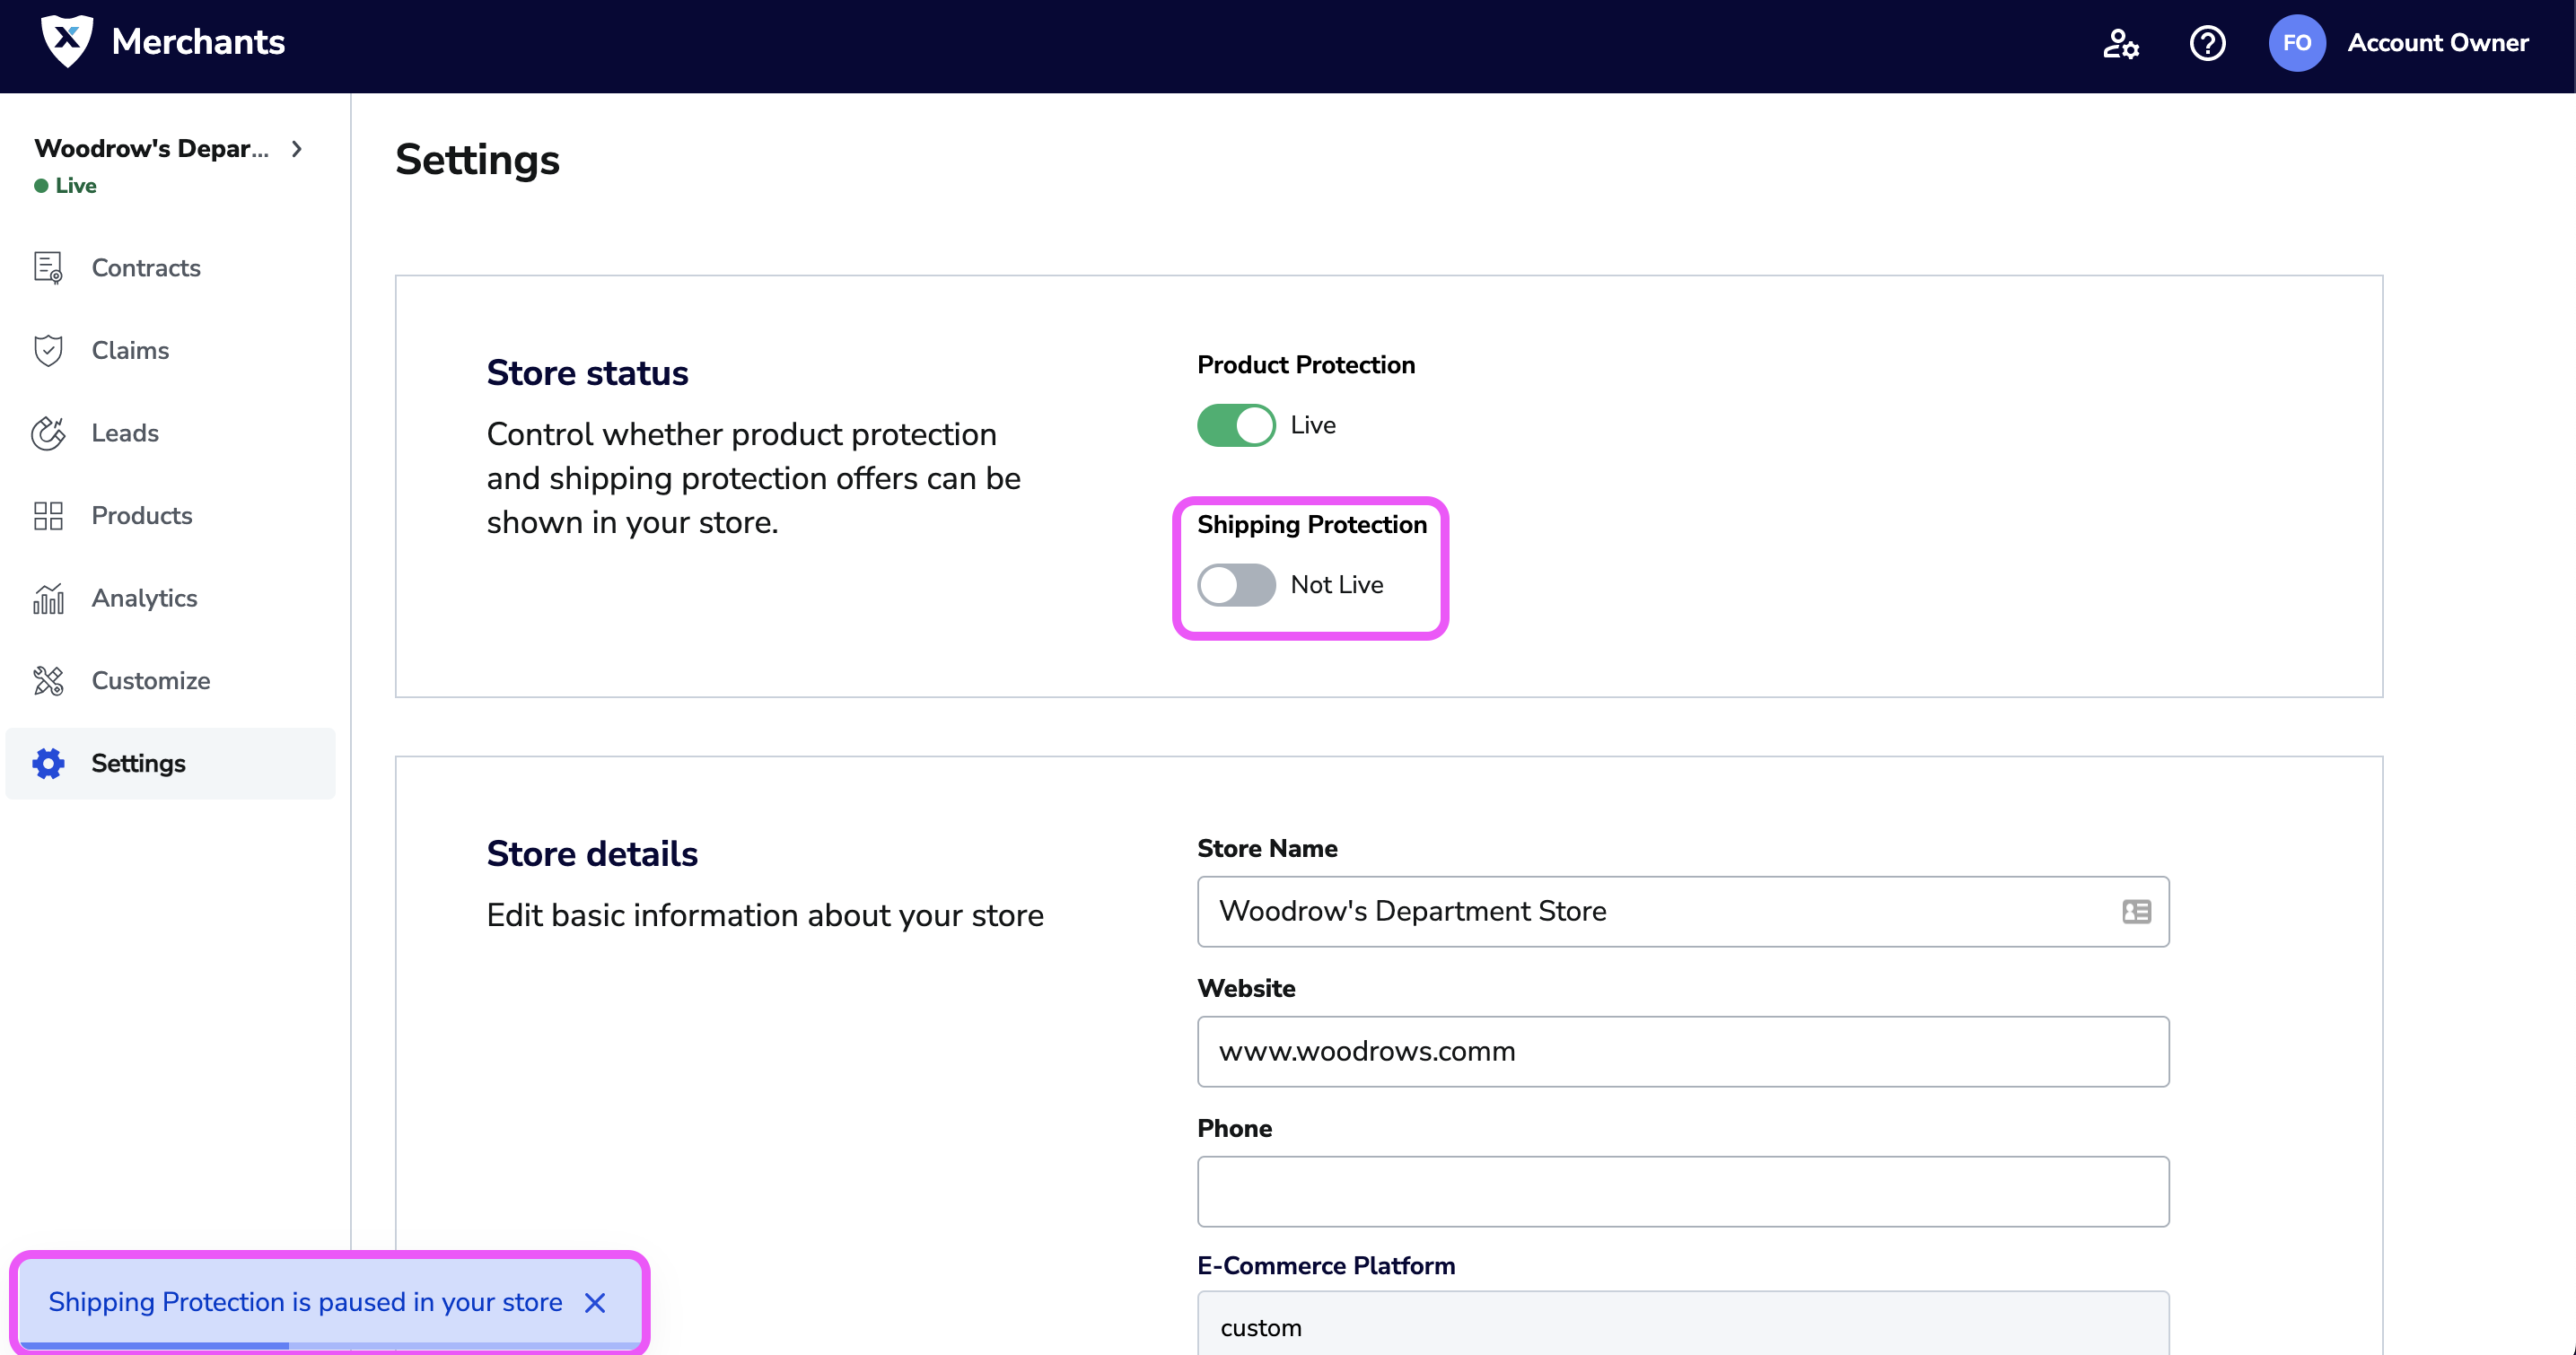
- Click the Shipping Protection toggle in the Store status block
You should see the the following:
- Shipping Protection toggle in the Store status block is updated to Live
- A green success message "Shipping Protection is now live in your store"
- The status in the store picker at the top left has been updated to Live
Disable Offers for your Store
You can disable offers for your store by doing the following:
- Log into the Merchant Portal
- On the left navigation bar, click on Settings
- Click the Product Protection and/or Shipping Protection toggle in the Store status block, depending on which offers you want to disable
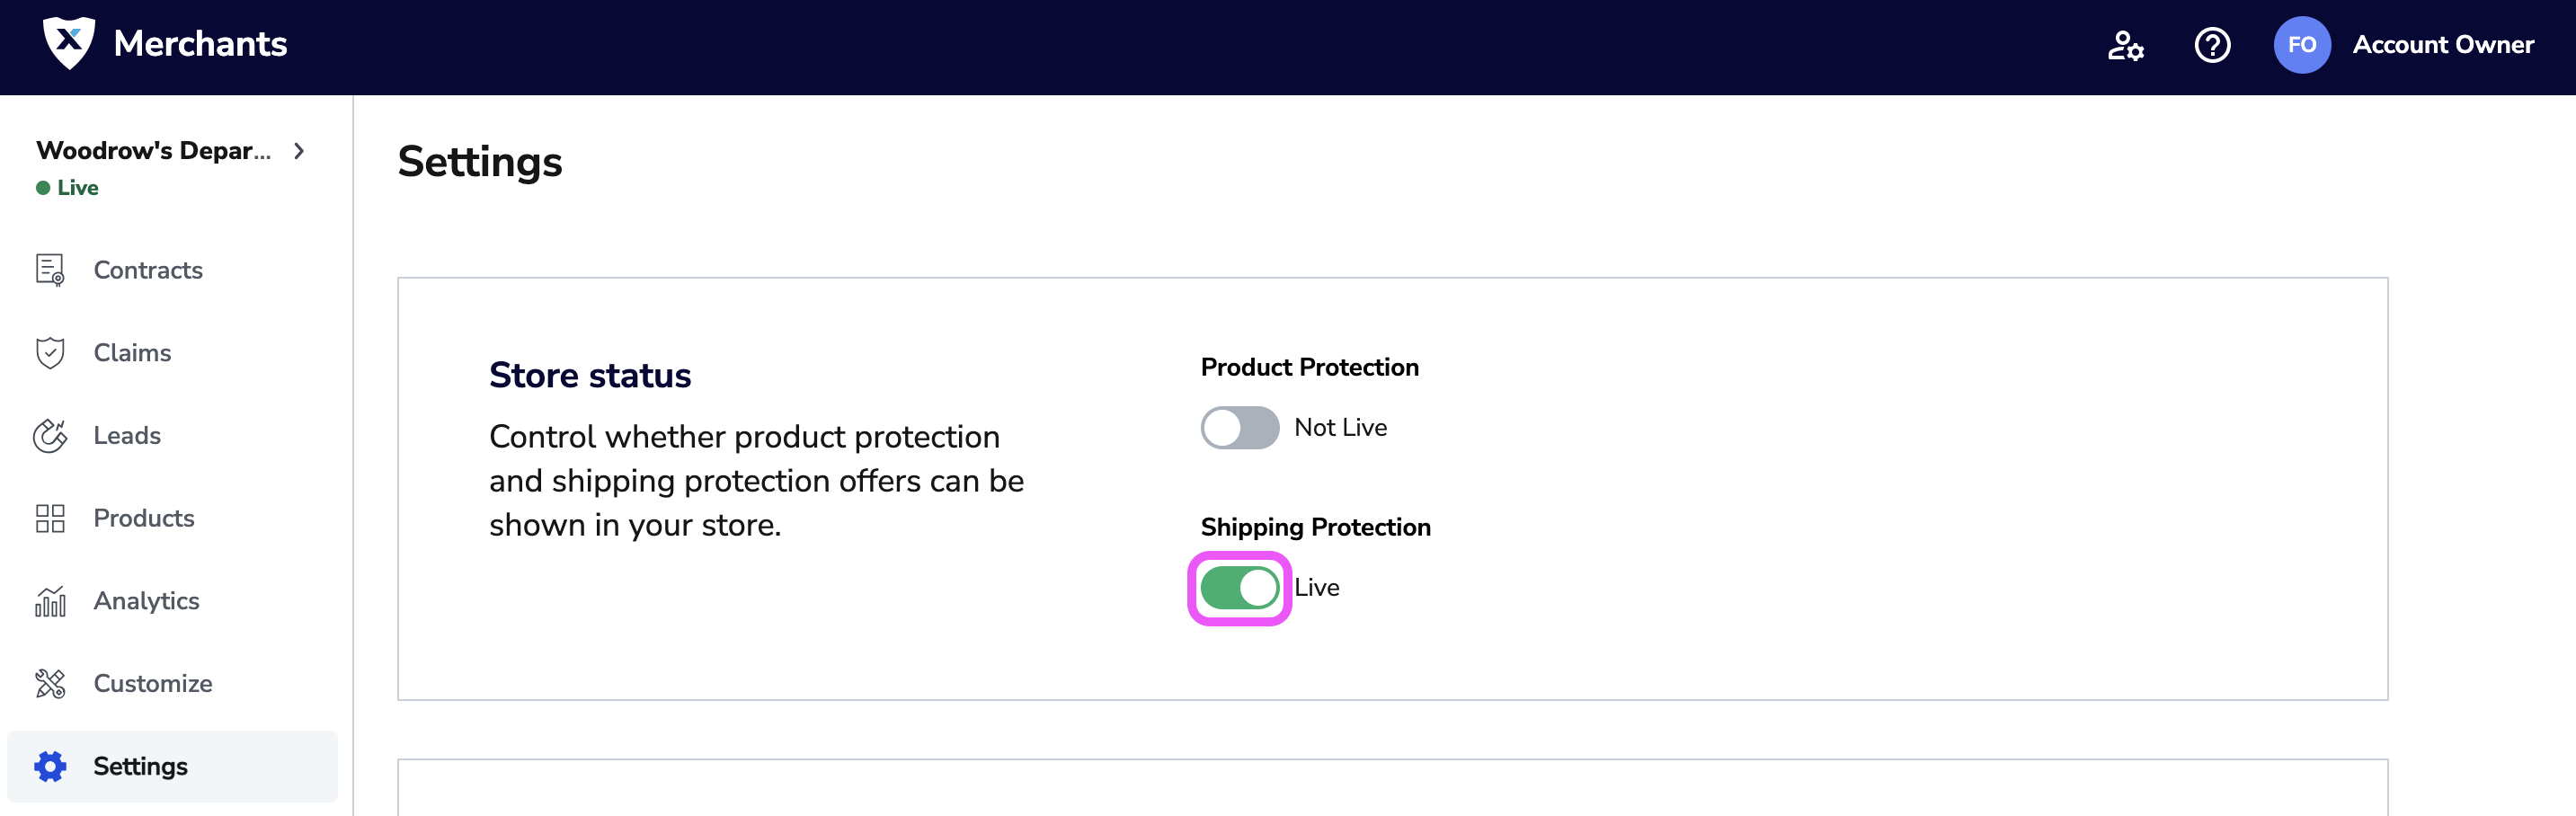
- Click the Disable button
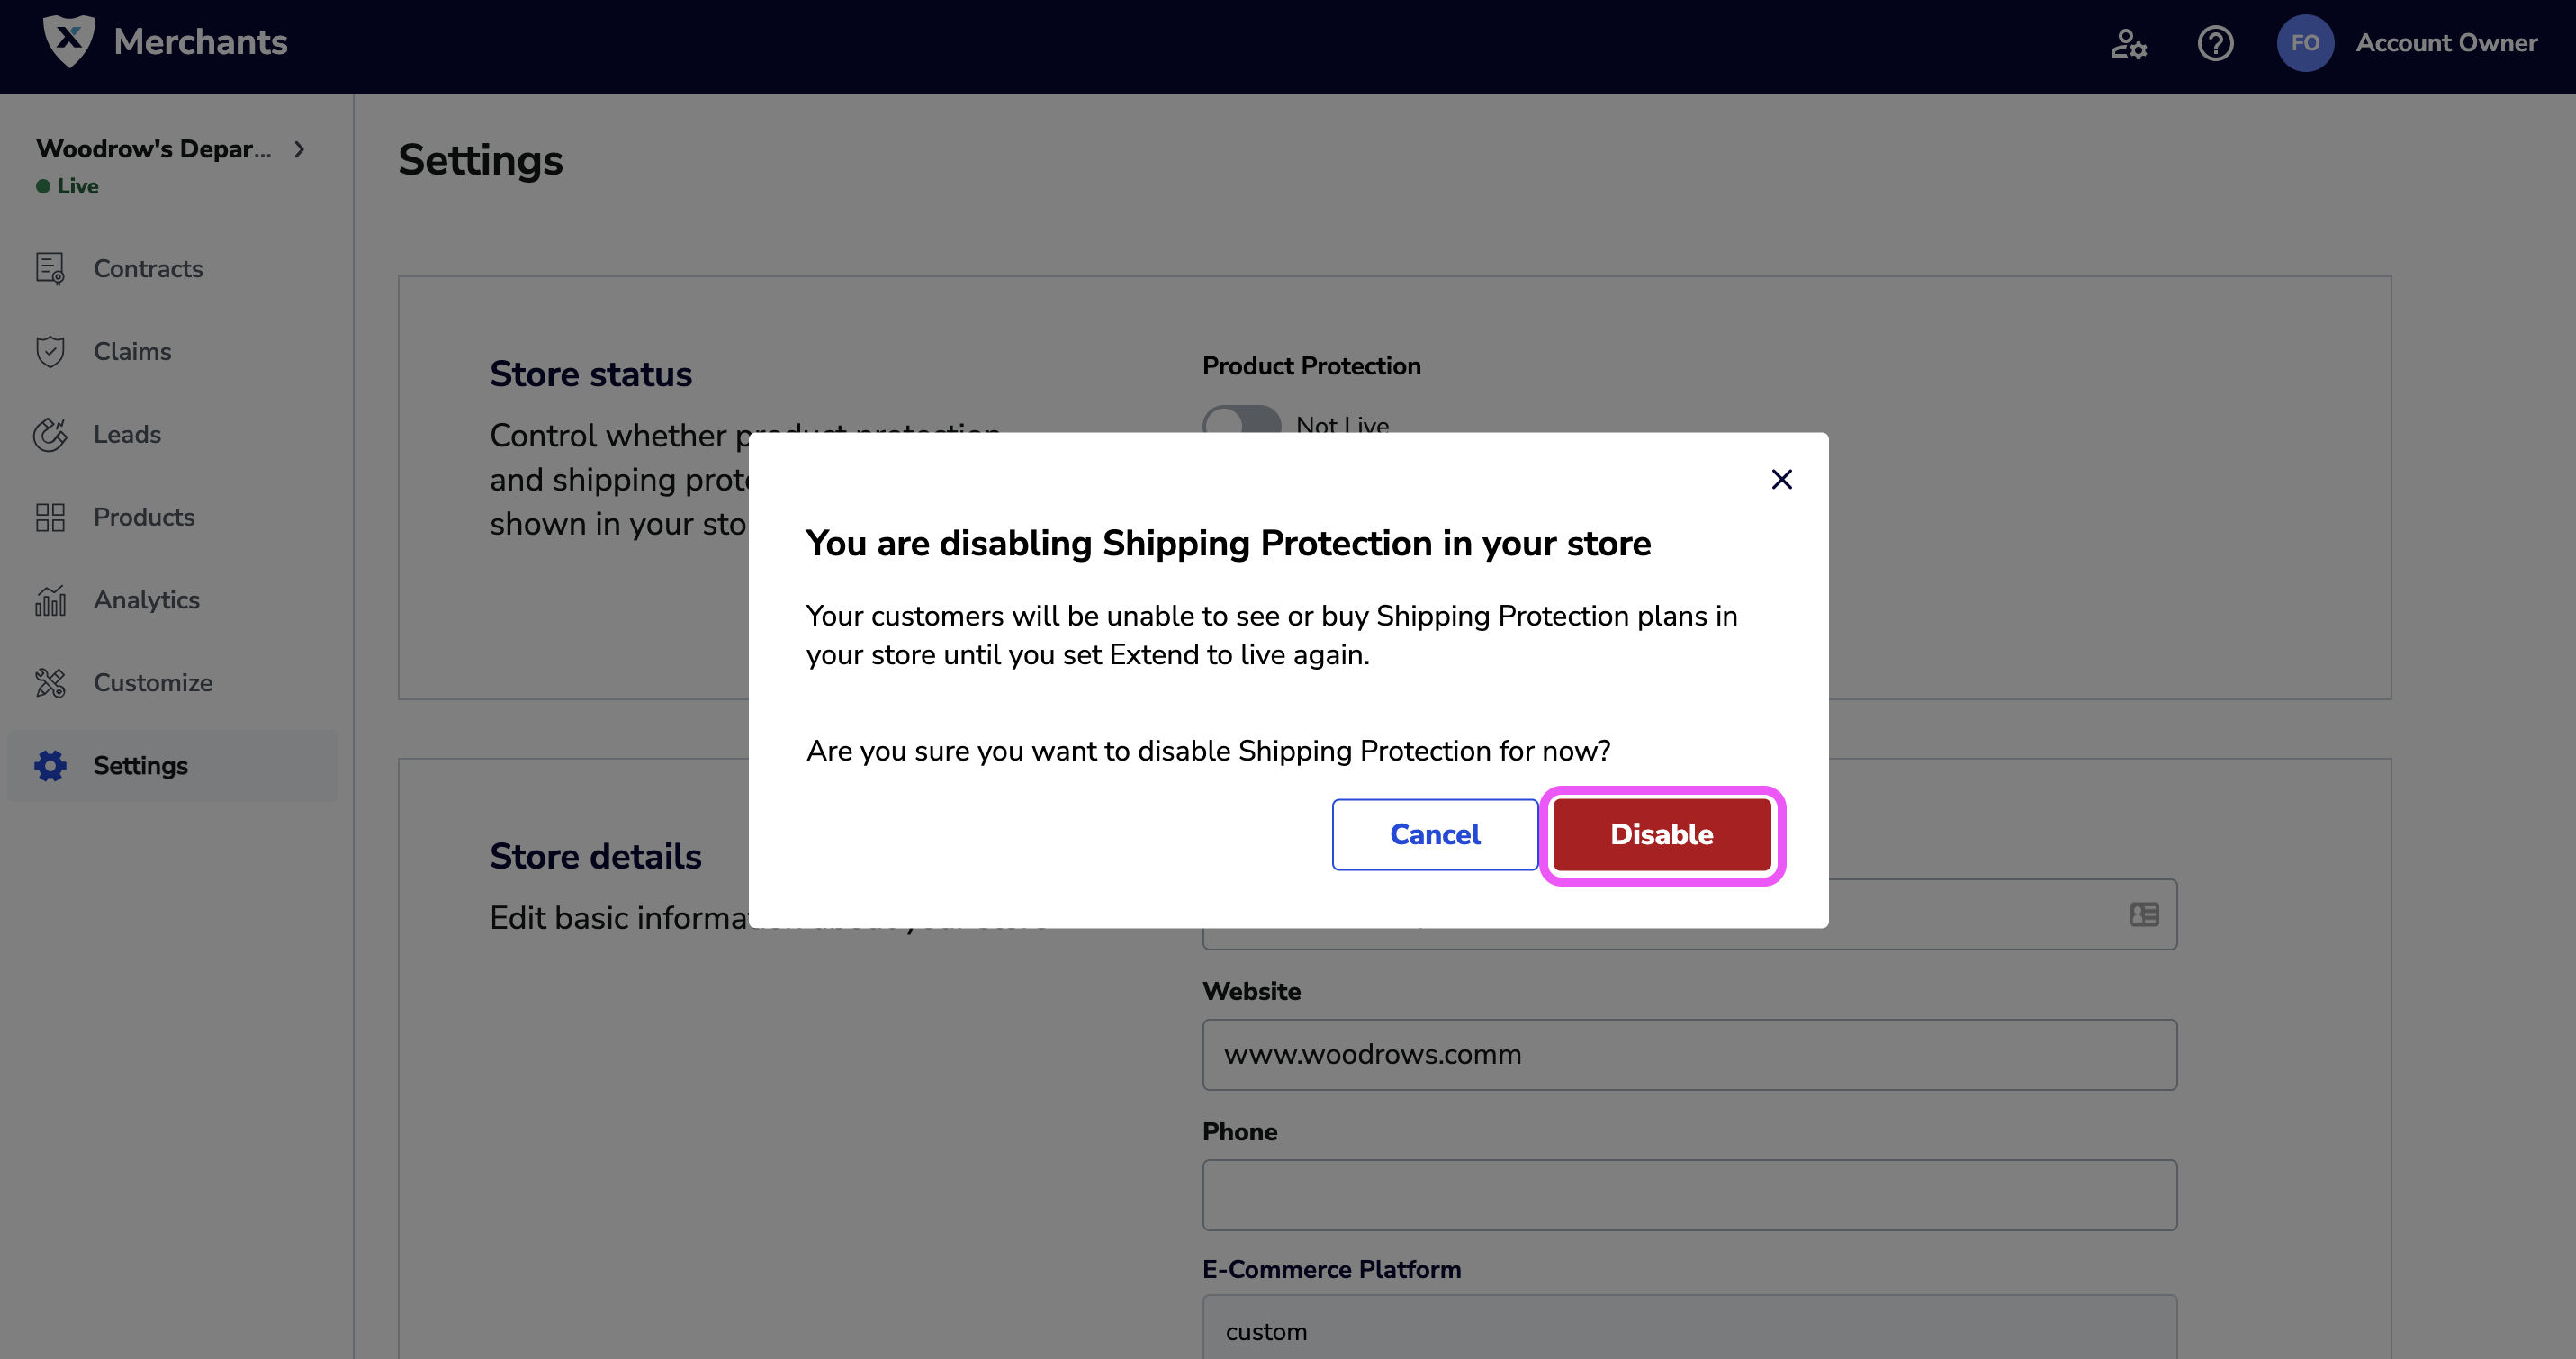
The toggle in the Store status block is updated to Not Live
Multiple Stores
All Extend Accounts are provisioned with one Store. Additional stores can be added to represent additional catalogs, brands, businesses, or websites. Extend's Merchant Success Team will partner with you to optimize your Store and integration architecture.
NoteIn the Extend Platform, Stores represent a unique set of Products or Product Categories, the configurations associated with displaying offers for those Products, and the transactions thereof. Discuss with your Merchant Success Team about adding additional stores to your account.
Navigating Between Stores
If additional Stores have been provisioned to your account, switch between them to manage and configure them individually:
- Log into the Merchant Portal
- On the left navigation bar, click on the store picker
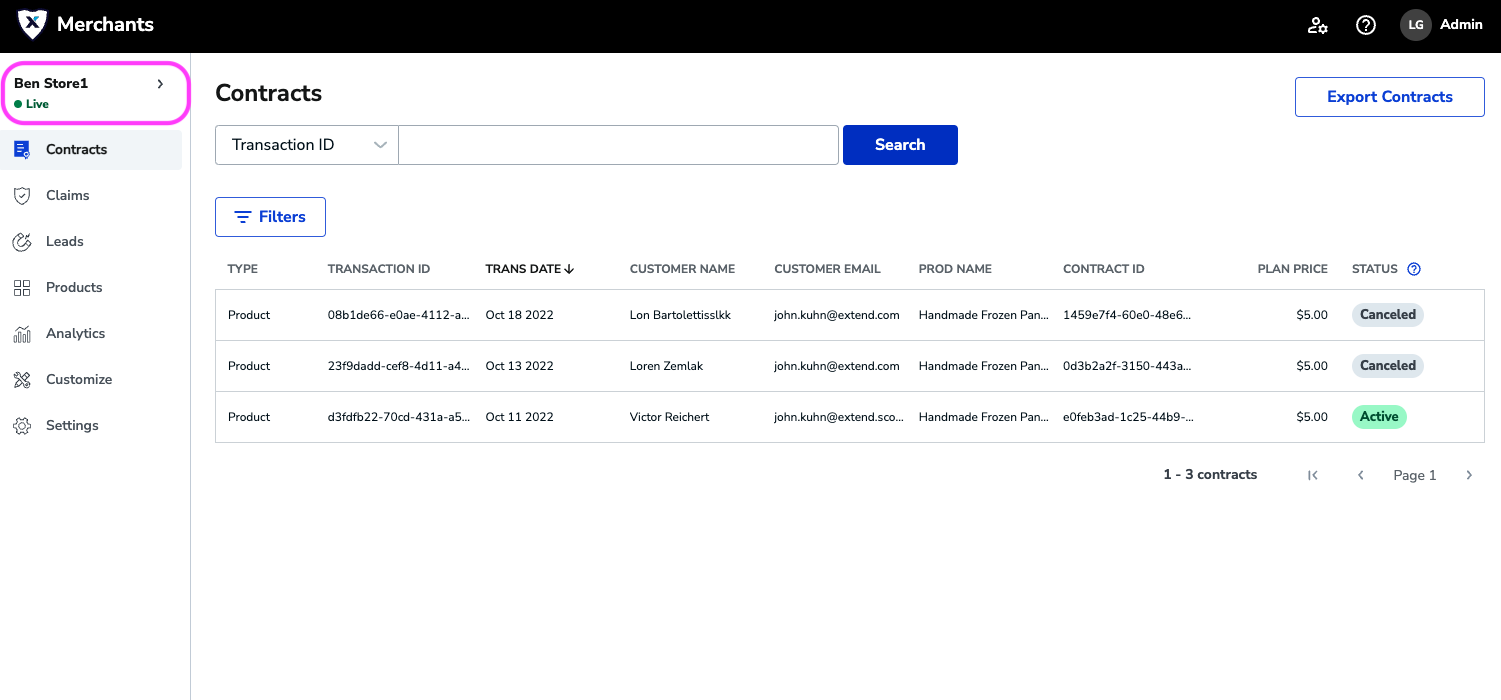
- Click on a store name to switch to that store.
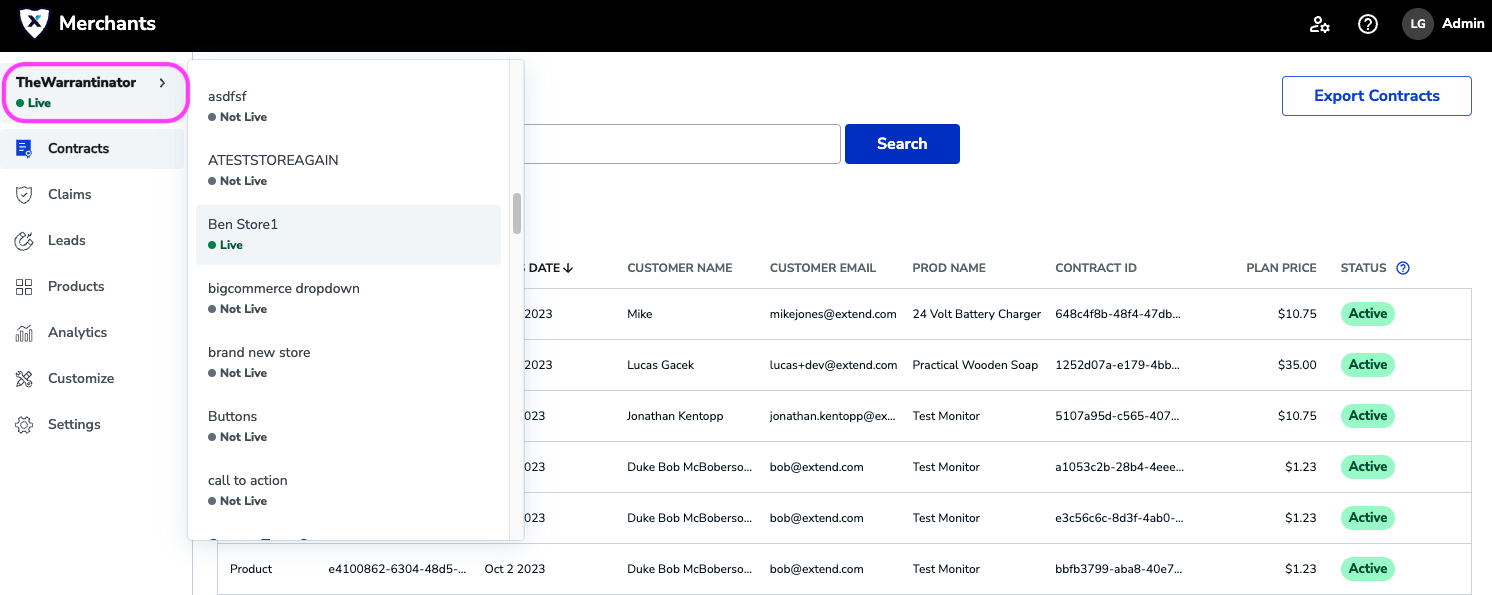
- Your Merchant Portal store context is now switched. The data and configurations are now visible for the Store listed at the top of the left navigation menu.
Updated 4 months ago