Manual Orders
This guide will walk you through the process of adding a warranty to a BigCommerce manual order, enabling you to sell warranties to customers who purchase over the phone or in-person.
Note:The process described in this document is somewhat sensitive. The steps outlined, and process inputs, must be followed correctly, otherwise it will fail to produce a valid contract in Extend’s system. Please follow the instructions closely and verify the contract was created in the Merchant Portal when the order is shipped. Reach out to your Extend contacts if a contract is not accurately created.
Process Overview
Many eCommerce merchants sell their goods in ways other than through the storefront website. While that channel will drive a large share of revenue, and therefore be an initial focus of a partnership and integration with Extend, it is still possible to offer and sell warranty products through Manual Orders, i.e. those orders created by merchants directly in BigCommerce. This document will guide you through that process.
Note:As Step 4 indicates, there is a specific warranty SKU value required in this process. The formula for creating it is fairly straightforward, but your Extend Solution Engineer and/or Merchant Services Manager can share a spreadsheet with these SKU values with you. Please reach out if you wish to acquire this helpful resource.
Step by step instructions
- In your BigCommerce store, go to Orders > Add. Complete the first phase - adding customer information, ensure the customer information includes an email address.
- In the second phase, “Items,” begin by adding the non-warranty product(s) that the customer wishes to also cover with a warranty.
- To add a warranty item to the order, click “Add a Custom Product.” In the first field, assign the warranty product the name “Extend 2 Year Warranty” (using the correct term-length). The correct SKU value will be a concatenation of three things:
- The associated Plan ID (e.g.
A0-SGCAH-2y). This can be found either through examining this products’ offers on the storefront website, or through a supporting document - The text string
;xtd; - The warranted products SKU value (e.g.
DK14S)
- The associated Plan ID (e.g.
- This will produce a warranty SKU value of
A0-SGCAH-2y;xtd;DK14S- Note: Your Extend Solution Engineer and/or Merchant Services Manager can provide a spreadsheet with all these values, making it easy to quickly copy and paste the correct warranty SKU value
- For the Item Price, select the option to manually set this value. Look at this products page on your website, and simply copy the price associated with the desired term length (e.g. the 2 year plan), and paste it into this field.
- Proceed through the third phase, “Fulfillment,” and complete the order in the final phase, “Finalize.” Payment can be made in any way desired.
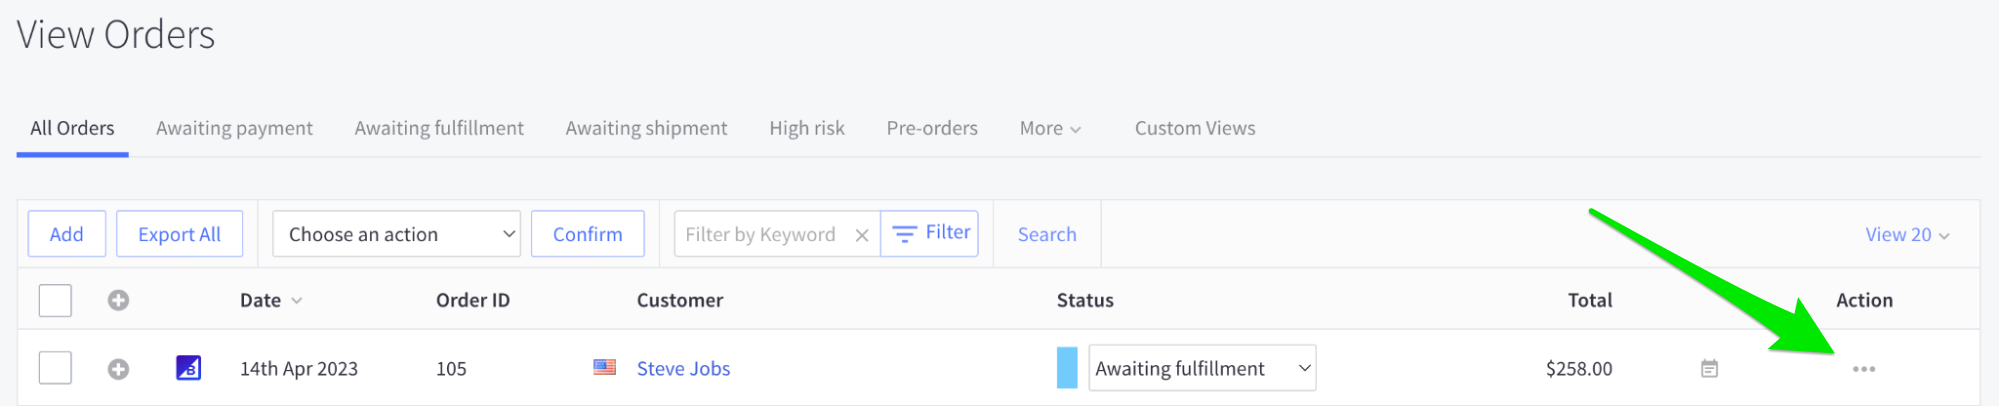
- Once payment is collected, and the item has been fulfilled/shipped, you can initiate contract creation by updating the order status through the “Action” menu, present on the relevant order’s row, in the orders table
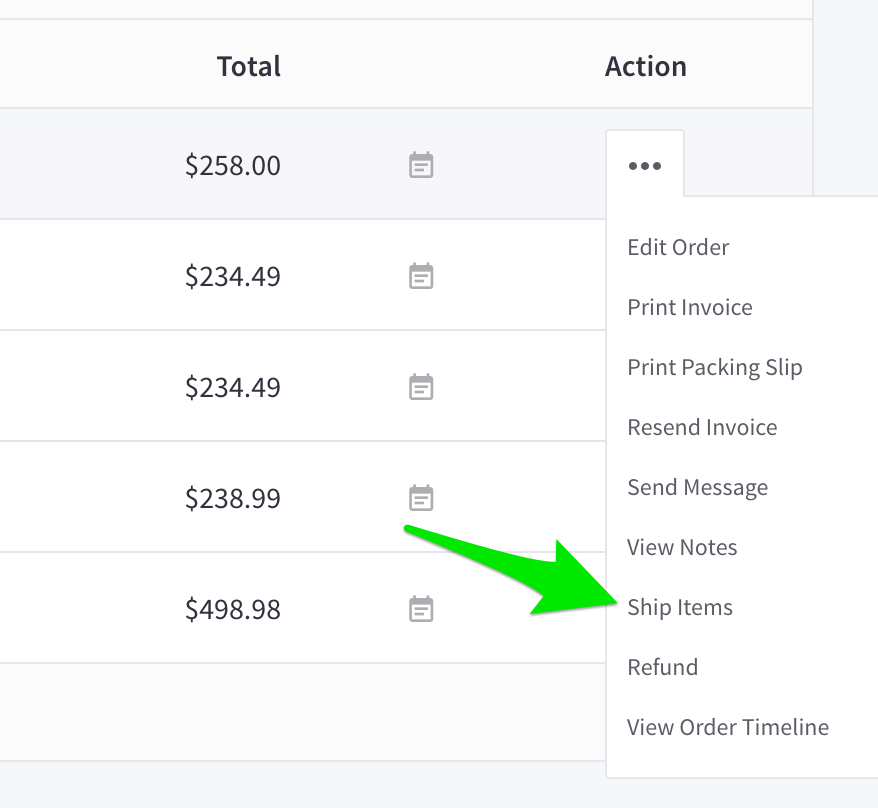
- Click “Ship Items,” fill out any necessary fields then “Create Shipment.” A contract should be generated within a few minutes.
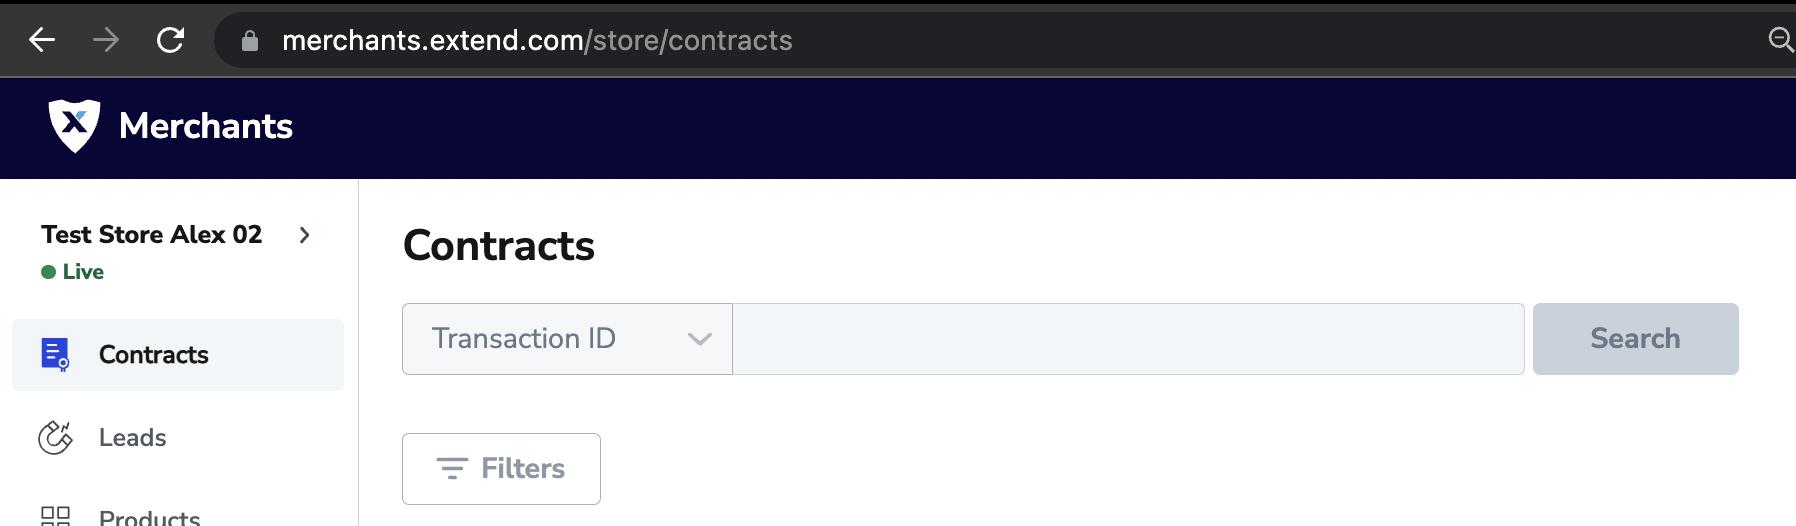
- You should then log into the Merchant Portal and navigate to the Contracts page to ensure the contract was created.
Updated 4 months ago