Usage Instructions
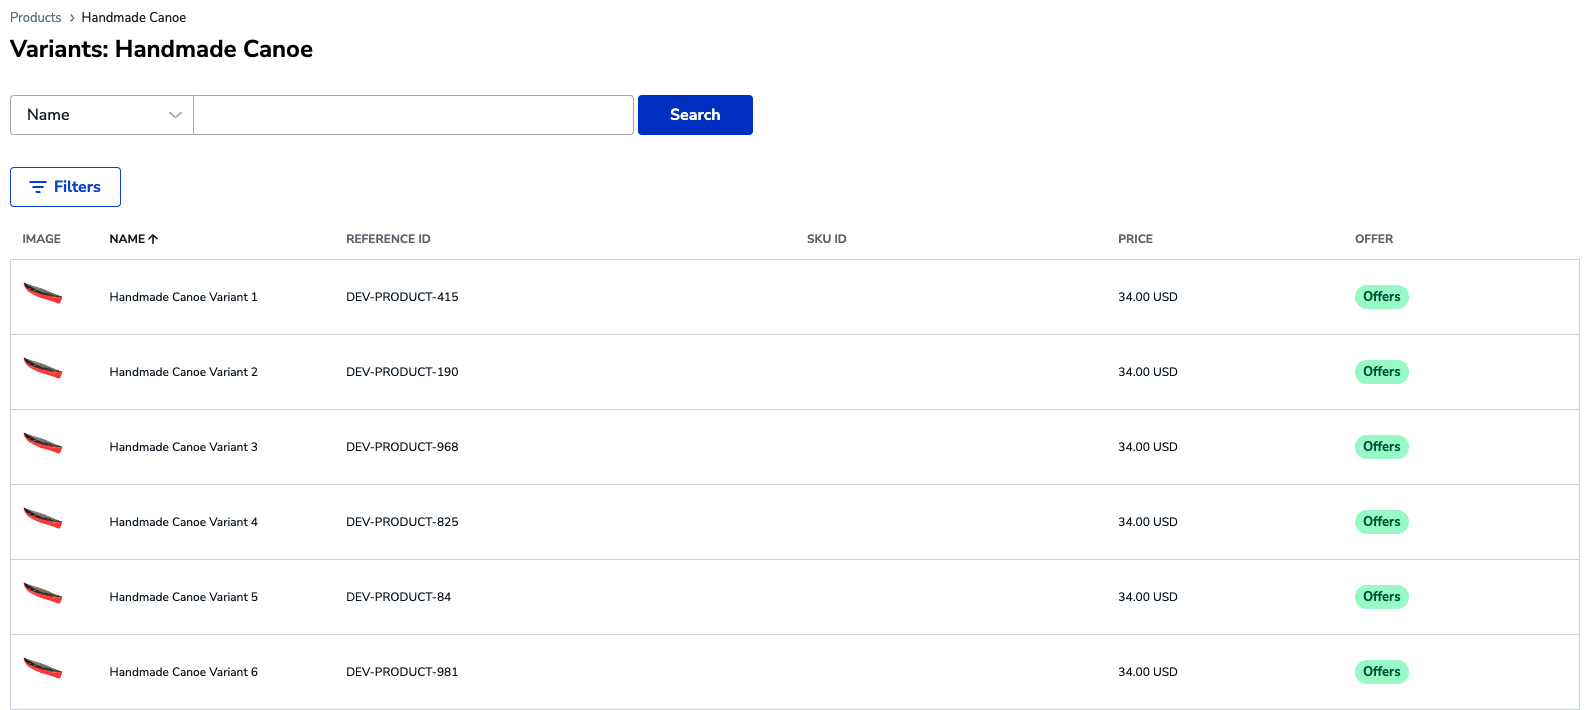
Upon signing in, you will land on a list of products that has been shared with Extend by your store or company. This page serves as the starting point of the flow.

The last column in this table indicates that offer status of each product row:
- Green- meaning this product (or collection of products, for “parent” products) has offers associated with it.
- Yellow- meaning this parent product has some warrantable children and some non warrantable.
- Red- meaning this product, or all its children, is not warrantable.
The first step in the process is to find the product(s) the customer is going to purchase. This can be done in several ways: by searching for the name, SKU or Reference ID* of the product or by filtering based on product category.
Note: Reference ID is the unique, required identifier that Extend uses to manage a store’s inventory. It may be the same as the SKU, but could also be different from that value. Also note that Extend doesn’t require SKU values to be shared, so this value may not be present in Extend’s records.
Note: Some stores utilize a parent-child relationship within their catalog. In that case, it is the parent product present on the initial list of products, with its children appearing on a similar looking page after the parent product is selected. Ex:
Once you have found the product the customer wishes to protect, click on its row, which will bring you to a page with the available plans (differing in term-length), as well as some top-line information about the coverage and a link to see greater details about the same.
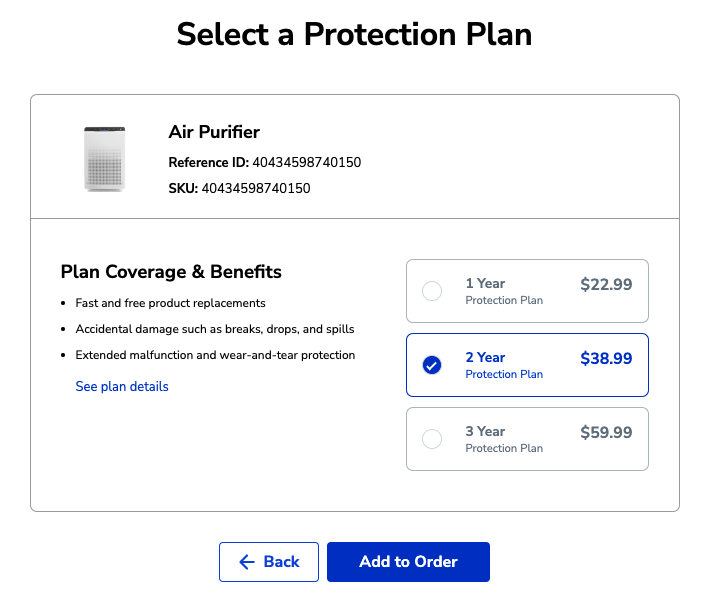
Select the desired term-length, and continue by clicking “Add to Order.” You are then brought to the cart page, where you can see relevant details about the plan(s) selected: its name, Reference ID and SKU (assuming that data is present in their Extend store catalog). You have the ability to change the quantity of this plan, remove the plan from their cart and “edit” the plan (i.e. change the term length of the warranty).
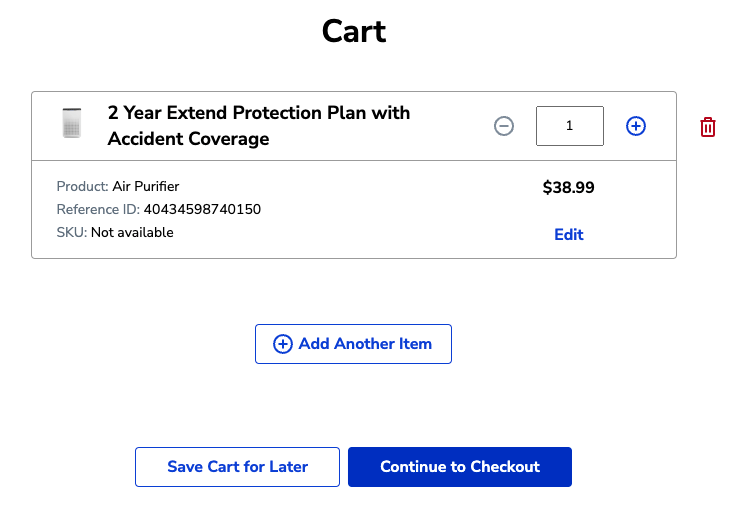
From here, you have a few options. You can continue shopping by clicking “Add Another Item” which directs them back to the start of the flow (the list of all products). You can also select “Save Cart for Later,” which will allow you to begin another order if the situation requires it. Lastly, you can “Continue to Checkout” to complete the process.
When a cart is saved, it can be “reselected” at some later time by clicking the “Load Saved Carts” button, found in the upper right corner of the Products page.
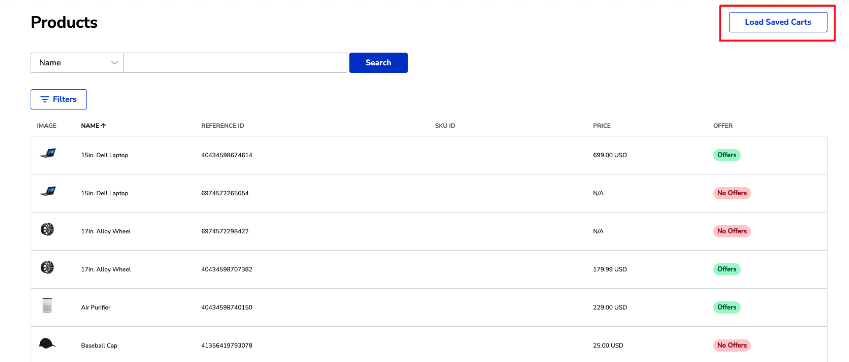
This results in a list of all saved carts for the user, which can be selected to complete the sales flow.
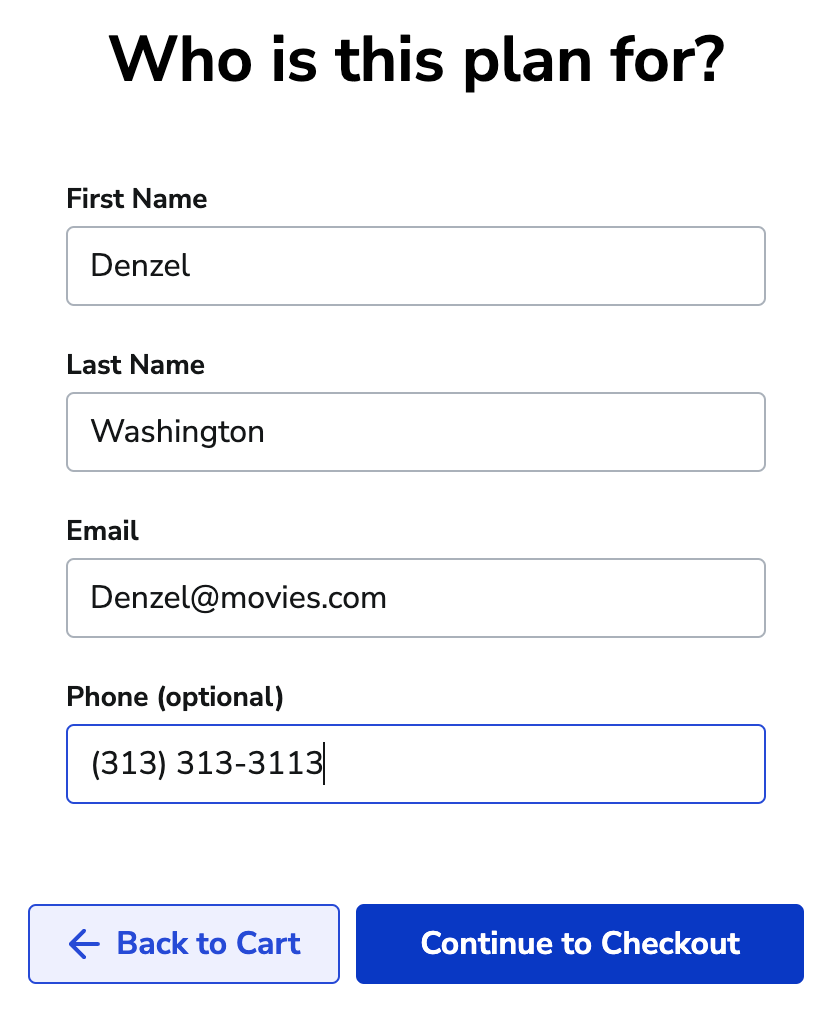
By clicking on “Continue to Checkout,” the user is then presented with a form to collect some customer data that will be used to create one or more “quote,” which will eventually be used to create a contract.
Once complete, move to the next page in the flow, which displays all the selected plans, listed out by the associated retail product (that is, if a customer is buying two chairs, and wants them both covered, the plan will show up as a single item, of quantity two). For each offer row, a quote ID is present. At this stage, you must enter this ID value into the POS, added as an attribute or metadata on the appropriate line item (being warranted), or on the sale/transaction record. Exactly where this information is added in the POS is a result of the POS being used and the broader in-store solution being adopted. Consult with your IT team or Extend Merchant Services Manager if you are unsure where to enter the Quote ID in the POS. This information allows Extend to connect data about the sale of the retail item with information entered into the app to create the warranty contract.
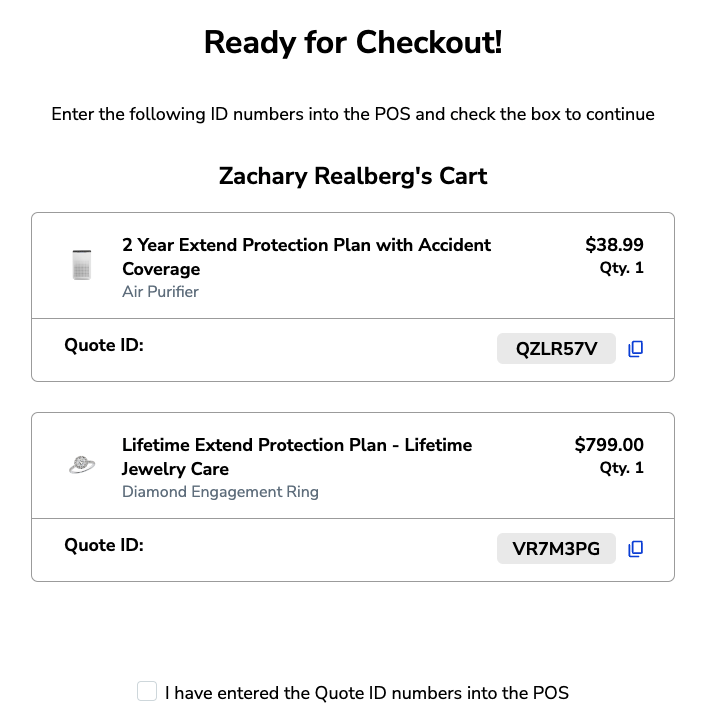
Upon confirming that the Quote ID numbers have been entered into the POS, by checking the box, you can continue in the flow. The next page asks for the order ID, generated by the POS, which will be added to the Quote record.
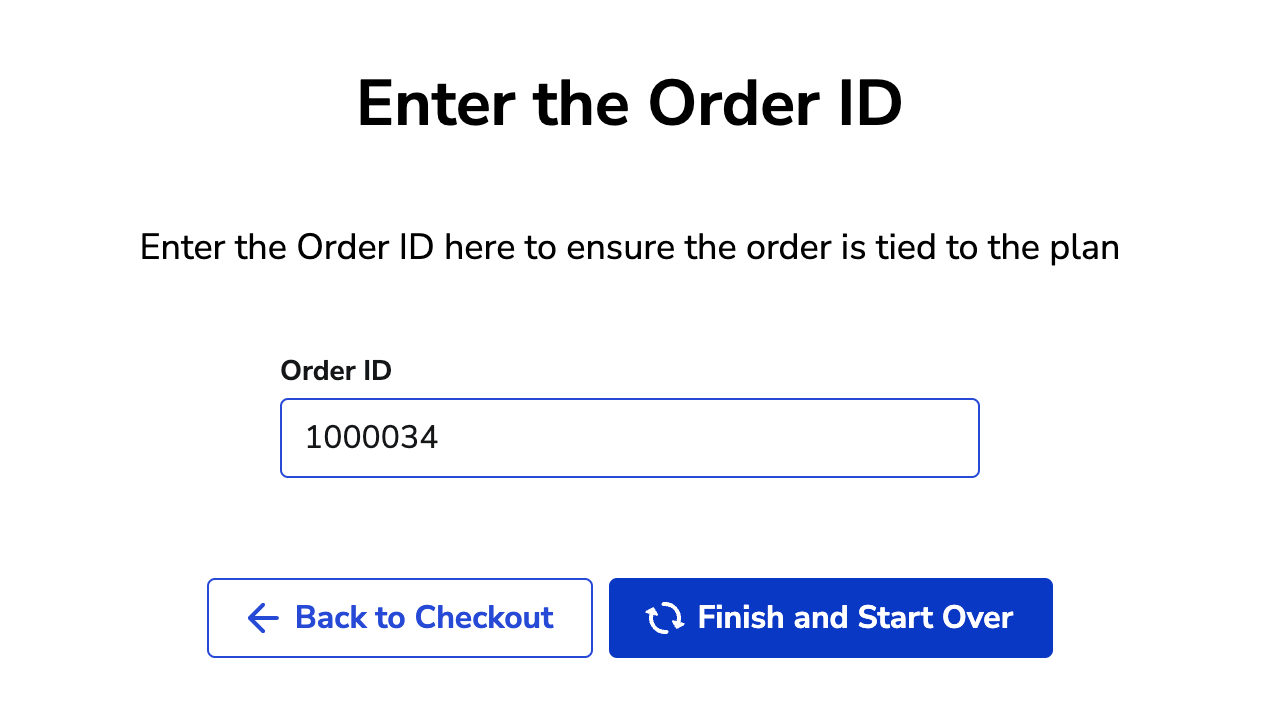
The process is completed when the user clicks “Finish and Start Over,” which brings them back to the start of the flow, the products list page.
Updated 1 day ago